As we creep closer to spring here in the Midwest, thoughts start turning to the landscape. Did you know that a good, updated landscape can increase a home’s value? Have you been considering fixing up the yard or investing in a new patio, firepit, or outdoor kitchen? If so, keep reading. We’ve compiled a list of what’s going on in the industry and a forecast of where landscapes are heading in the future.
Maximizing Outdoor Living Spaces
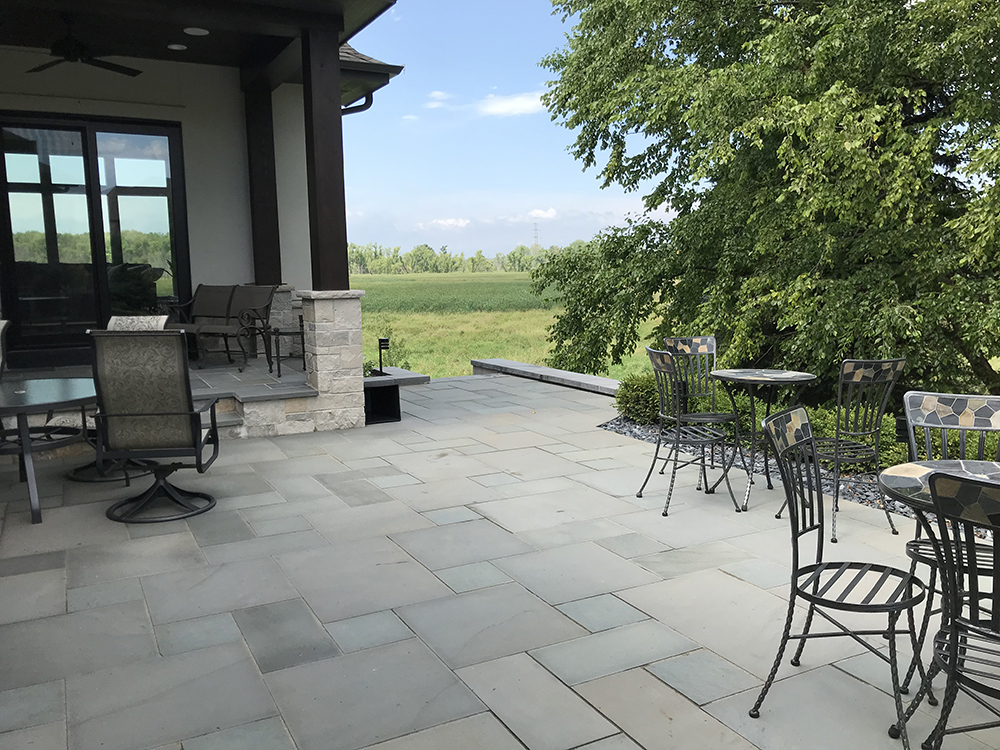
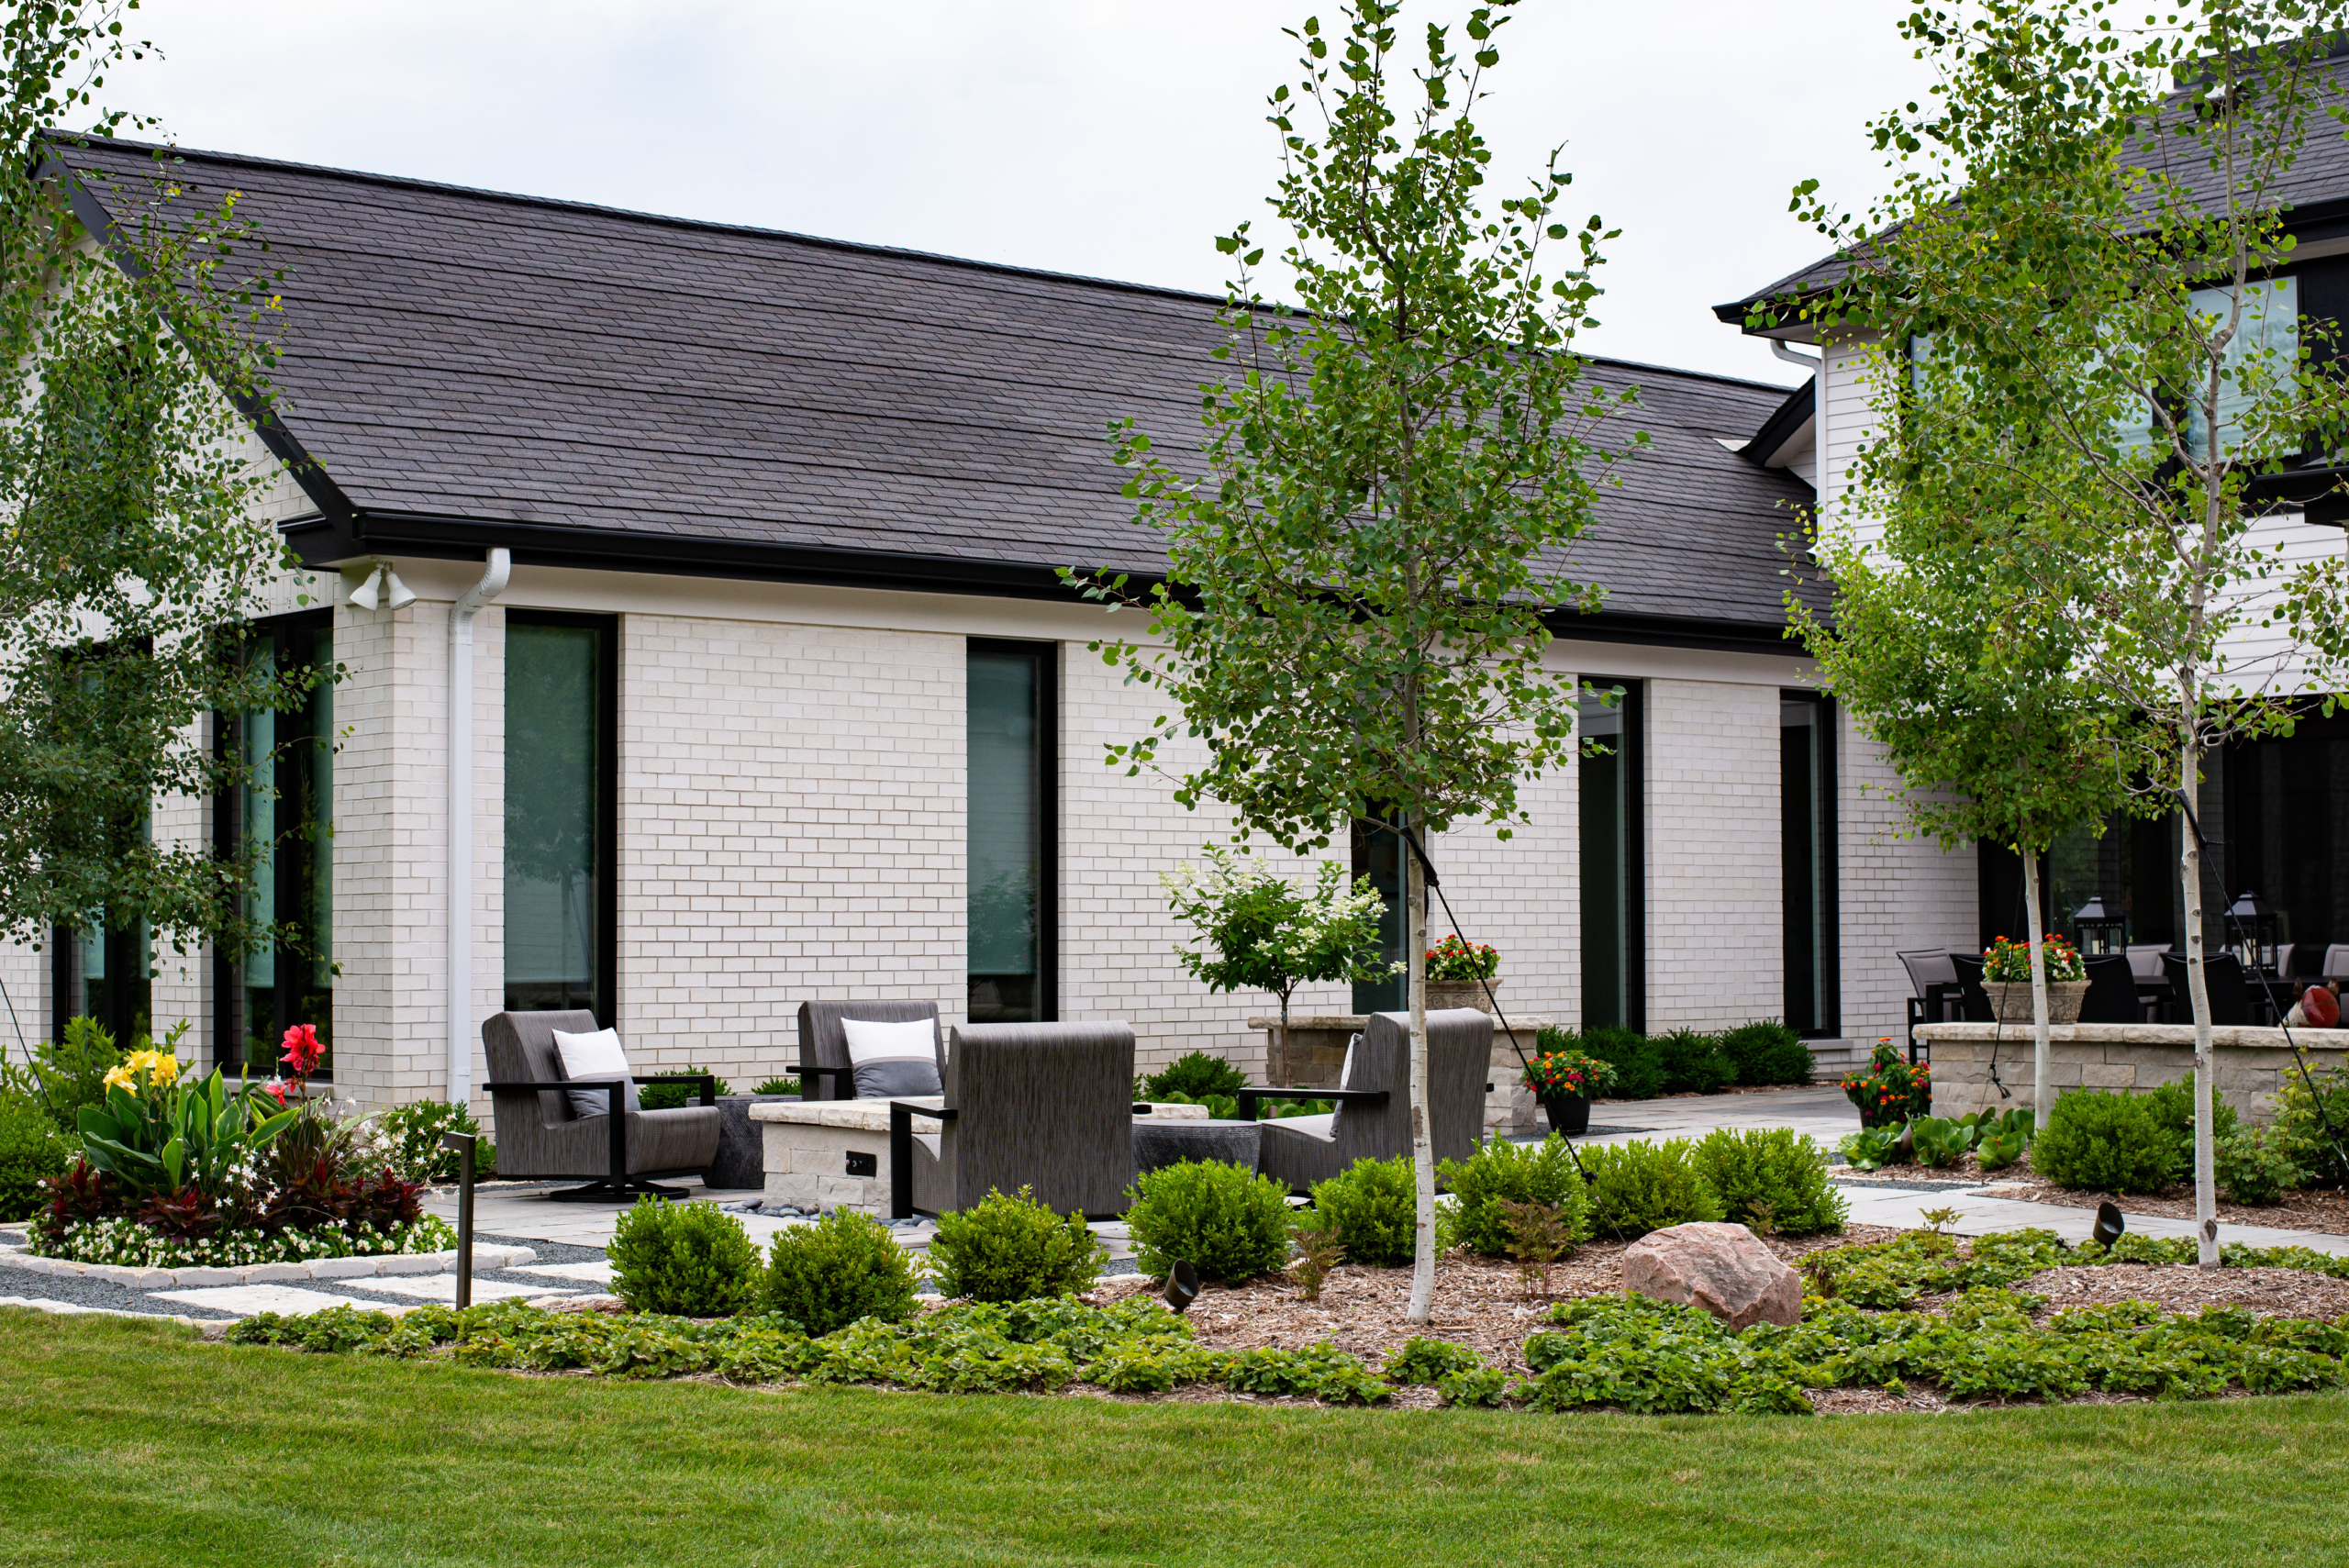
We have all been affected in one way or another by the pandemic. Its effects on the landscape industry have been impactful. People are staying home more and looking at and using their yards. This is leading to an increase in changing our outdoor spaces from simply something to look at to an extension of our living space. We are using our homes more and more often to socialize, relax, and work allowing outdoor living spaces to create value in many ways.
Outdoor Electronics & Lighting
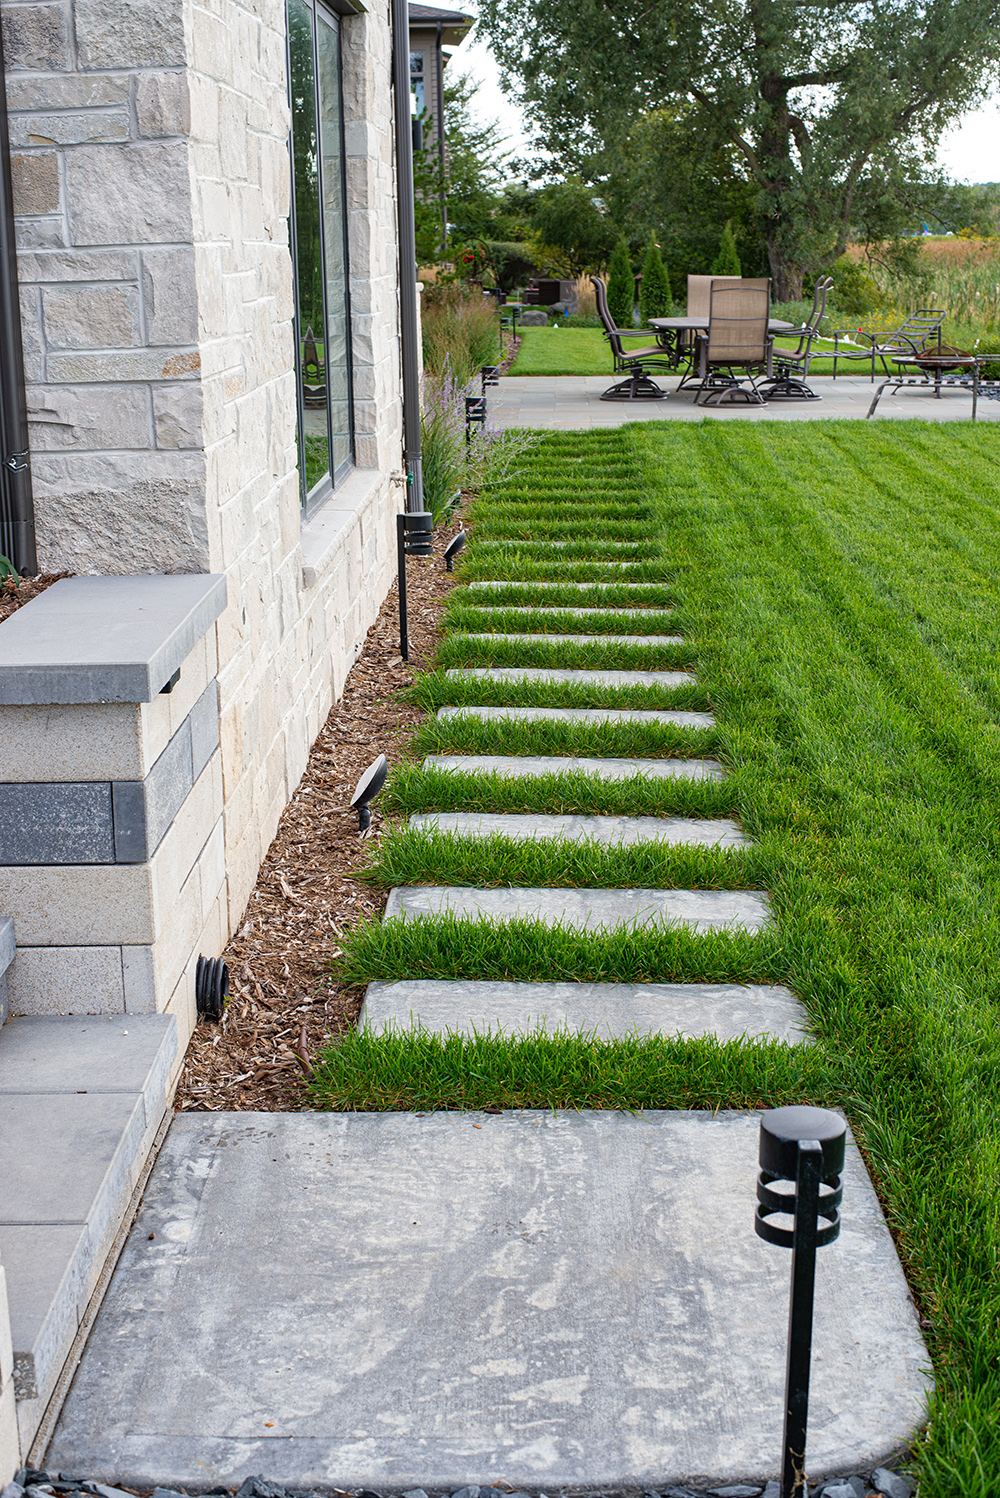
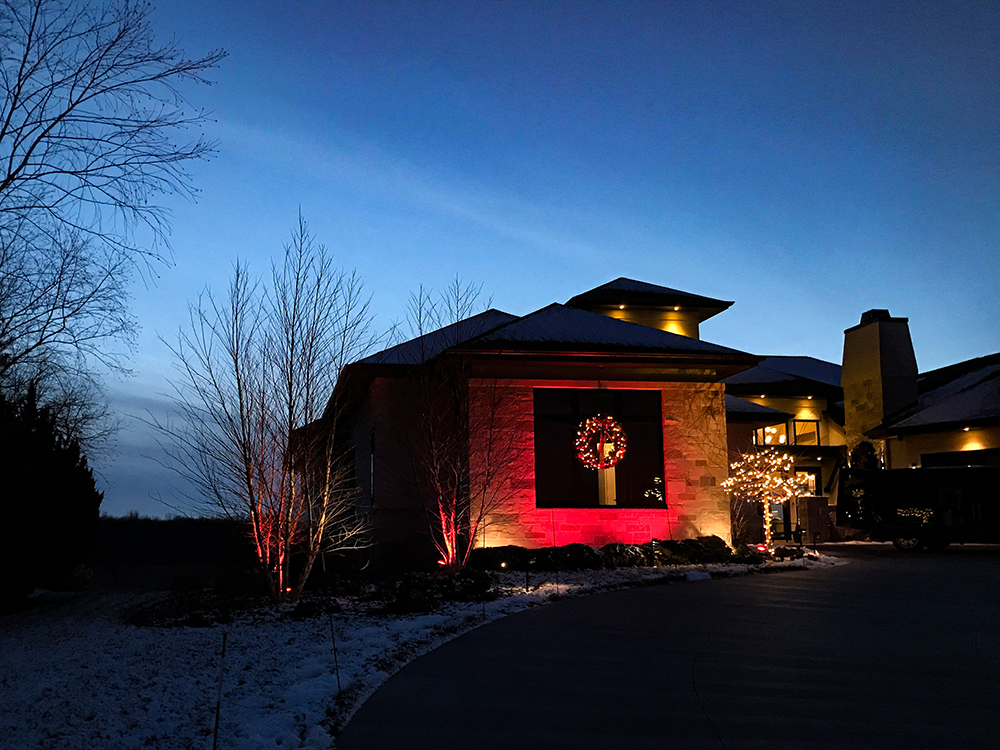
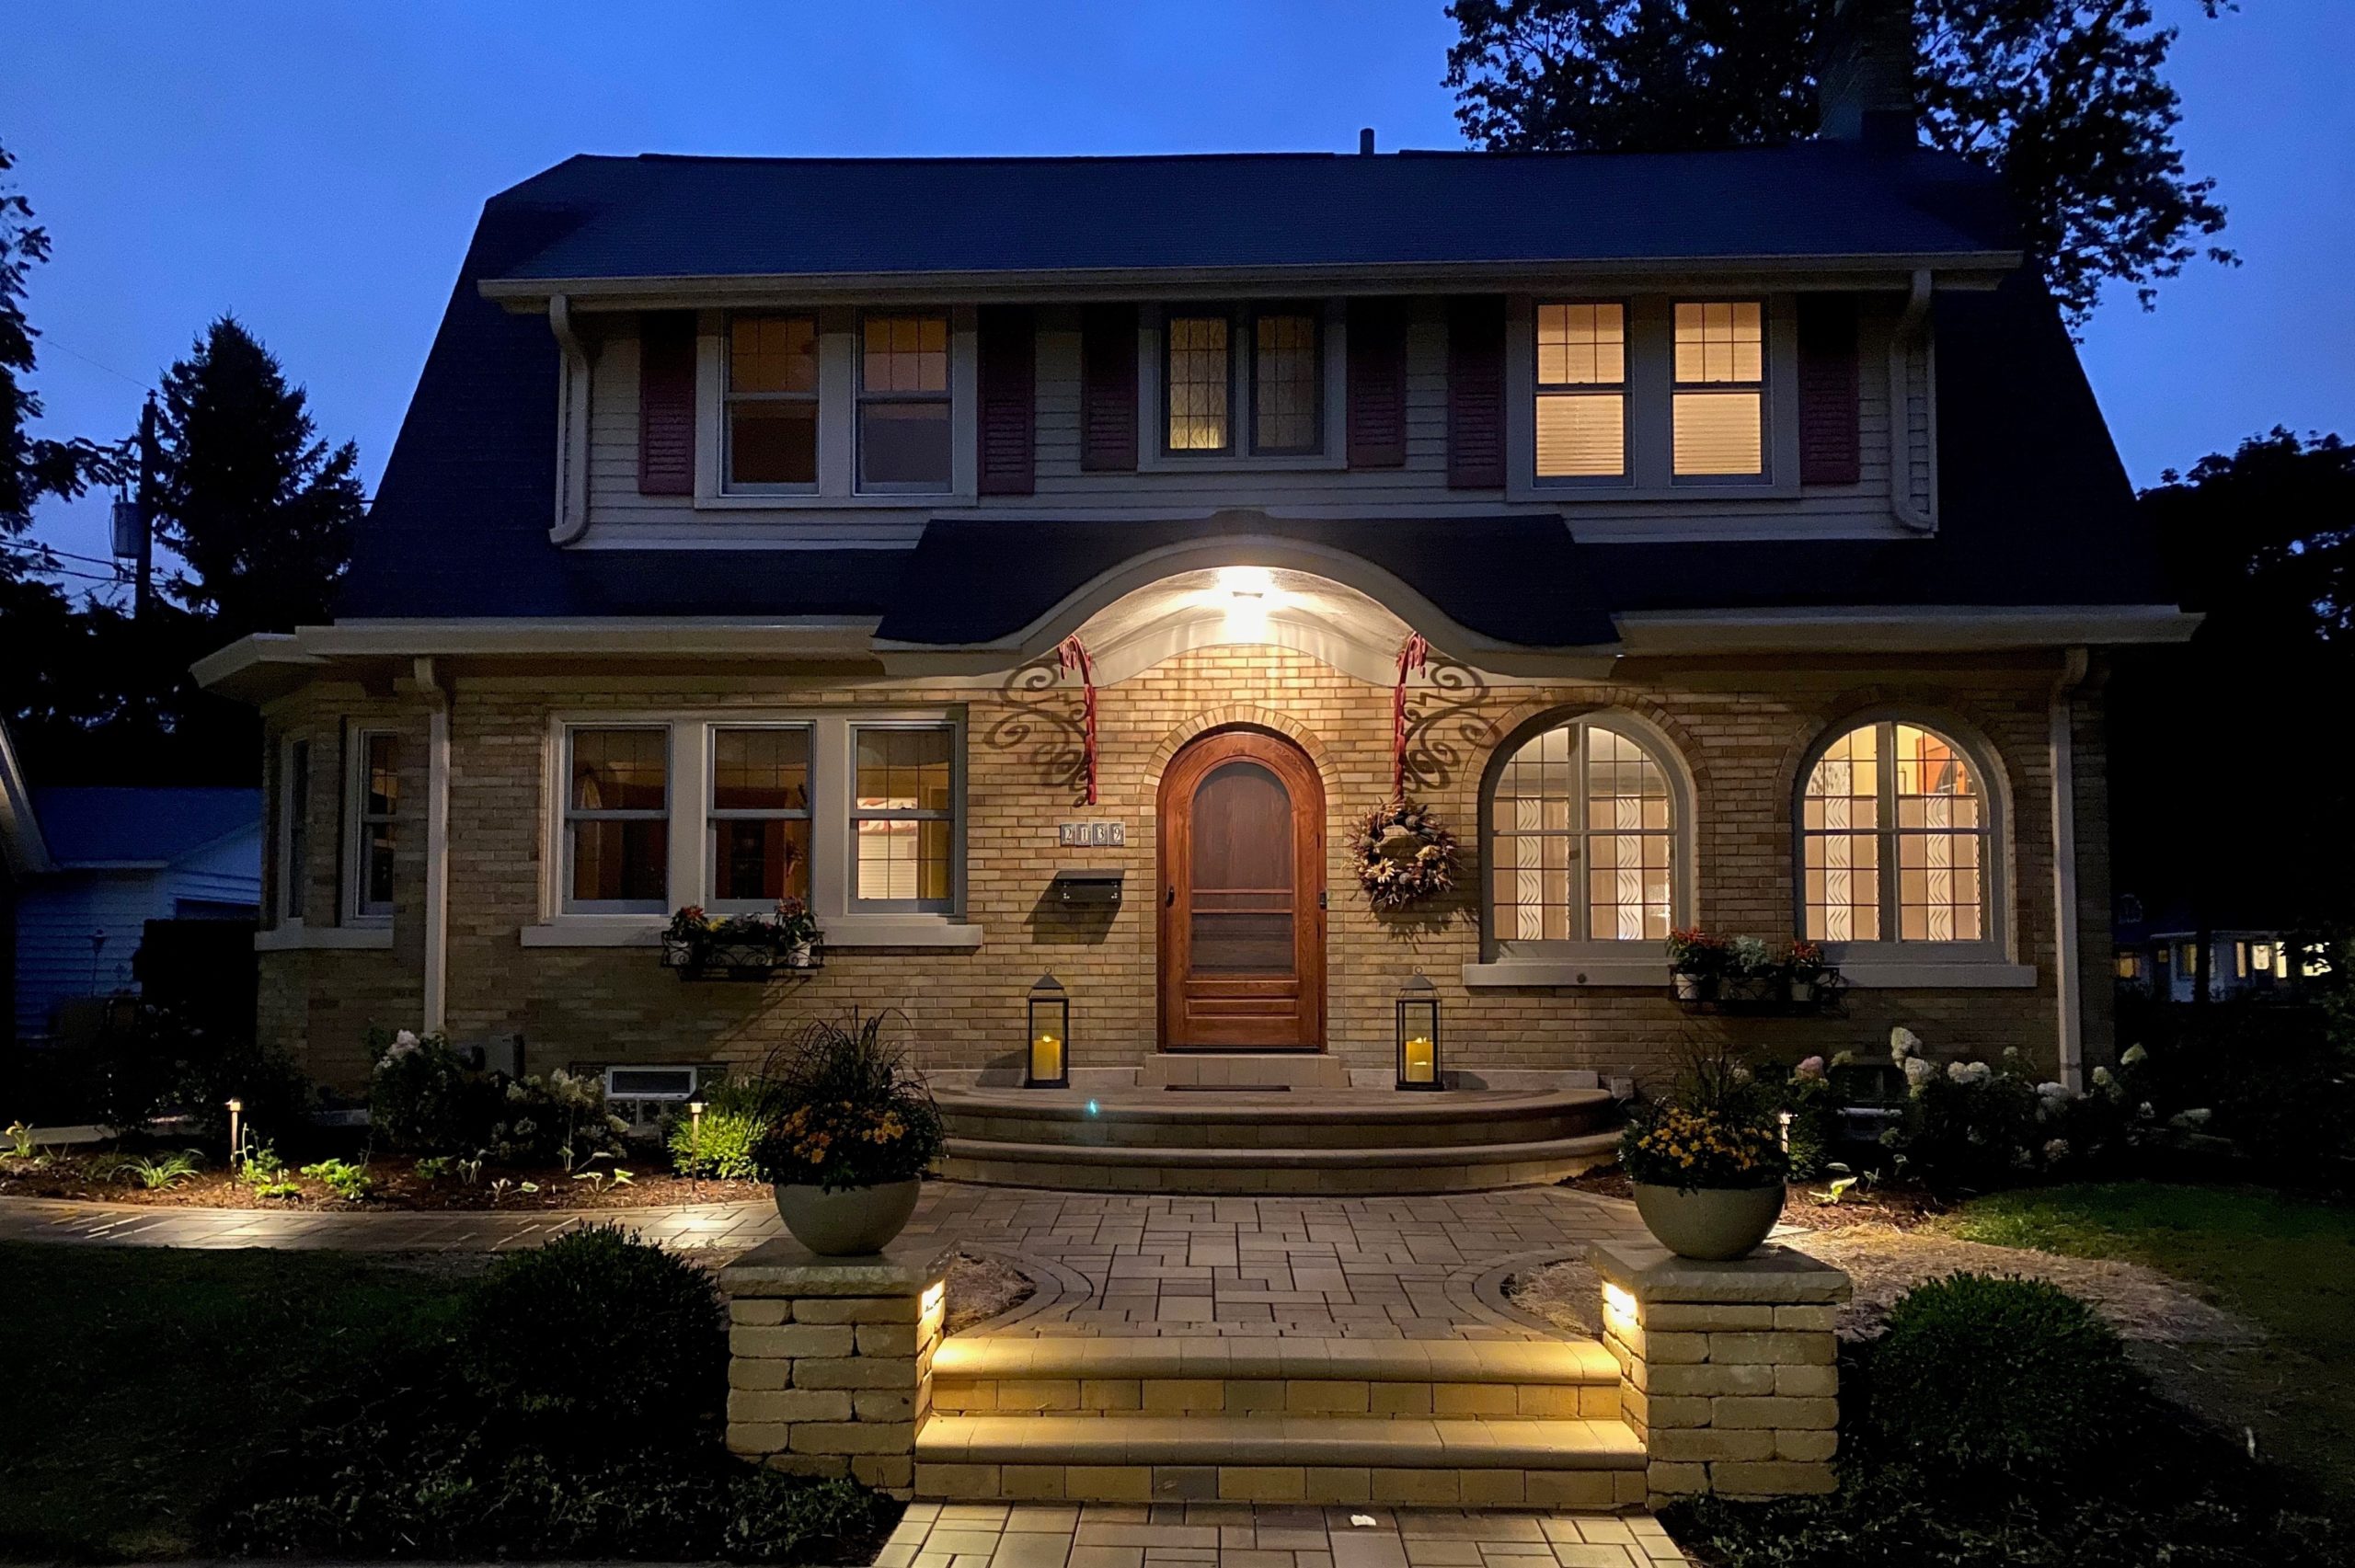
Outdoor lighting is huge if you want to expand your outdoor living space. With the new technology in lighting you can create a multitude of scenarios with your lighting. Path lighting for safety, bistro lights for character, up-lighting for aesthetics…it’s all there. LED fixtures and bulbs allow for an array of colors at your fingertips. Bluetooth allows you to control it all with your phone. Add an outdoor Bluetooth speaker system and you’ll be ready for anything.
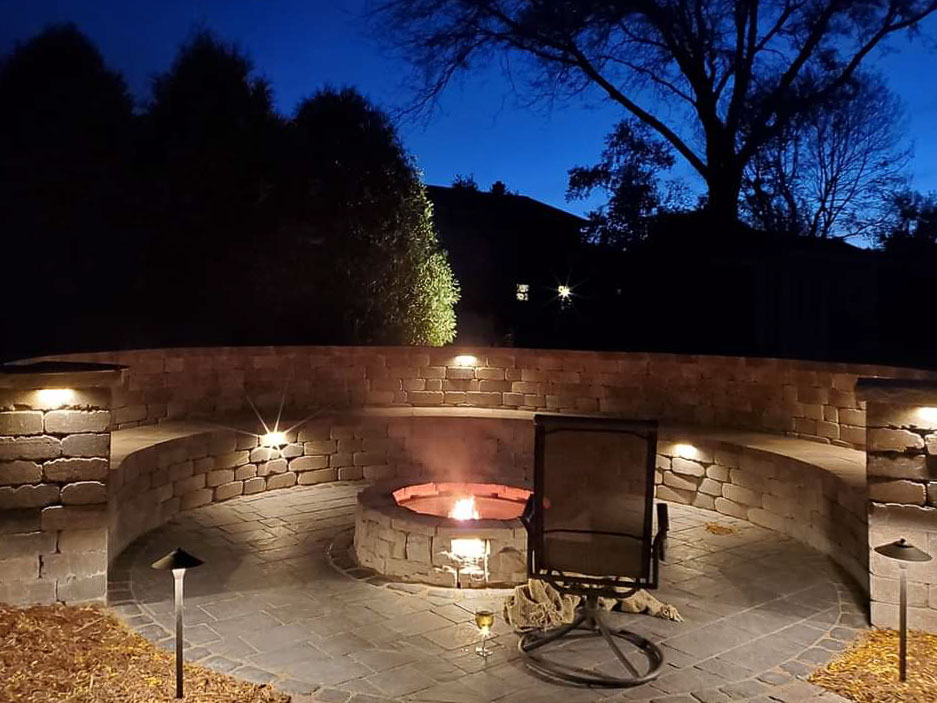
Speaking of outdoor electronics, how about an outdoor TV? Imagine sitting around your firepit at night and watching football games in the fall. The grill is going and there are drinks at the bar.
Creative Spaces for Living, Working & Entertaining Outside
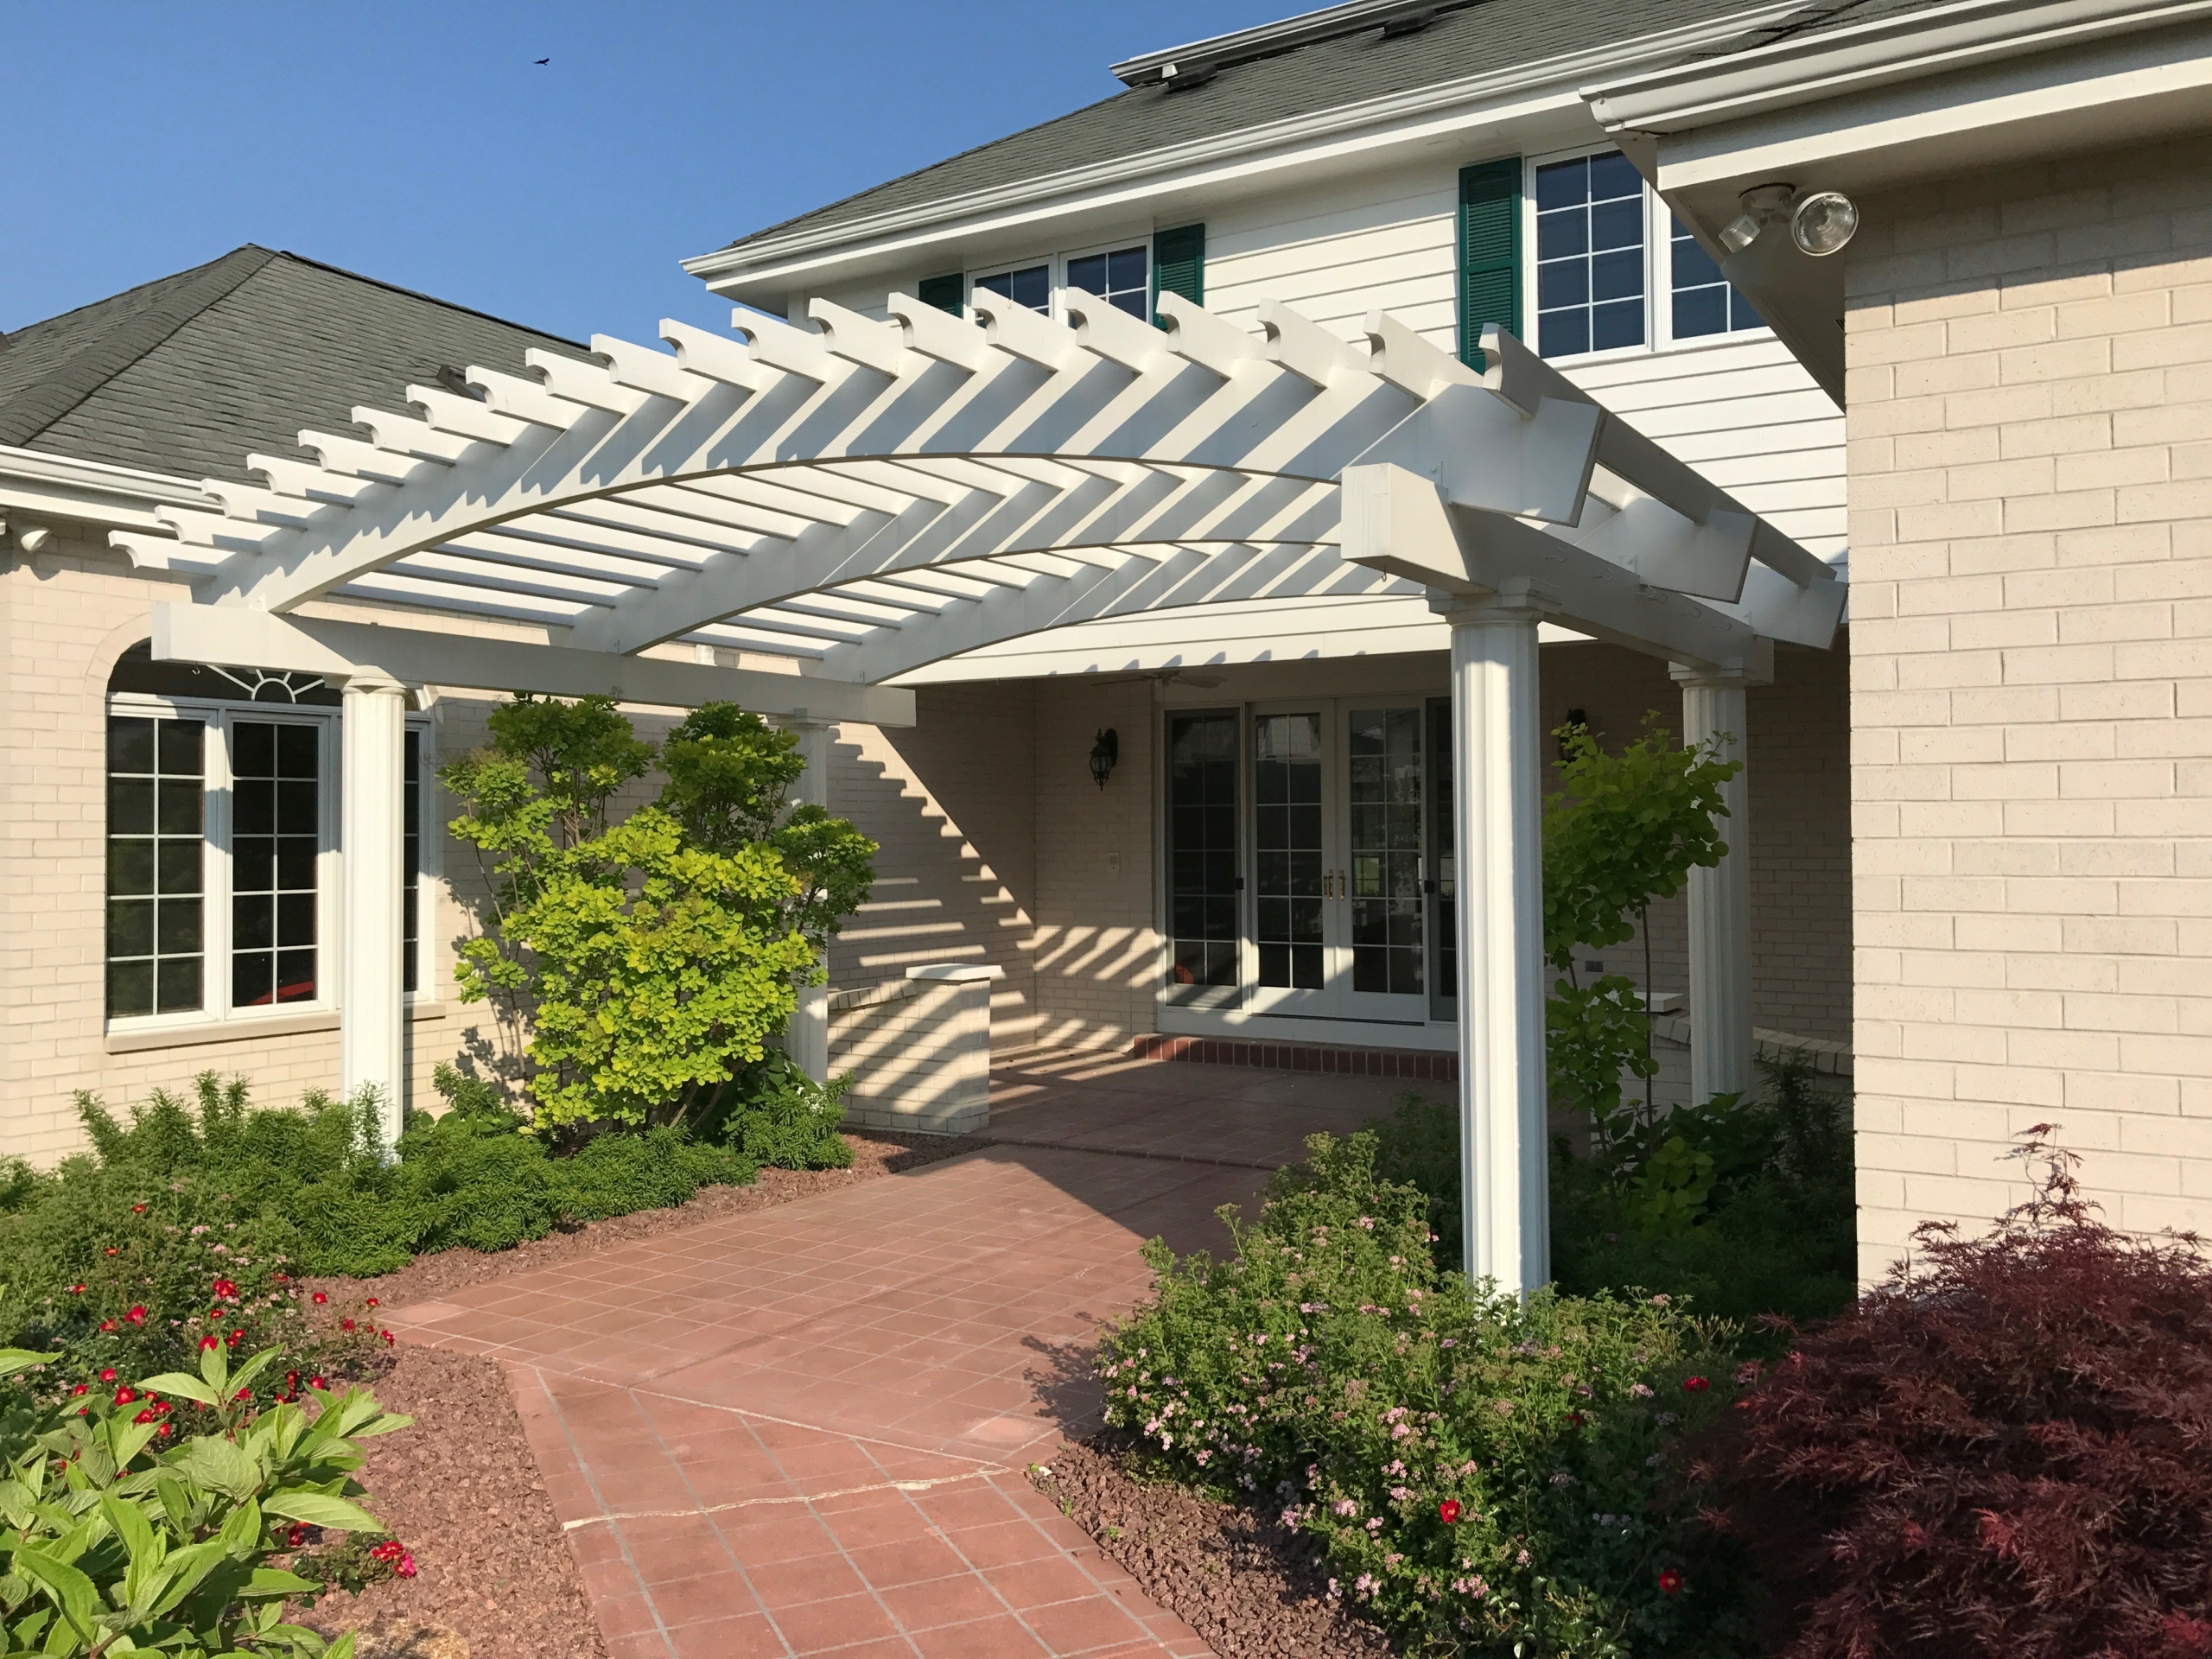
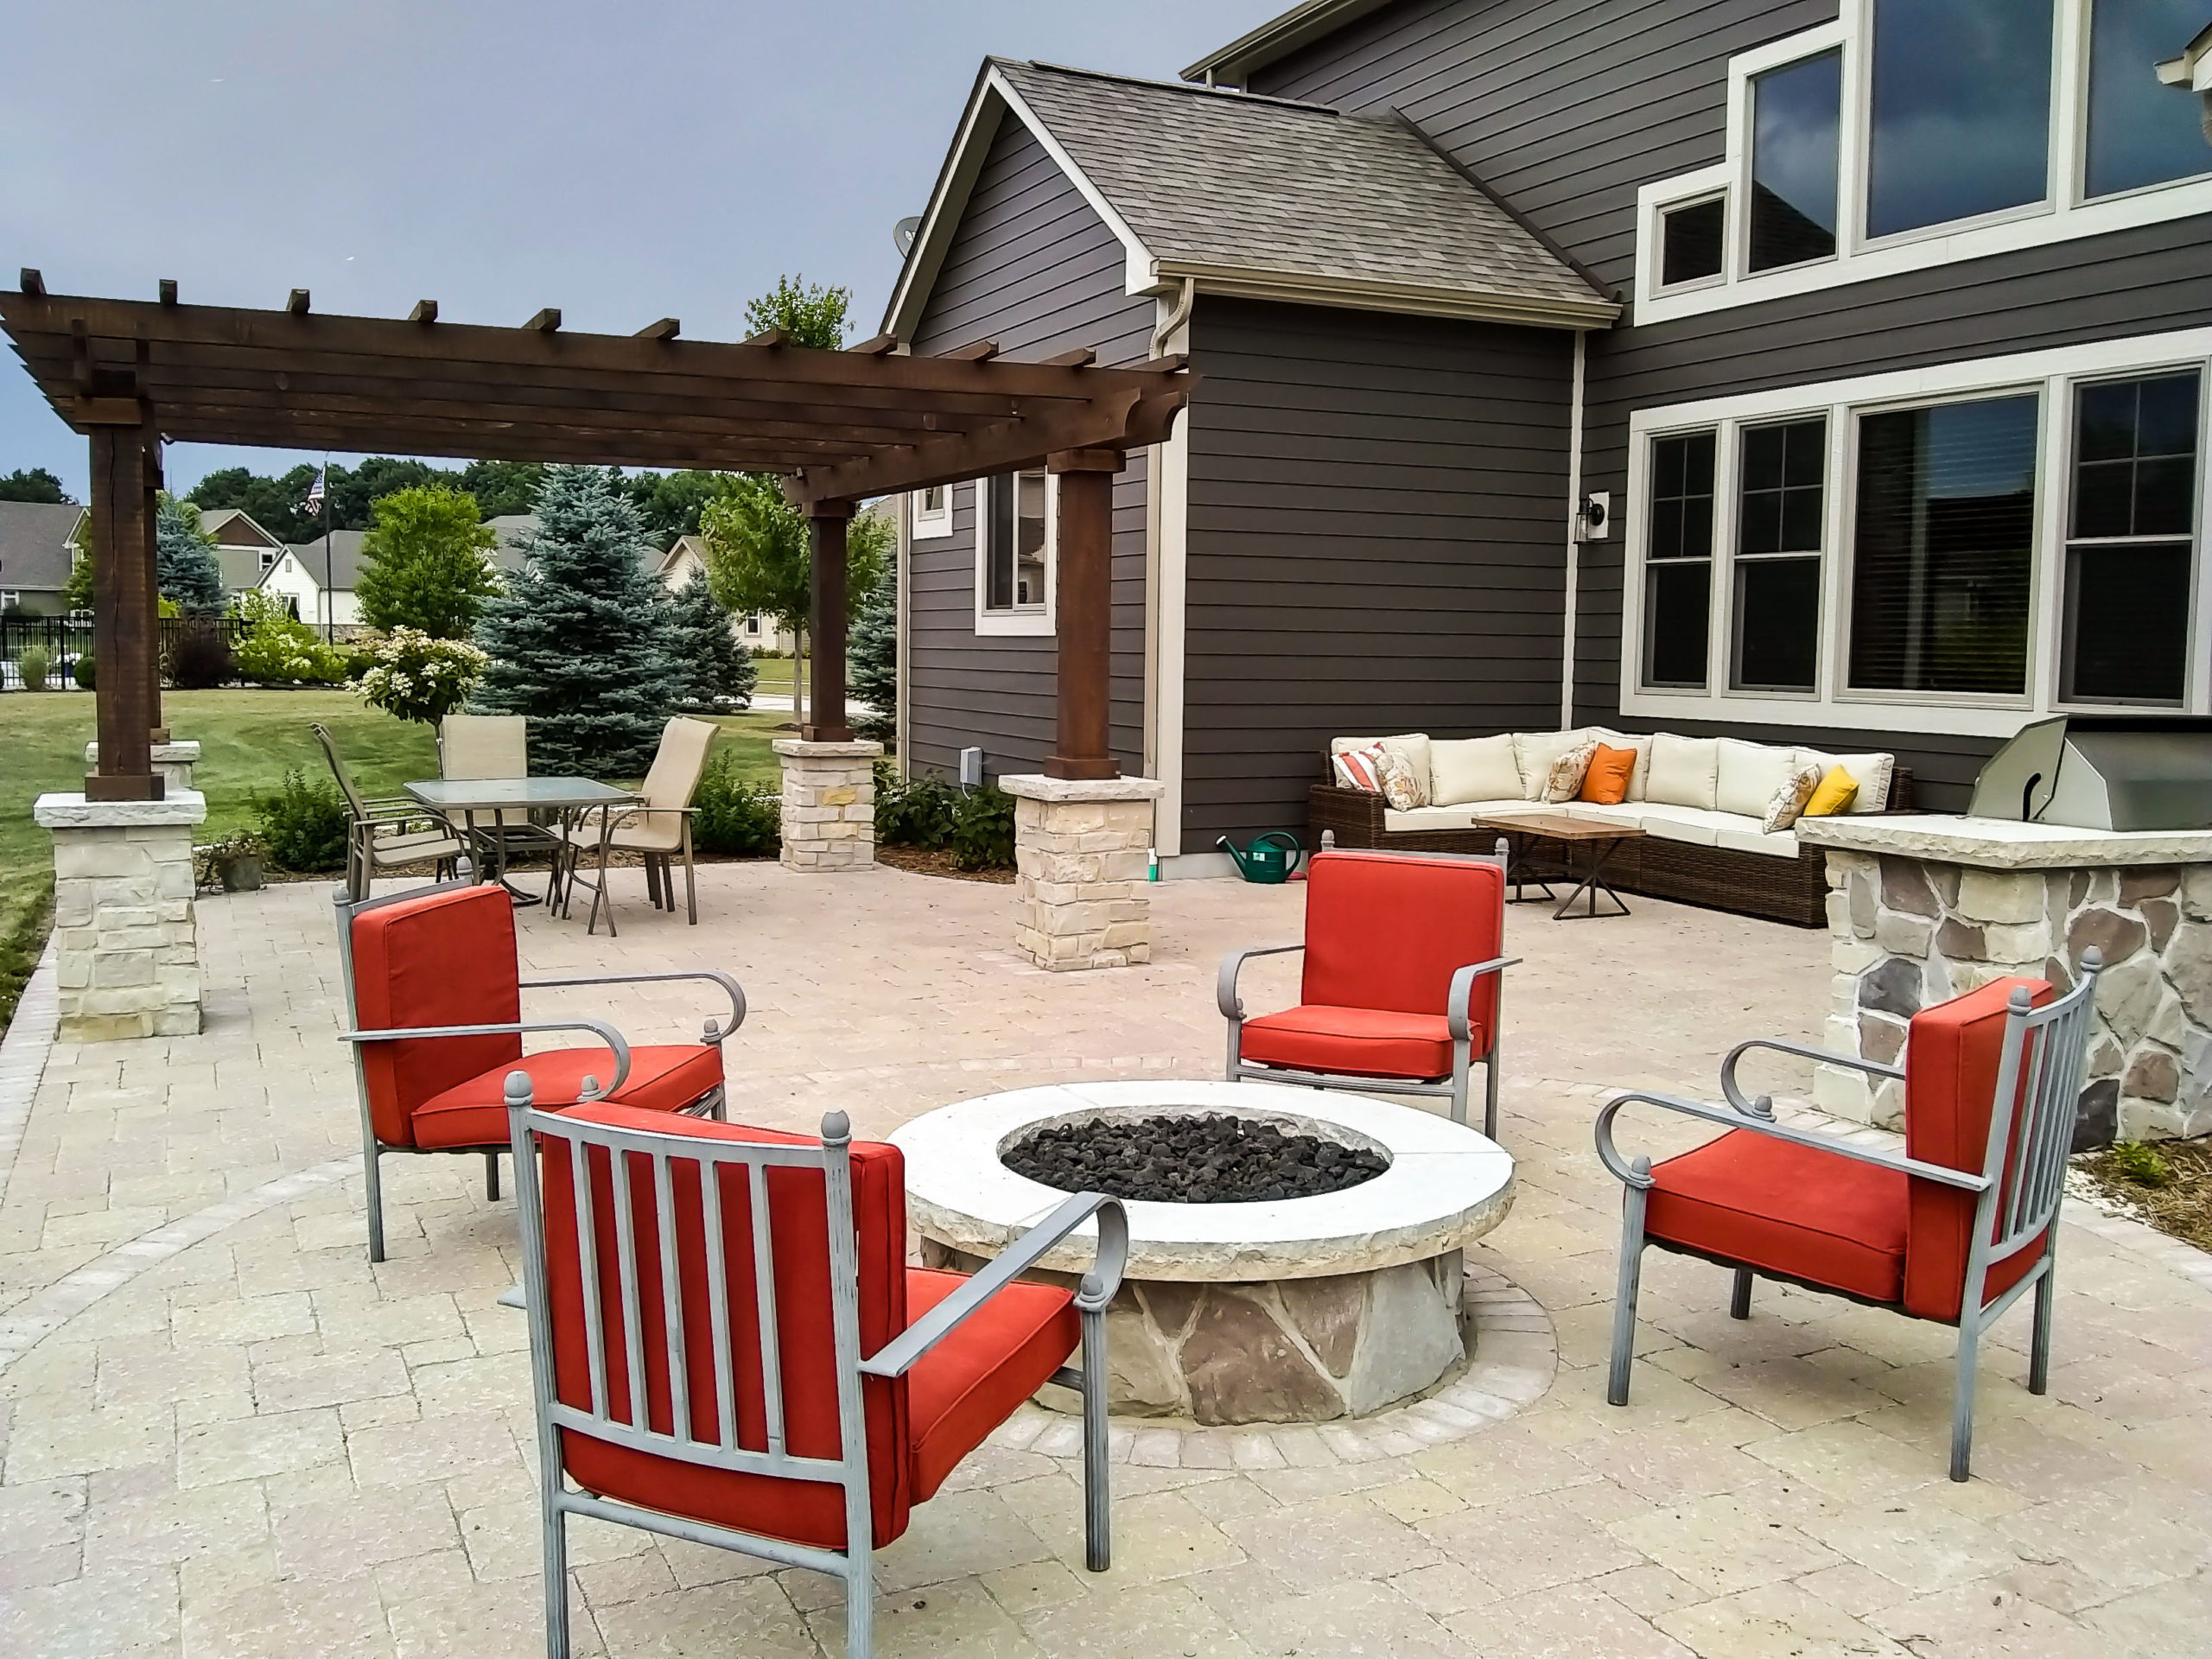
For those of you working from home, how about a secluded nook in the corner of the patio? There’s a pergola with vines protecting you from the sun. Background music is on the speakers and you can comfortably enjoy a change of pace from your desk in the basement office. Or maybe you’re reading your favorite book, nestled in big wicker chair in the warm sun and a water feature is gently gurgling in the background. The birds are singing and the flowers are blooming. Can a relaxing moment get any better than that?
Outdoor Kitchens: Grills, Bars, Sinks & More
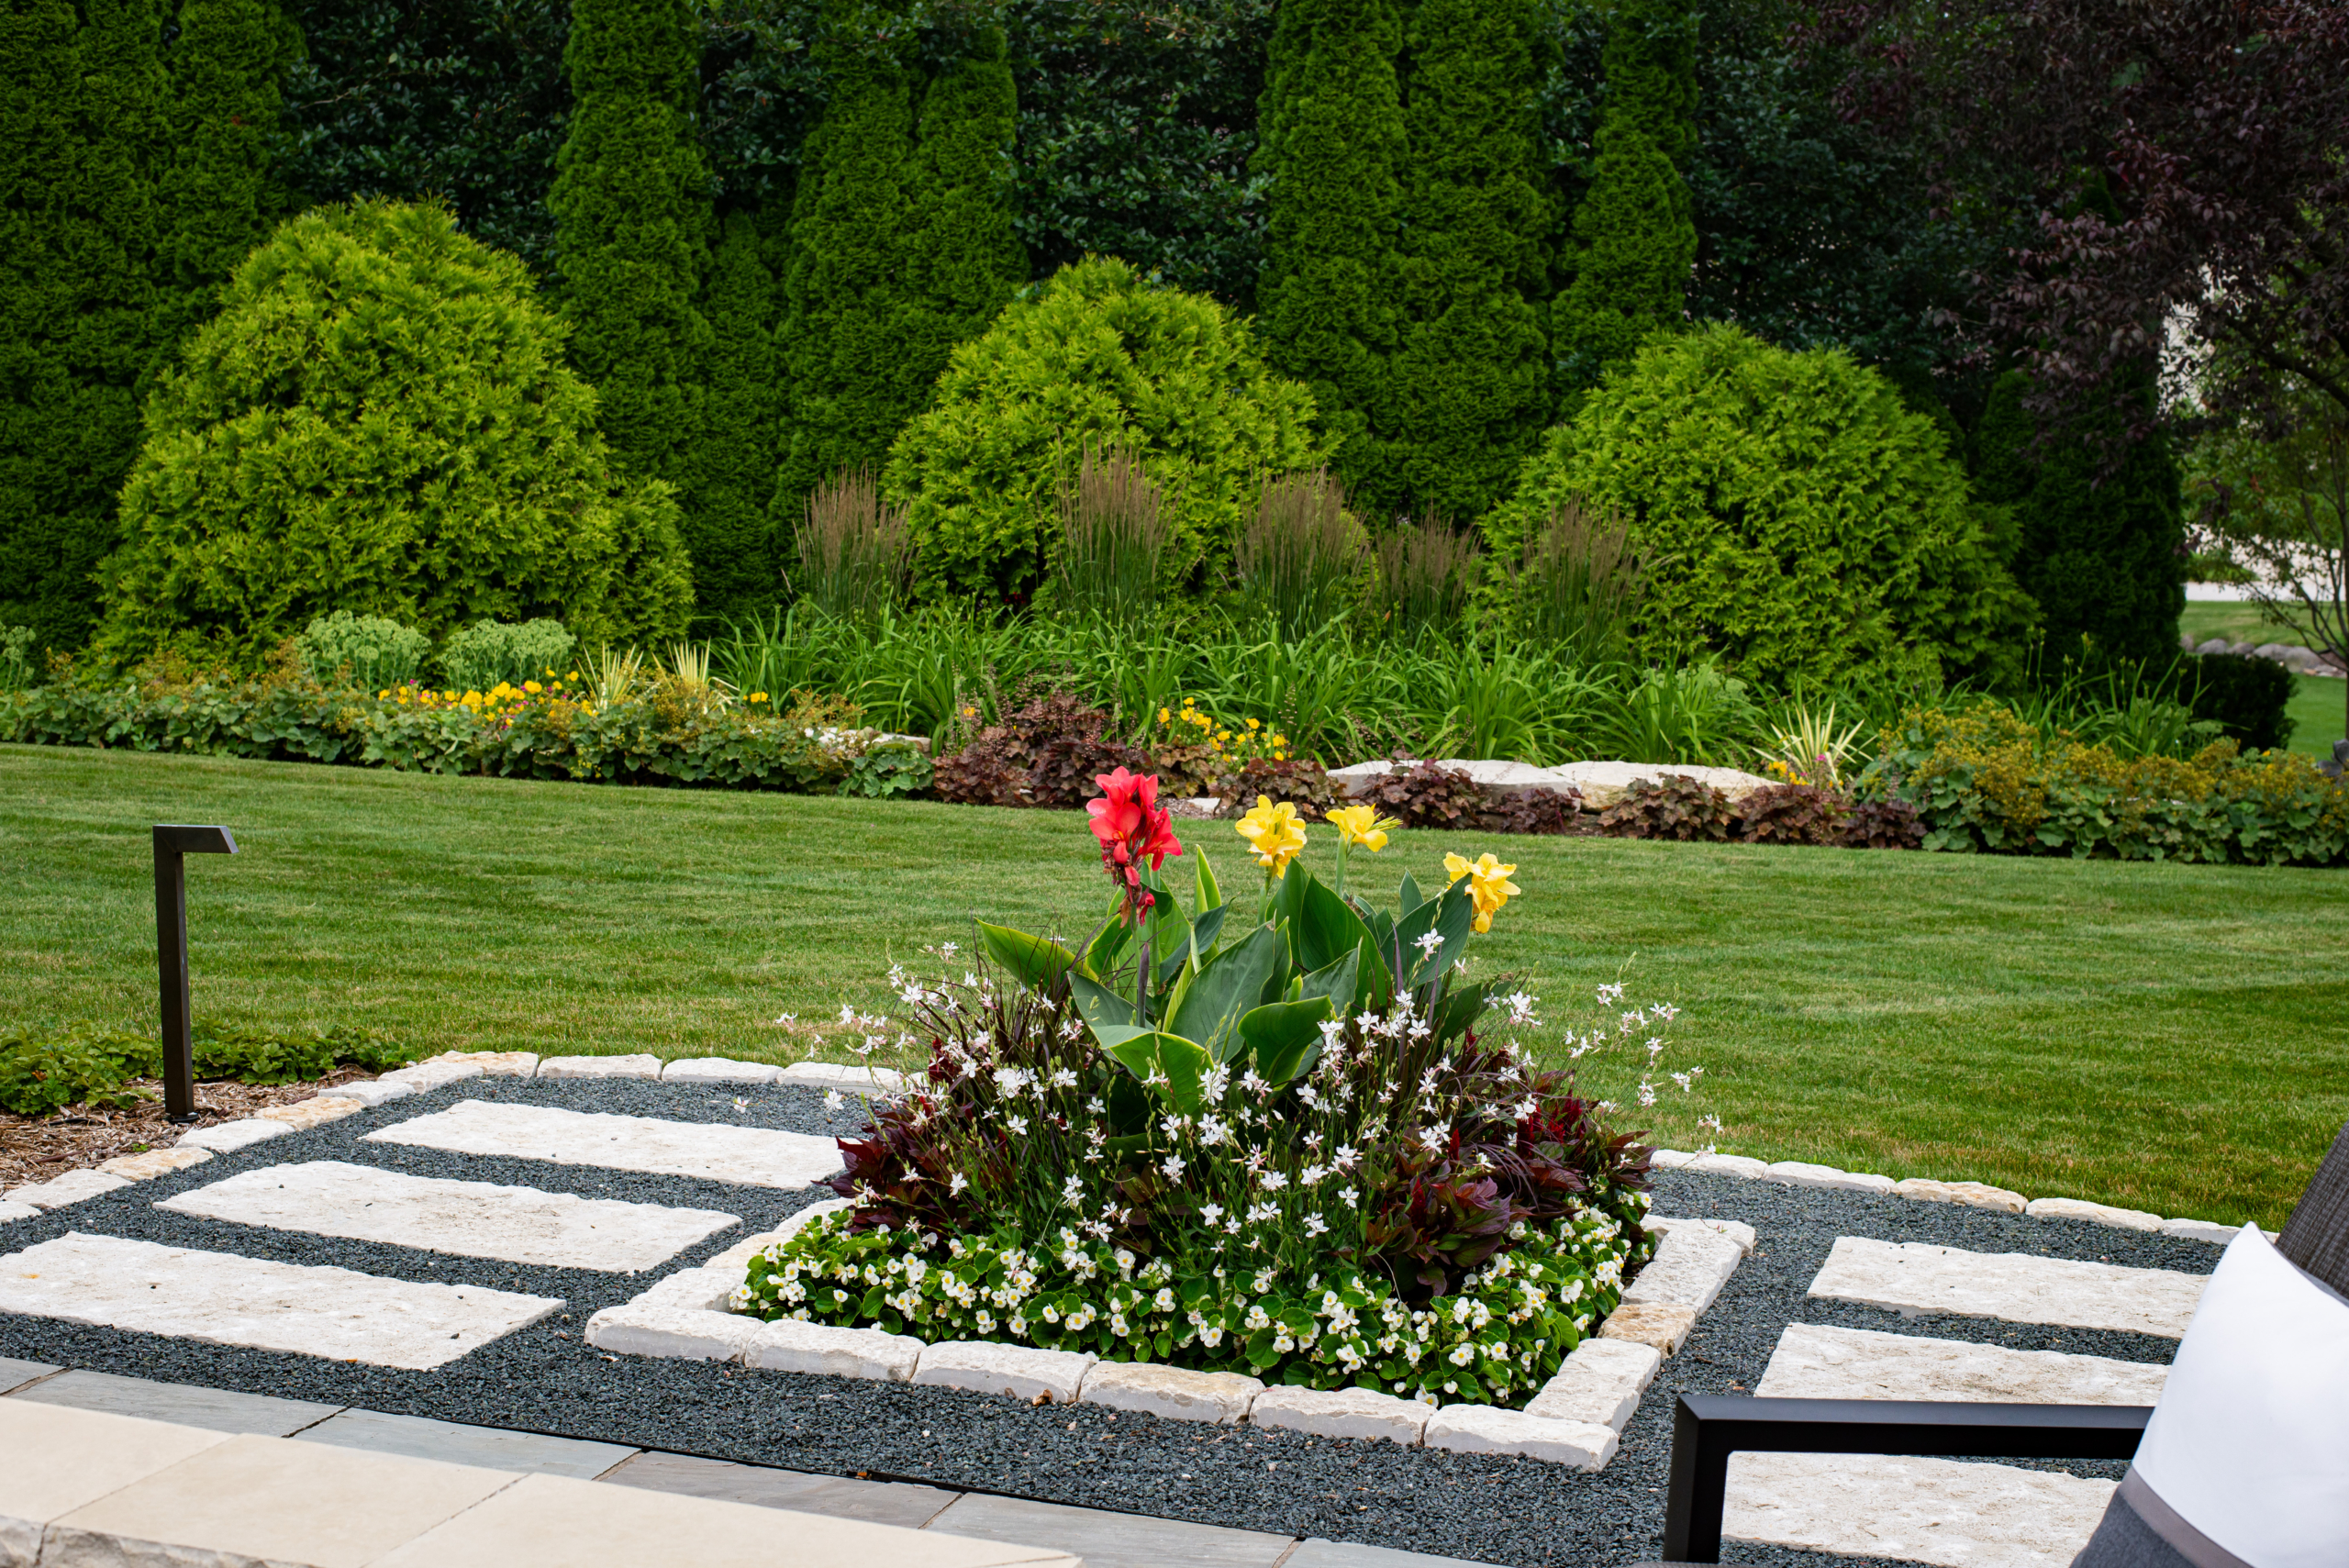
Outdoor kitchens have been popular in the past and they are not going away. Renovations to patio space to include grills, bars, sinks and refrigerators is going full steam ahead. In addition, we’re seeing built in patio planters to hold kitchen and herb gardens. Turning away from high-maintenance decks to concrete or natural stone patios is the way to go. While up front the cost may seem higher, the long-term benefits of durability and low maintenance will ultimately save you both time and money.
There are constantly new innovations in composition, as well as new styles and colors to work with. Whatever your style, there is something that will work for you.
Grow Your Own Food
Along with patio gardens, more and more people are turning to including edibles in their landscape. Strawberries, raspberries, blueberries, gooseberries, hops, apples, plums, pears, peaches, and several herbs…all of these and more will come back in our landscapes year after year. People are finding that growing their own food is economical and provides them a sustainable alternative to mass produced food.
Sustainable Landscapes
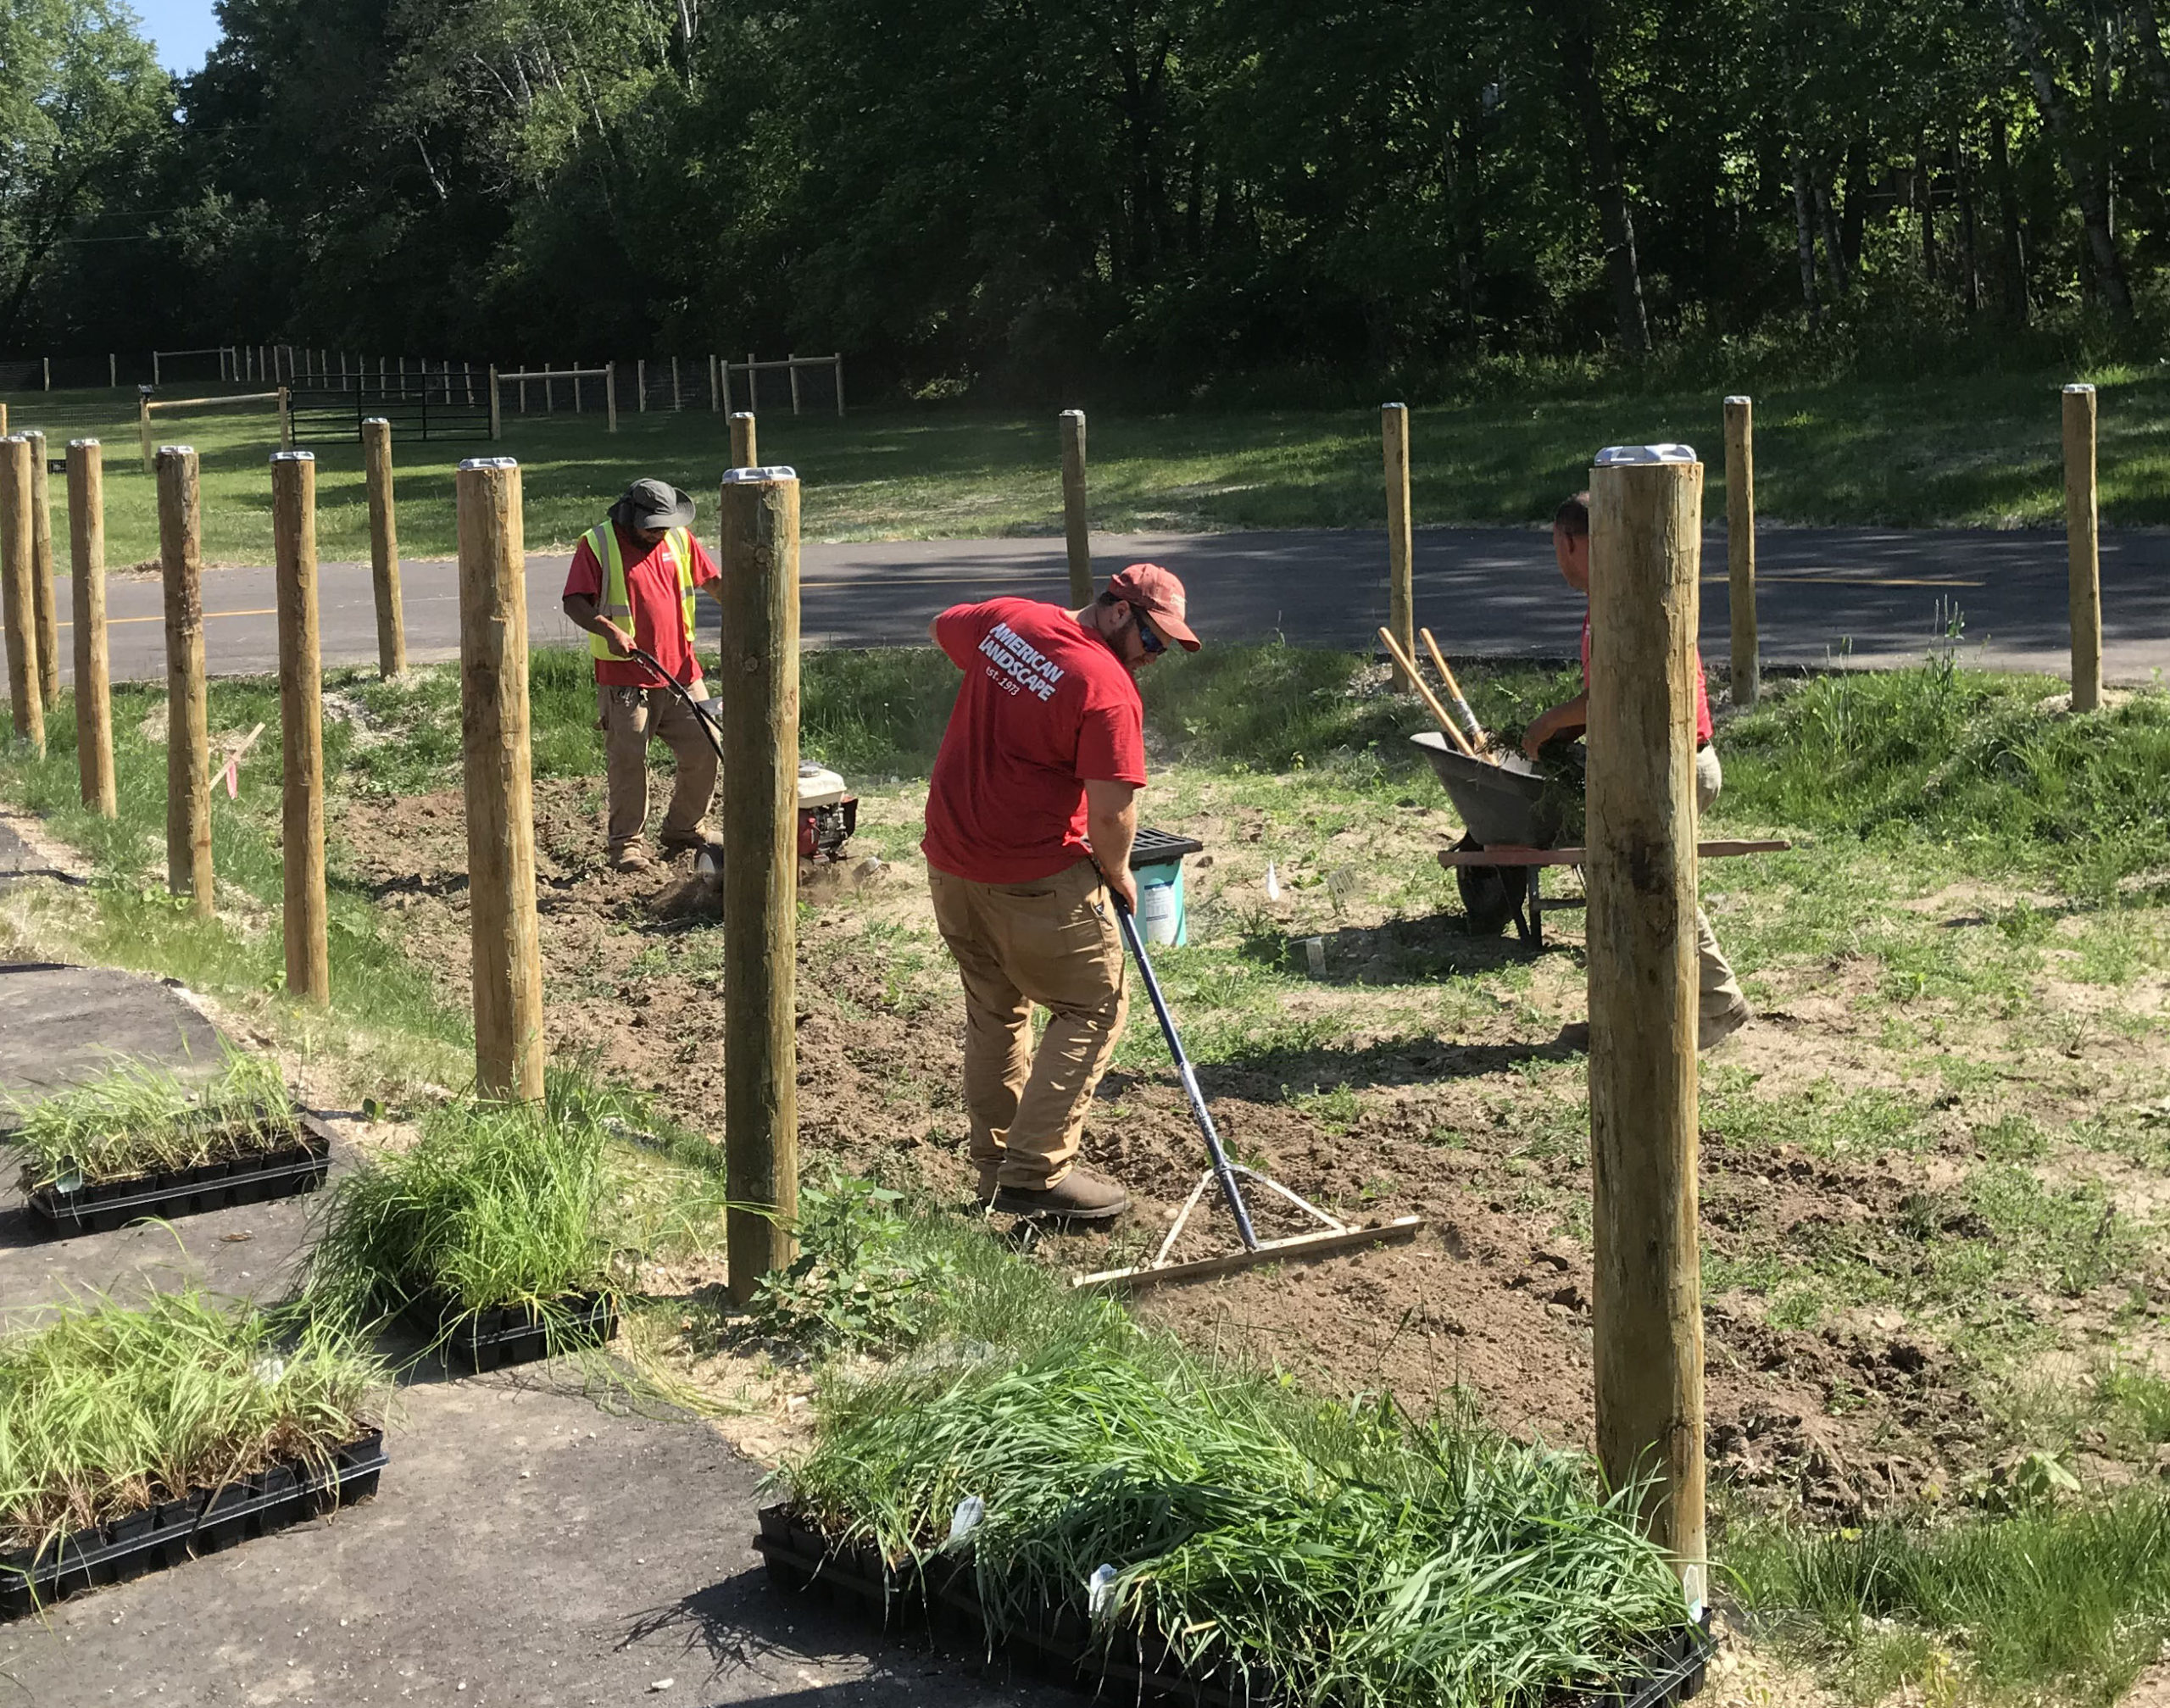
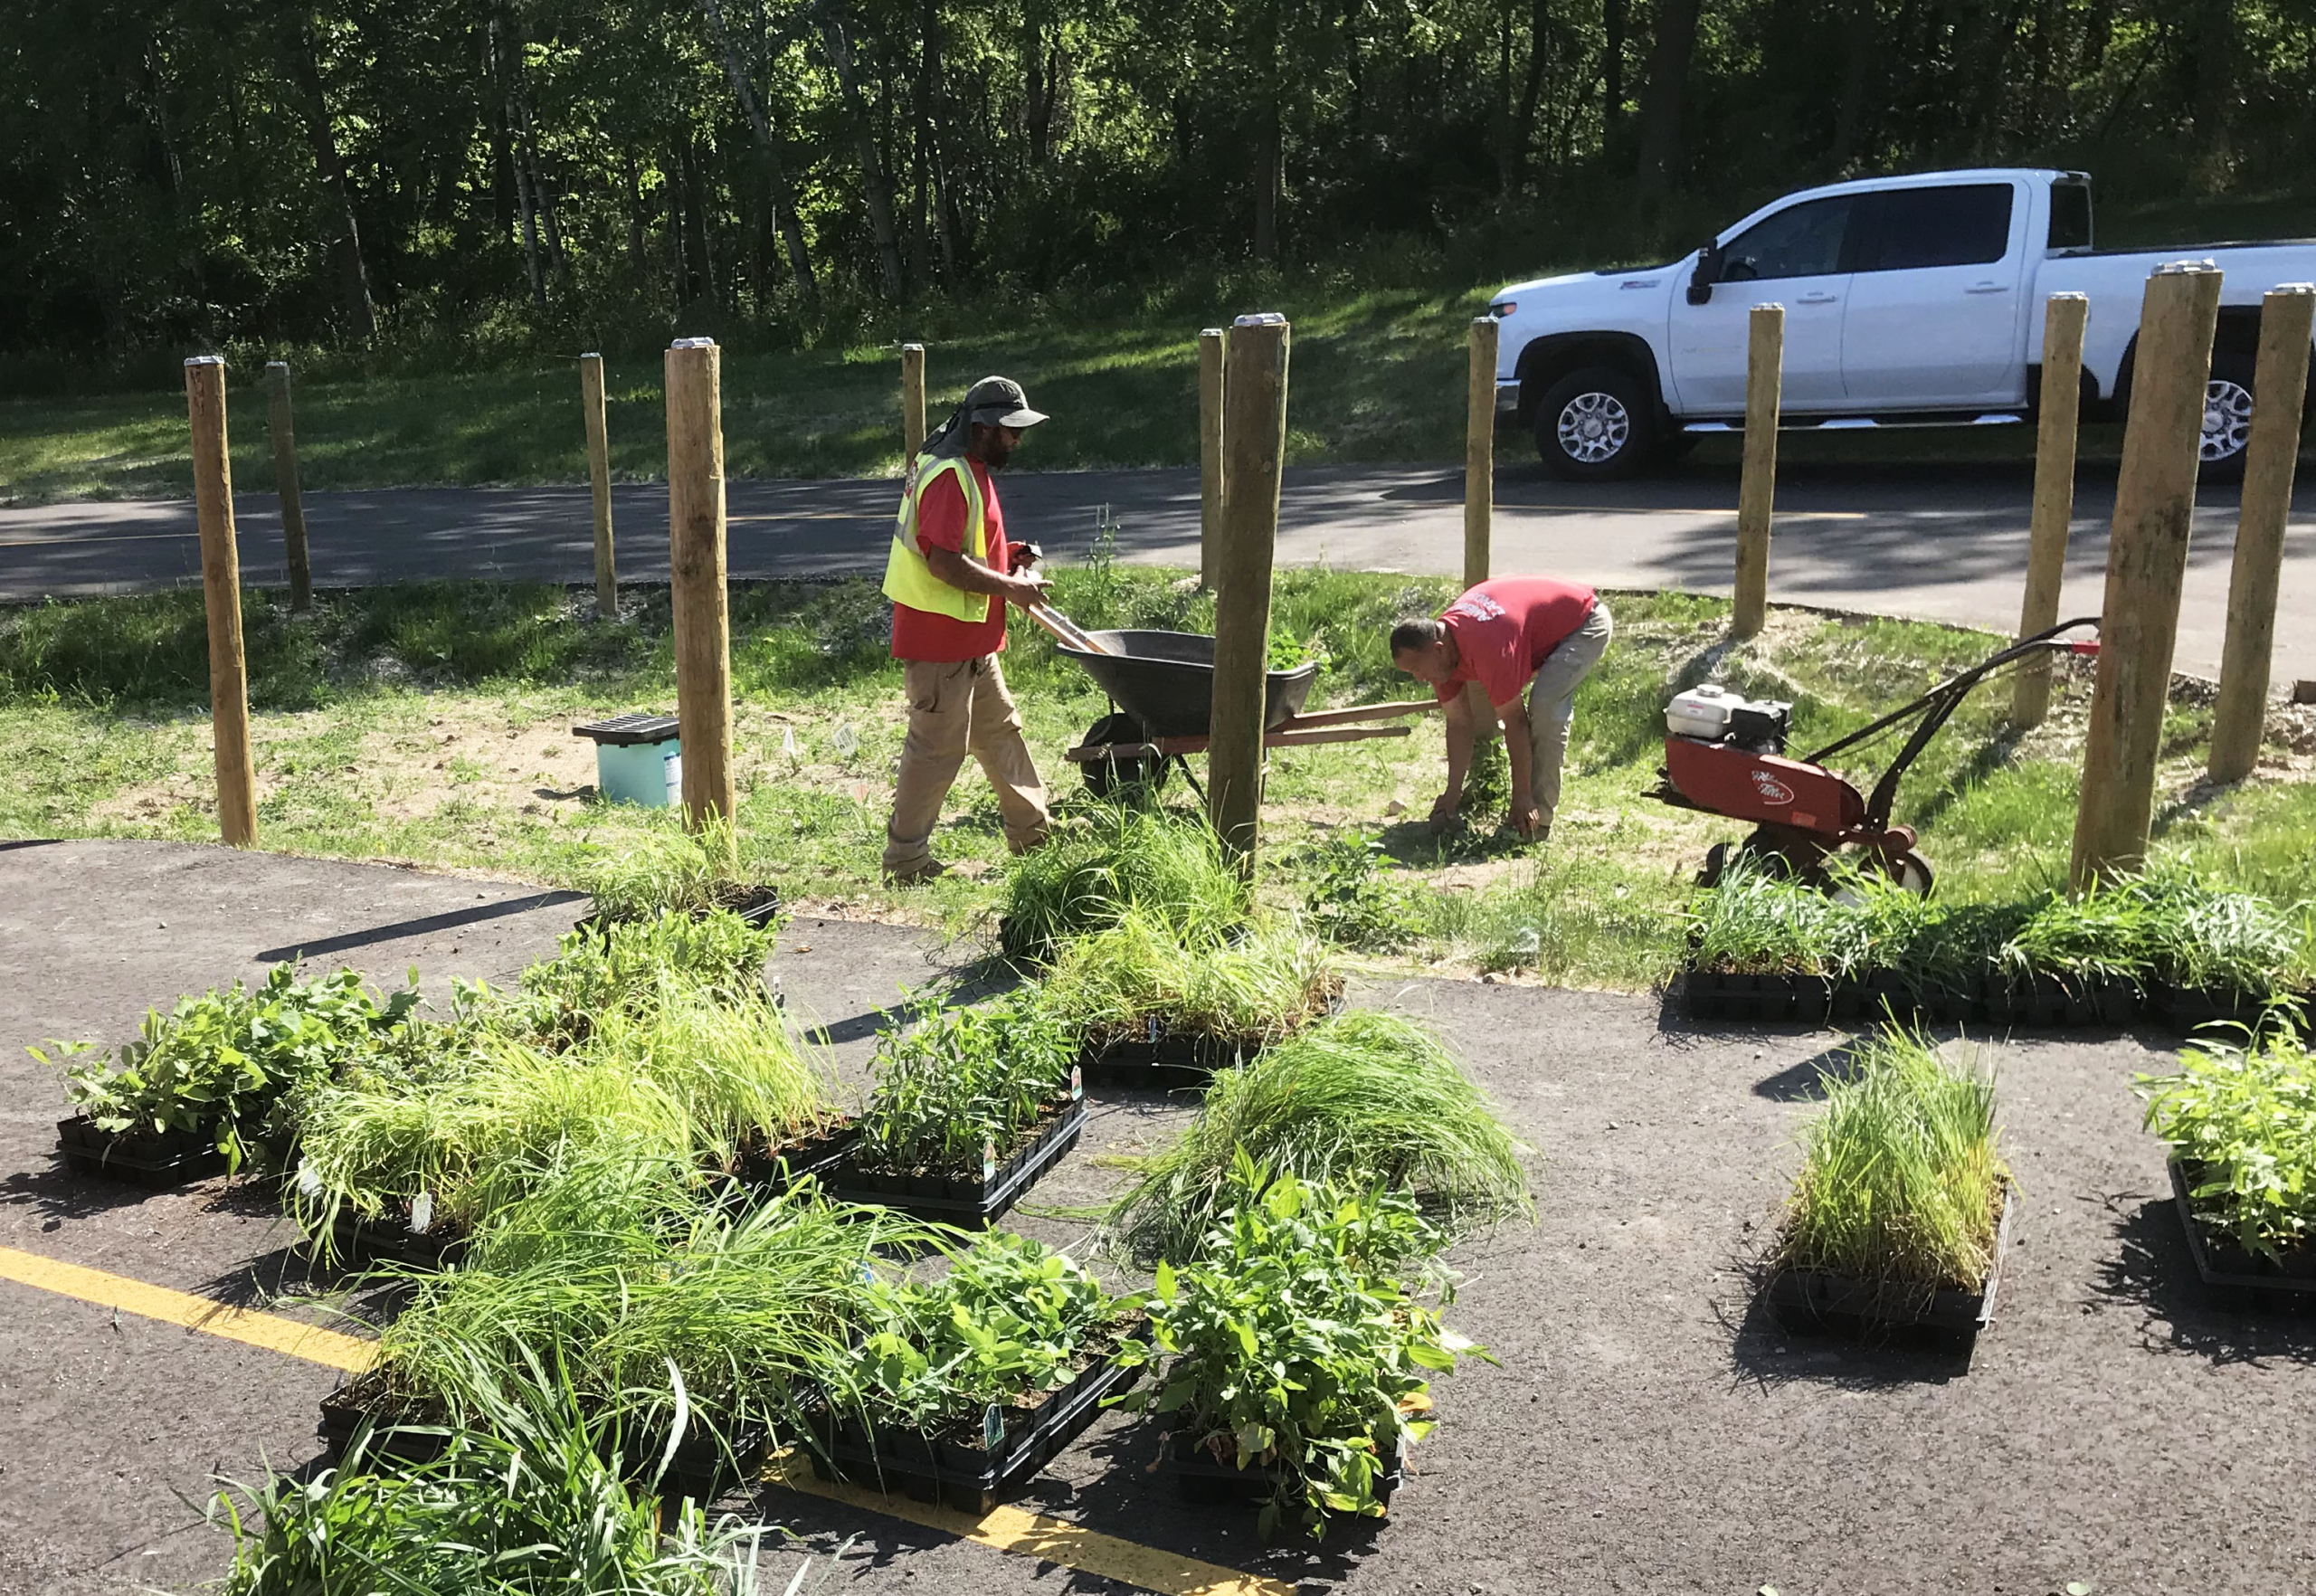
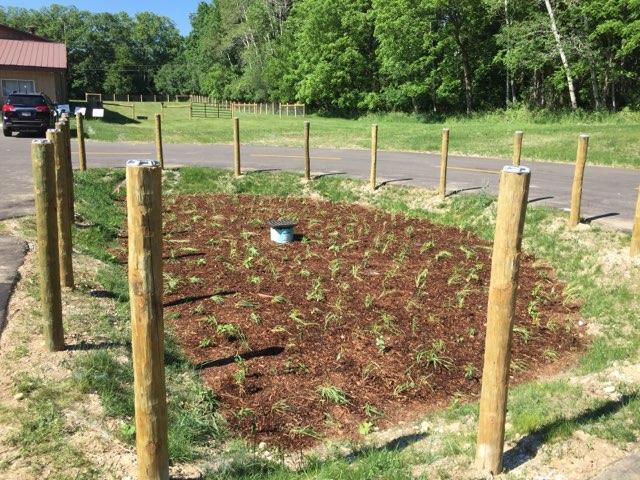
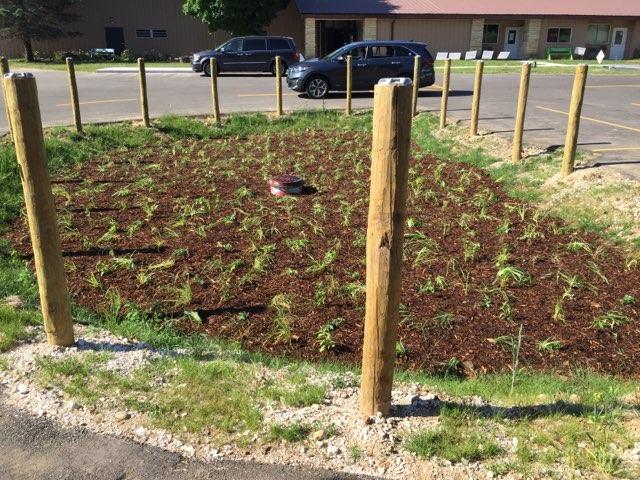
Adopting eco-friendly practices in landscaping has been at the top of trends lists for years and continues to be a priority in landscaping for both commercial and residential customers. More and more communities are moving towards incorporating environmentally-friendly solutions to mitigate some of the unpleasant side-effects of urbanization. Using things like permeable pavers, green roofs, planting natives, increasing biodiversity, minimizing irrigation usage, building rain gardens or bioswales, and using battery powered equipment are trends that are not going away. Learn more about how you can create a sustainable yard here.
Proper Landscape Maintenance & Design
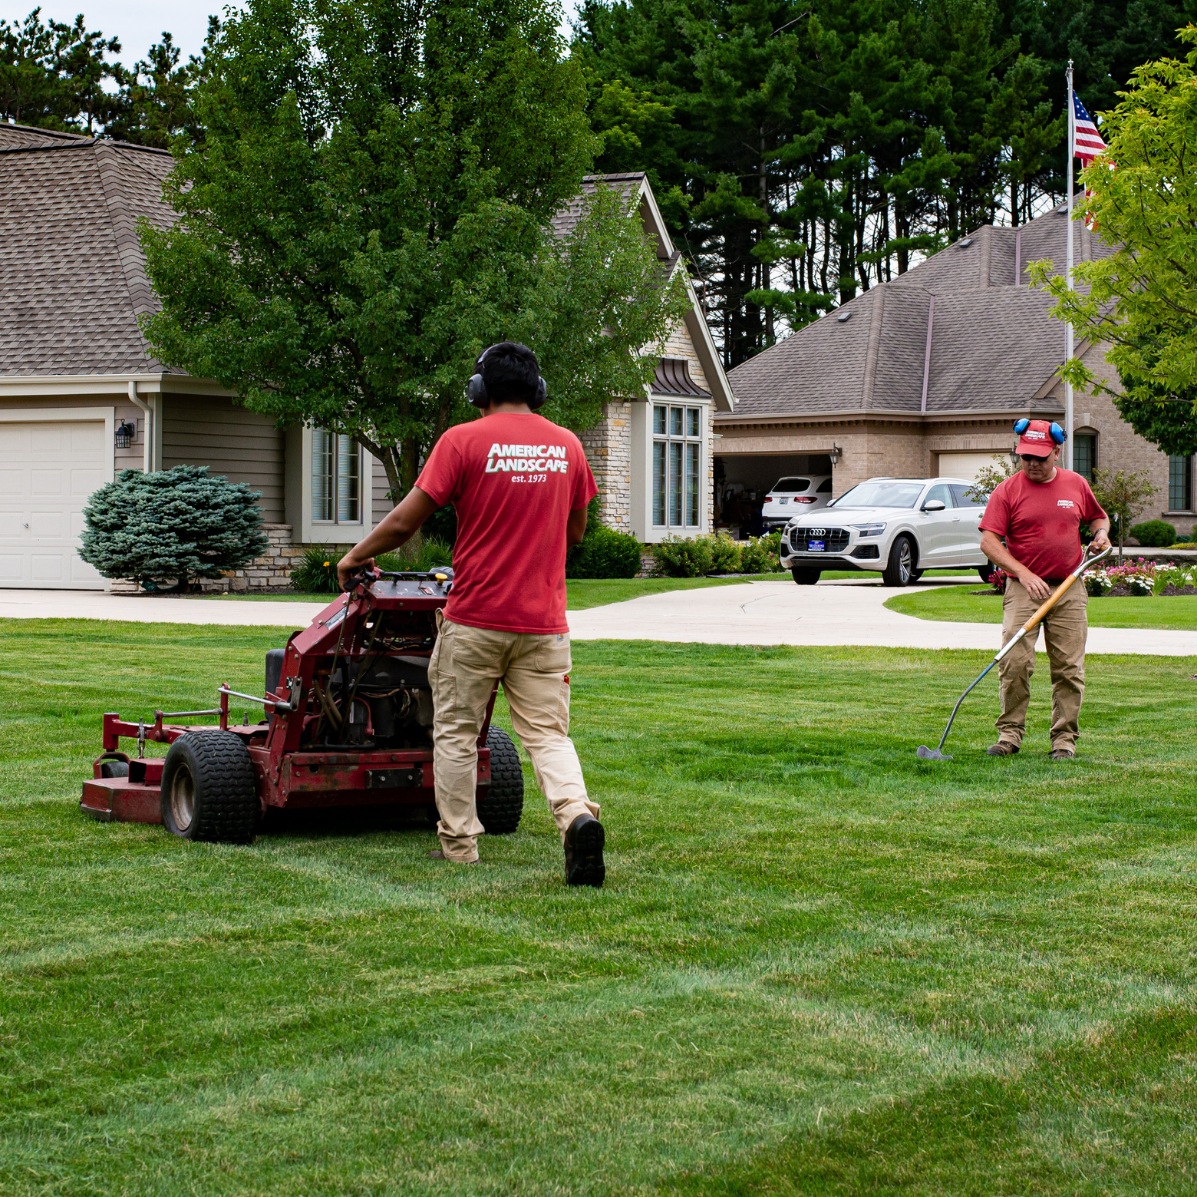
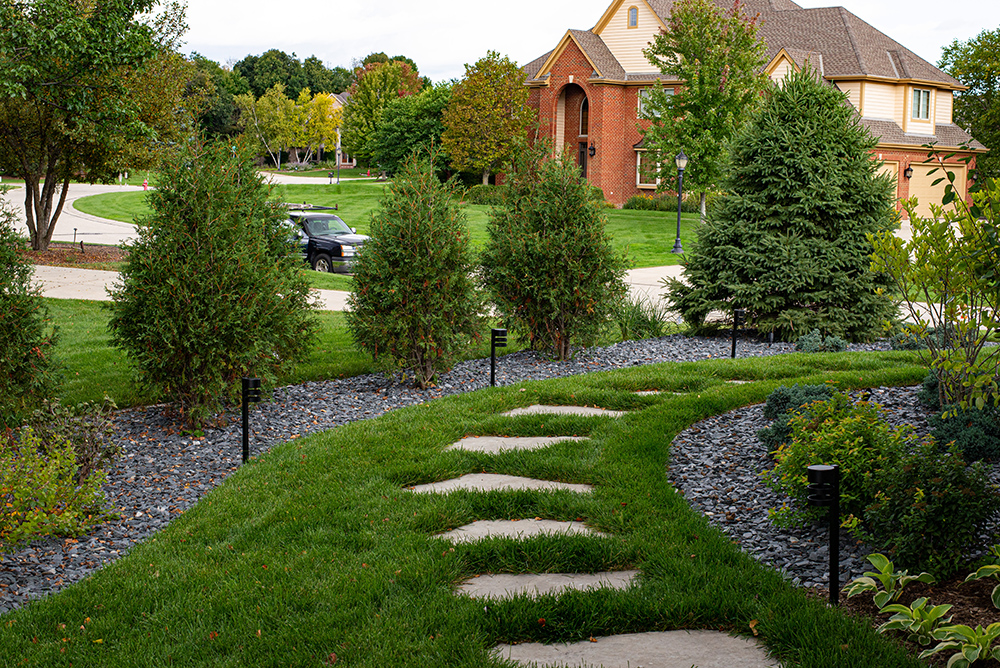
As we focus more on and spend more time in our landscapes, landscape maintenance is more important than ever. Well-tended shrubs, mowed lawns, and beautiful plantings are now expected in both commercial and residential spaces. With proper design, you can even start to incorporate sustainable practices, without sacrificing a high-end look. While all landscapes require maintenance, trusting your landscape professional to choose the right plant for the right place can minimize the work you have to put in to keeping your landscape looking fabulous.
A Varied & Exciting Garden in Every Season
As we expand our living spaces to the outdoors, considering asking your designer to incorporate succession planting. Successional gardening and planting mean that you have a thriving and interesting garden all year round. A well-balanced landscape is going to have something to look at, no matter the season. Aside from the well-known interest in flowers and fall color, you can find beauty in winter with colored or textured tree and shrub bark, berries, seed heads and seed pods that hold on until spring.
Gardening to Attract Birds, Butterflies & Bees
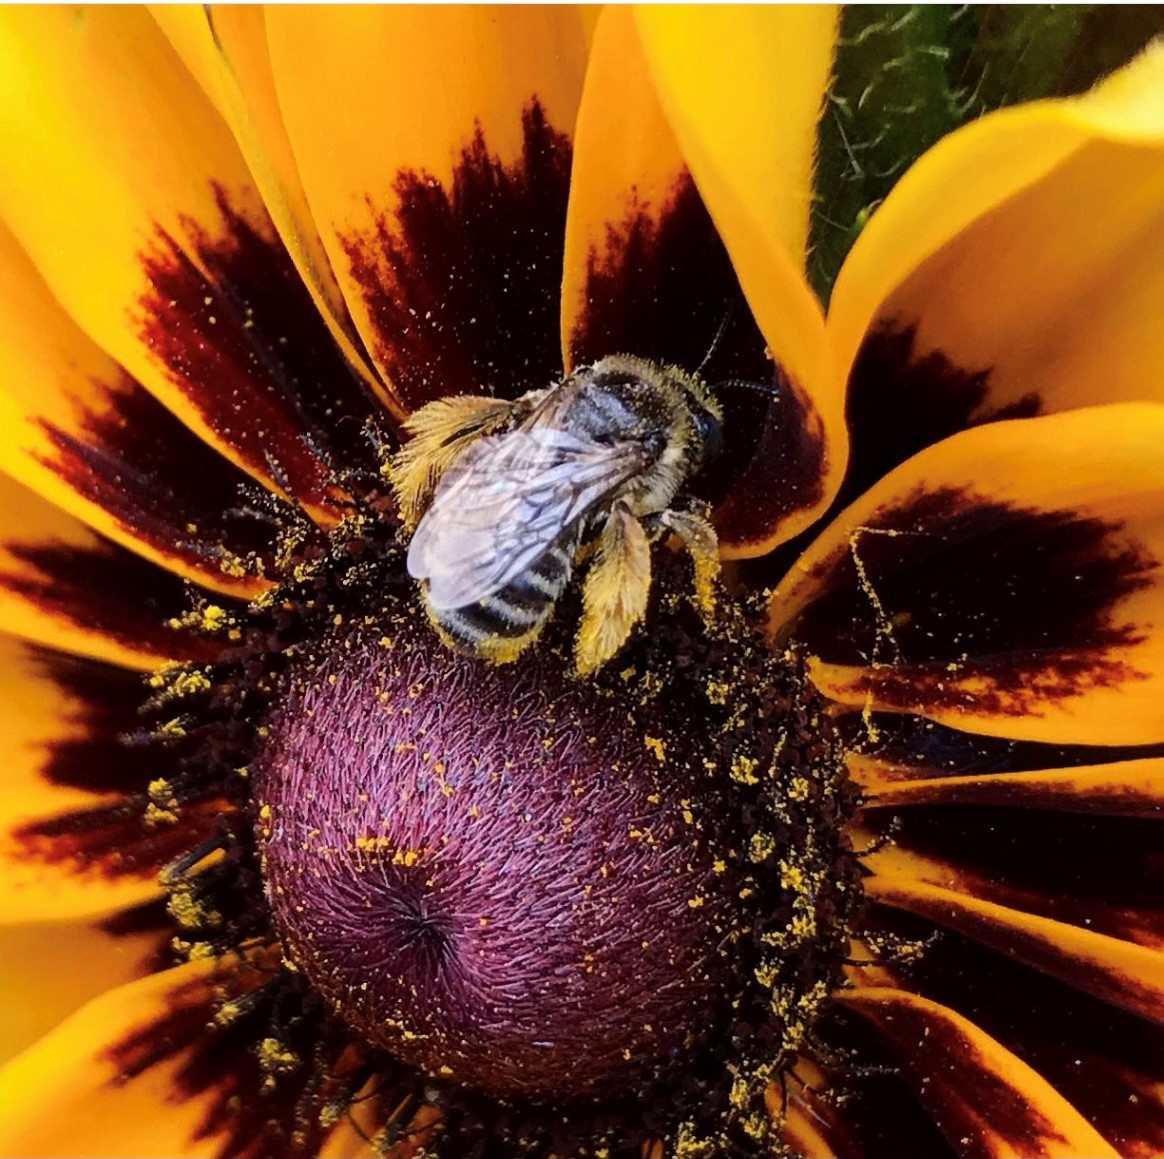
Leaving ornamental grasses up and seeds on your perennials can increase the number of birds coming to the yard and eco-friendly landscapes are definitely hot right now. Finches love to visit the coneflower seed heads over winter and robins and waxwings are huge fans of crabapples. You can go wrong with a special bed or area in the yard dedicated to bees, butterflies and birds.
In a nutshell, in 2022 we are going to see a continuation of expanding our outdoor living spaces in a multitude of ways. We’re going to cook more, work more, and enjoy more time in our yards. We’re becoming increasingly aware of our environment and our co-existence with it, therefore finding ways to interact with it instead of controlling it. Technology will continue to be our friend in the landscape as we find balance between personal comfort and enjoyment and using our outdoor living spaces.
The American Landscape team is ready to help you make any one of these popular landscaping tactics part of your 2022. Get in touch today to start planning! Call (262) 252-4260 or reach us at: amerlandscape.com/contact.


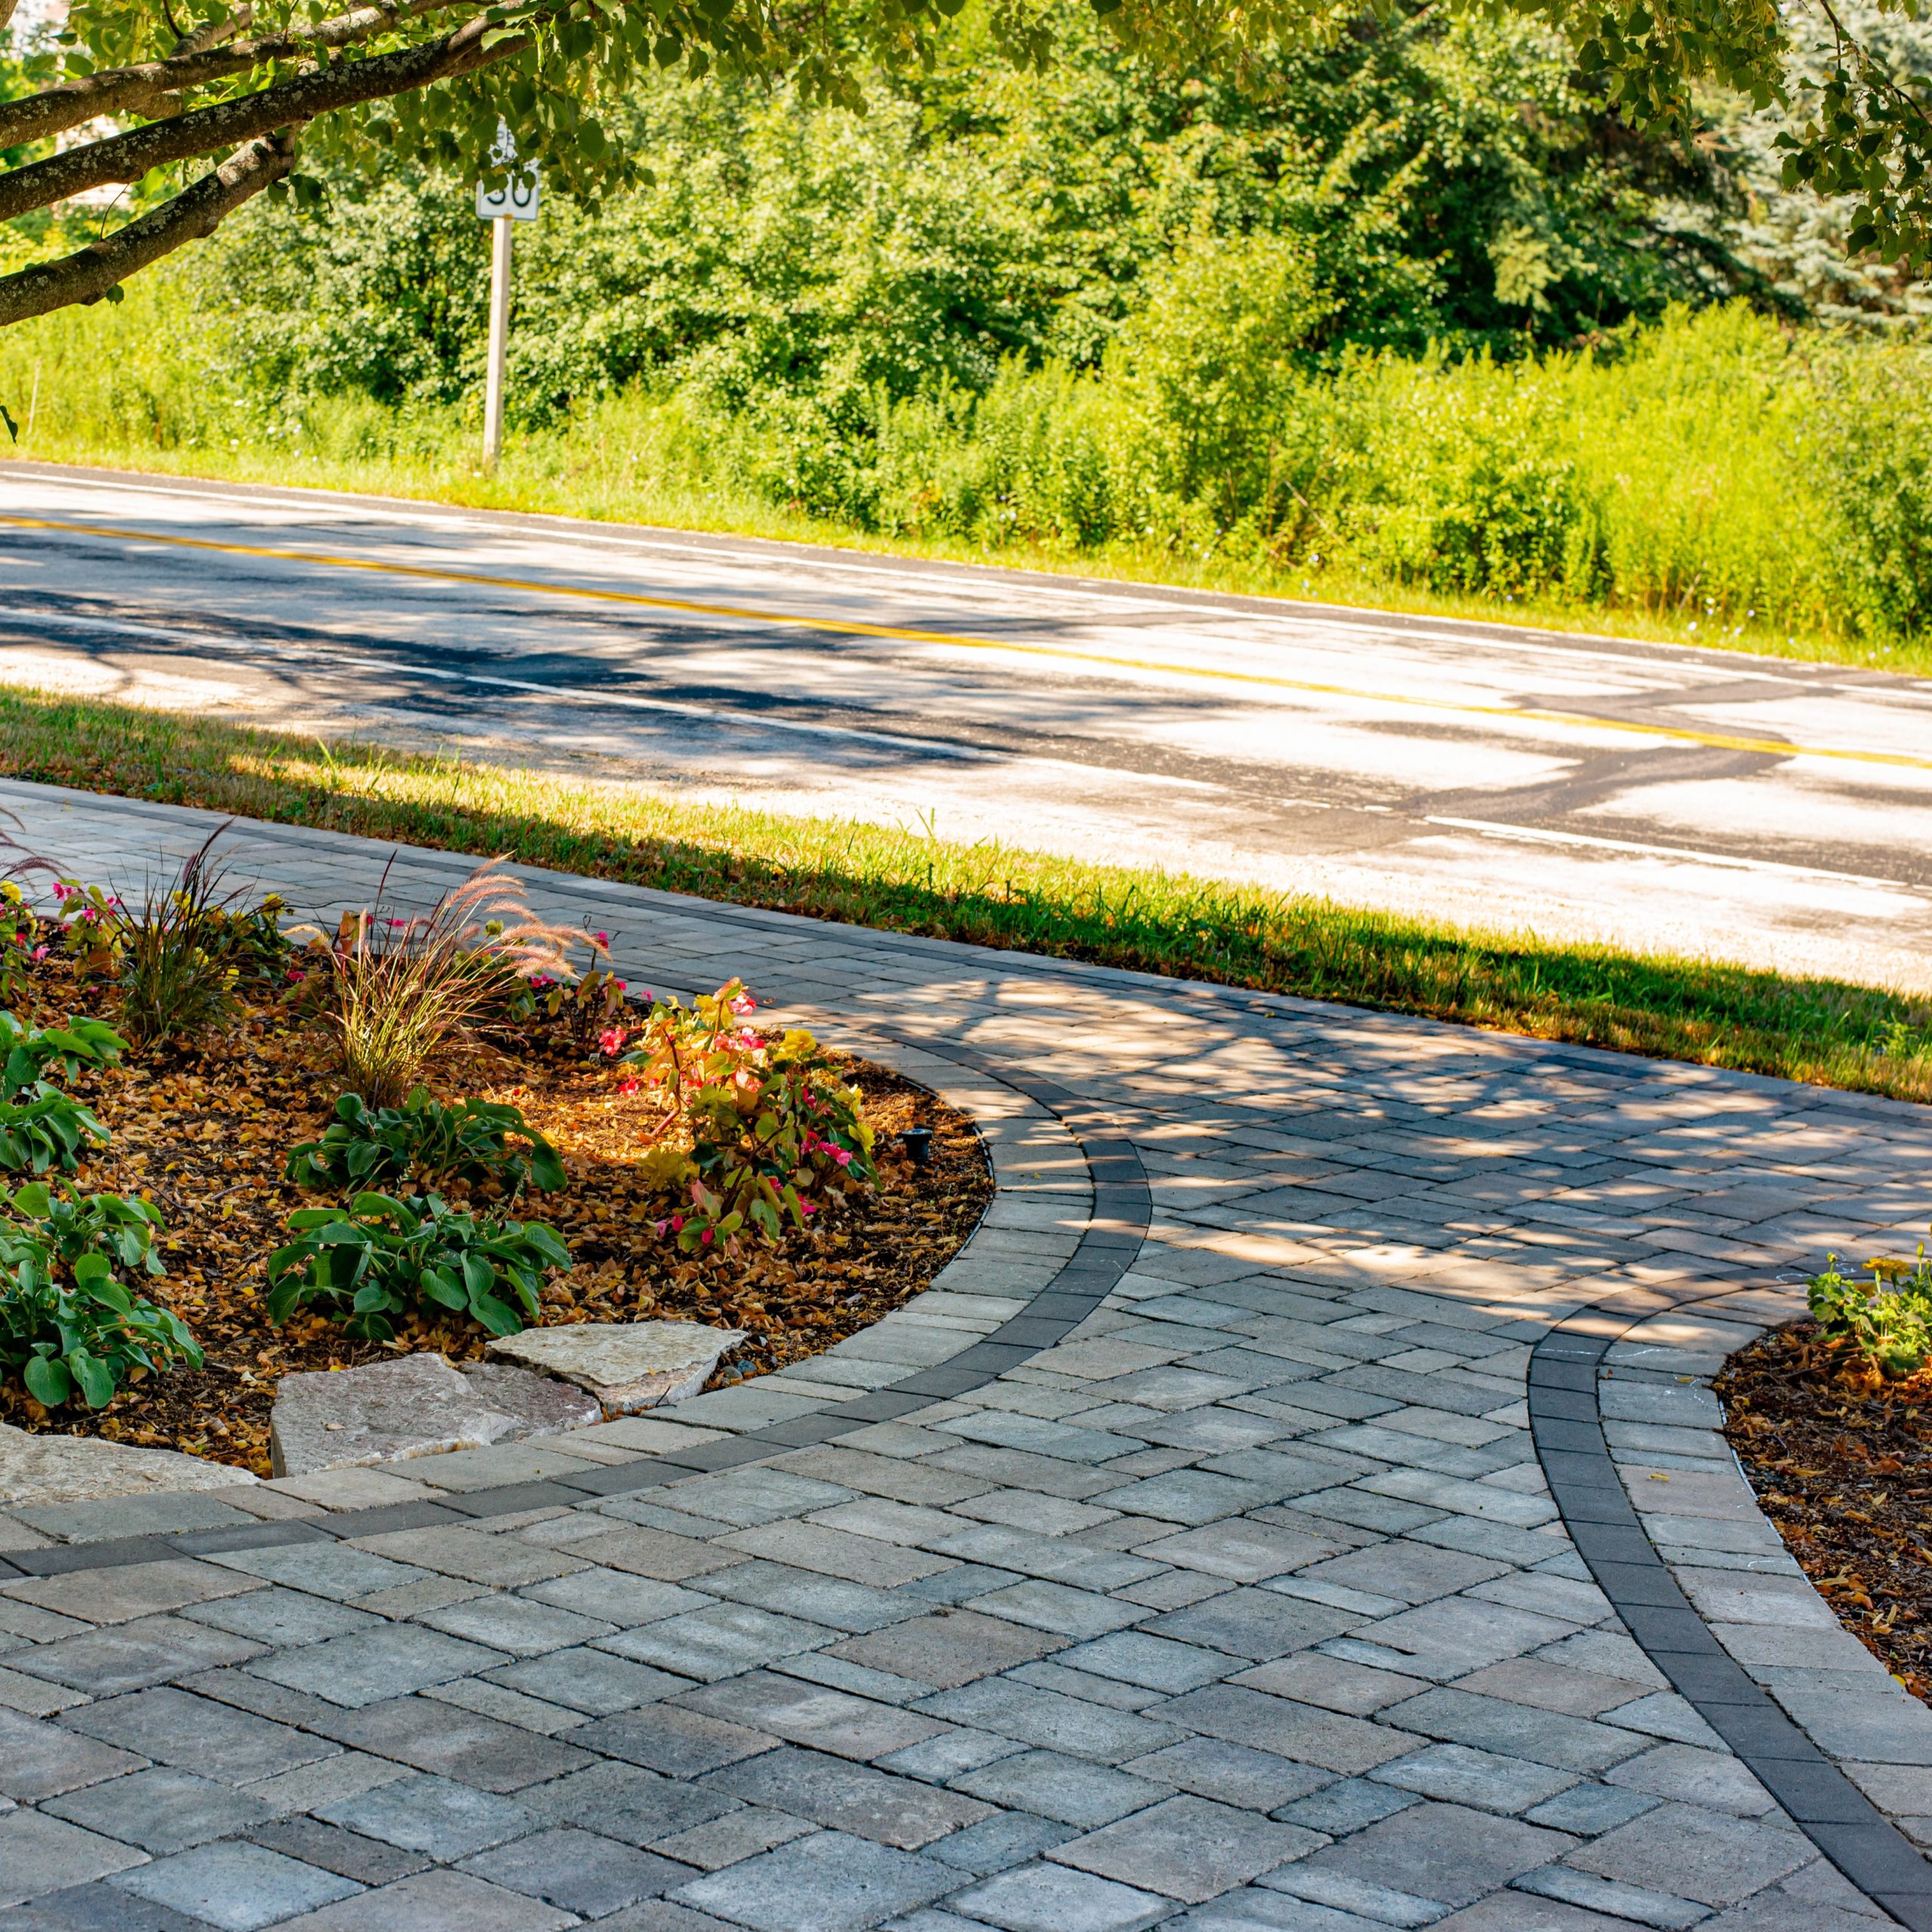
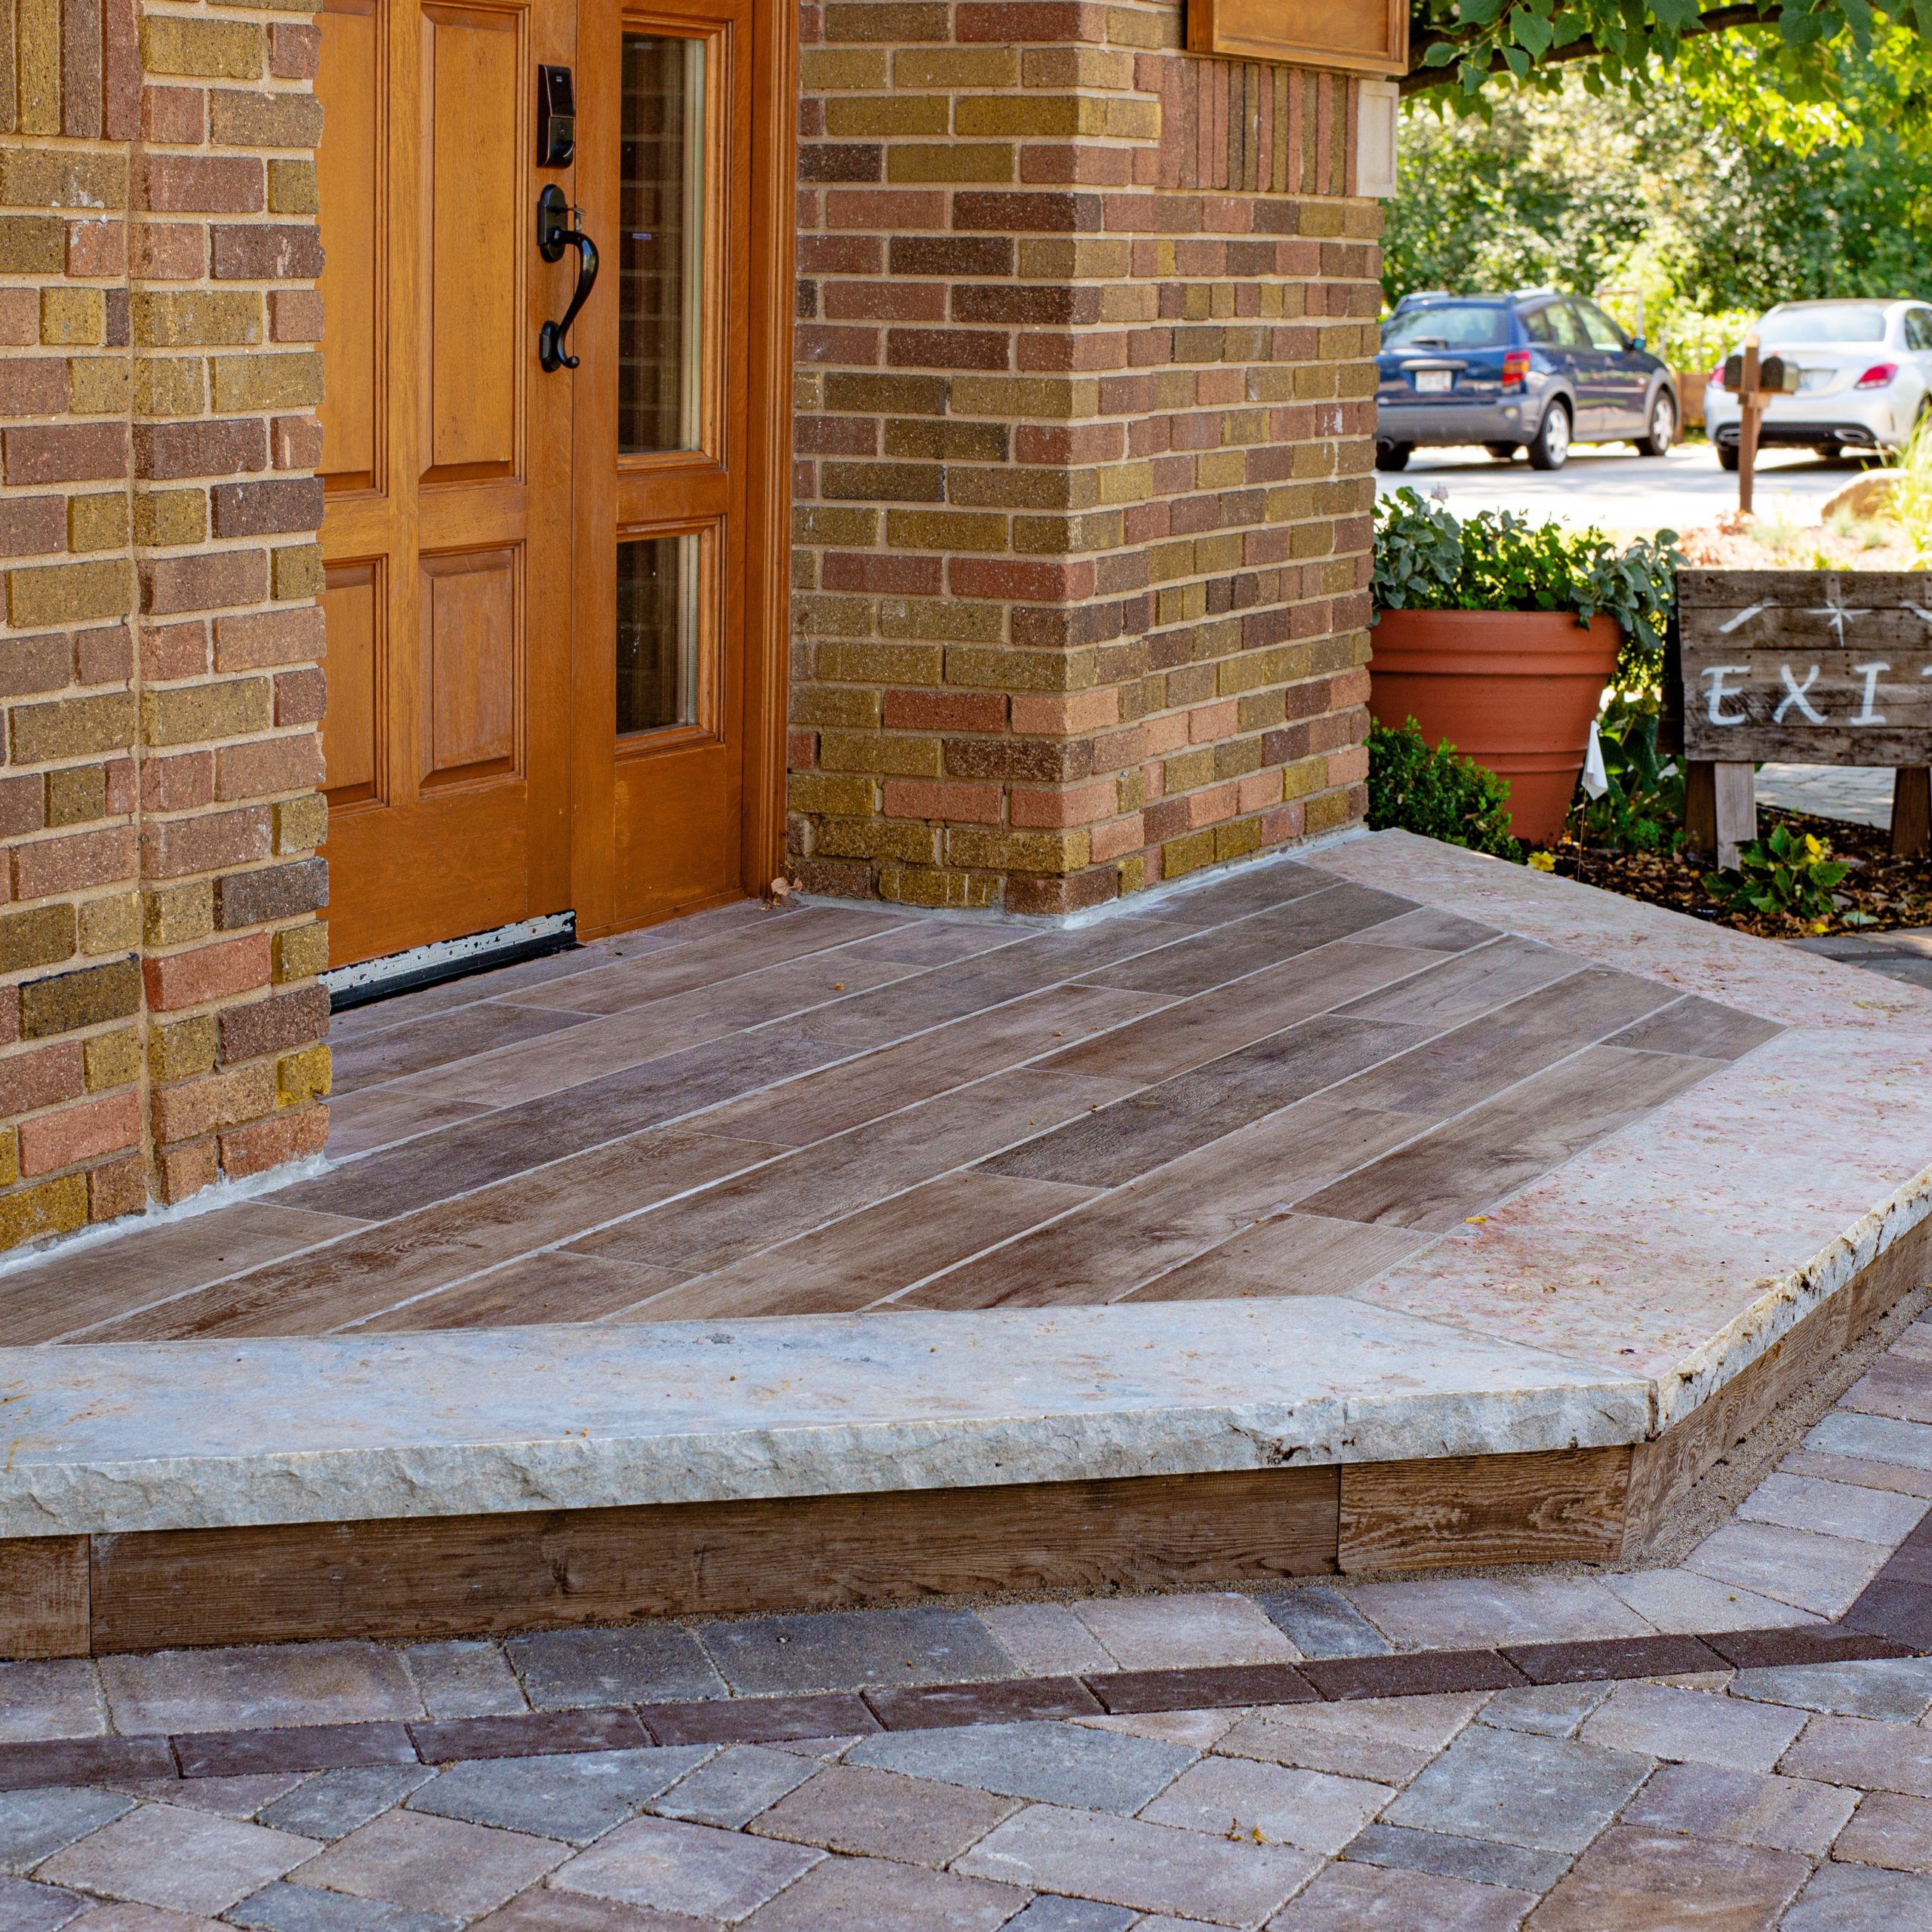


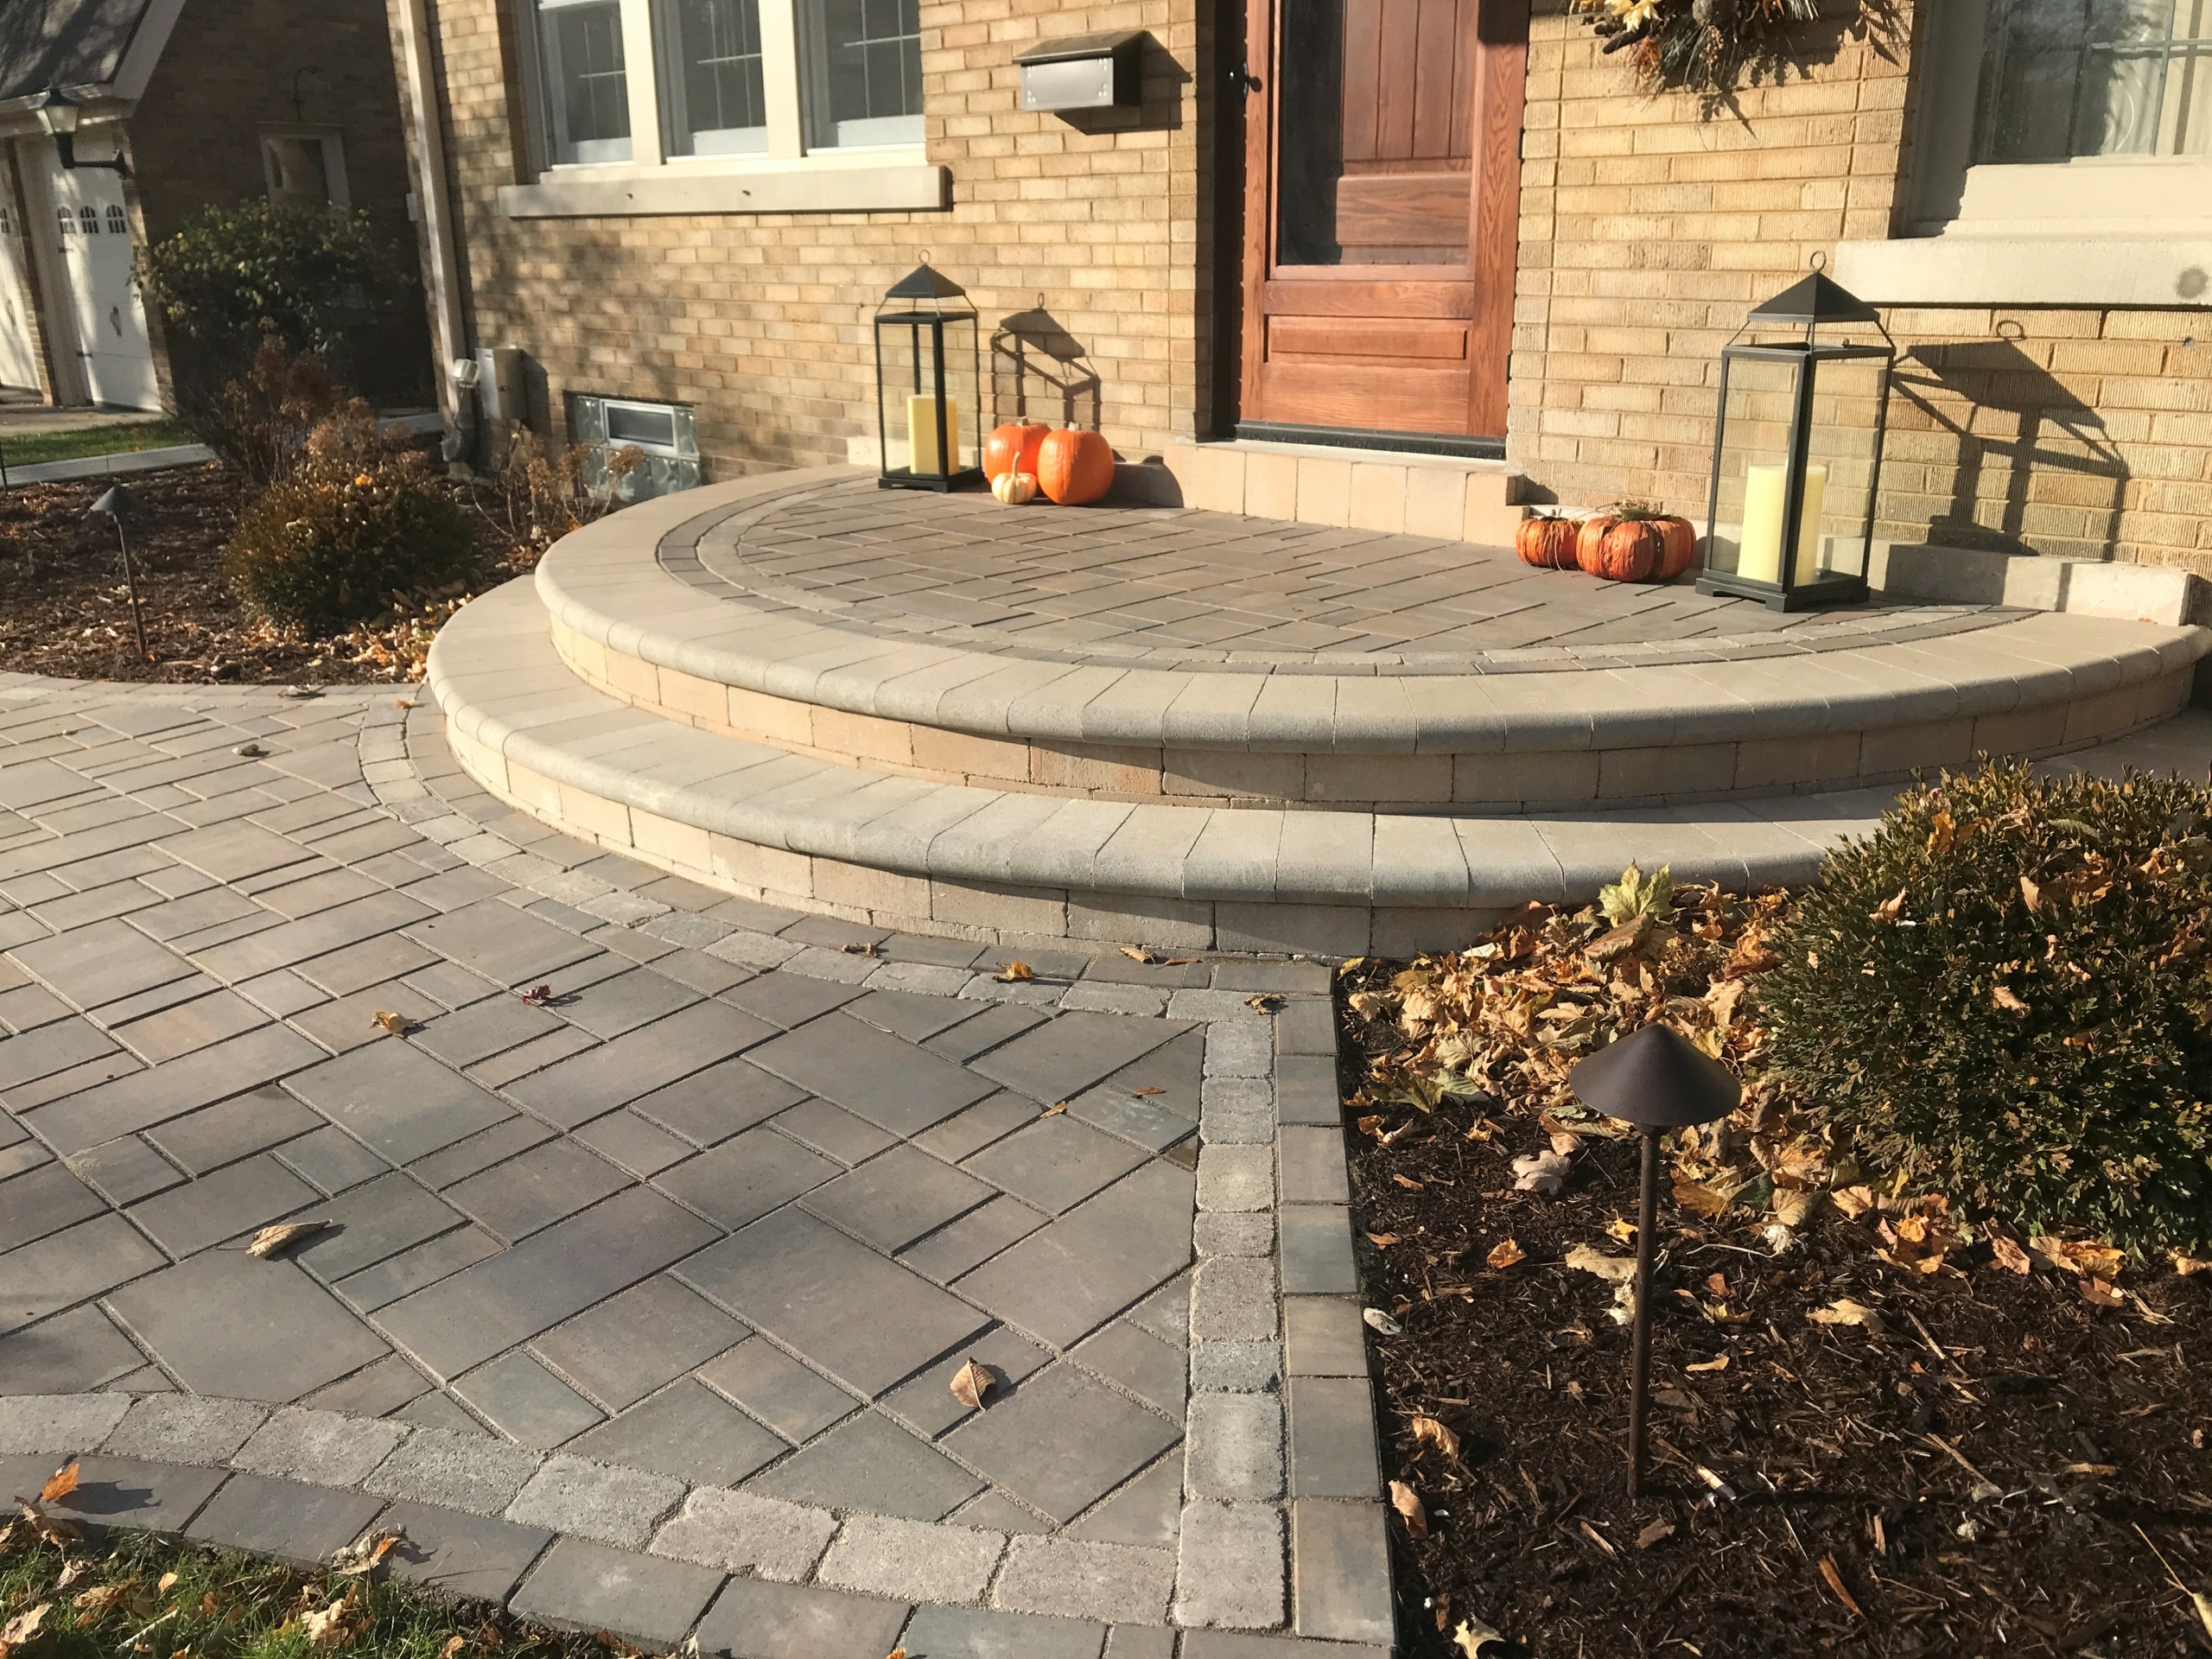
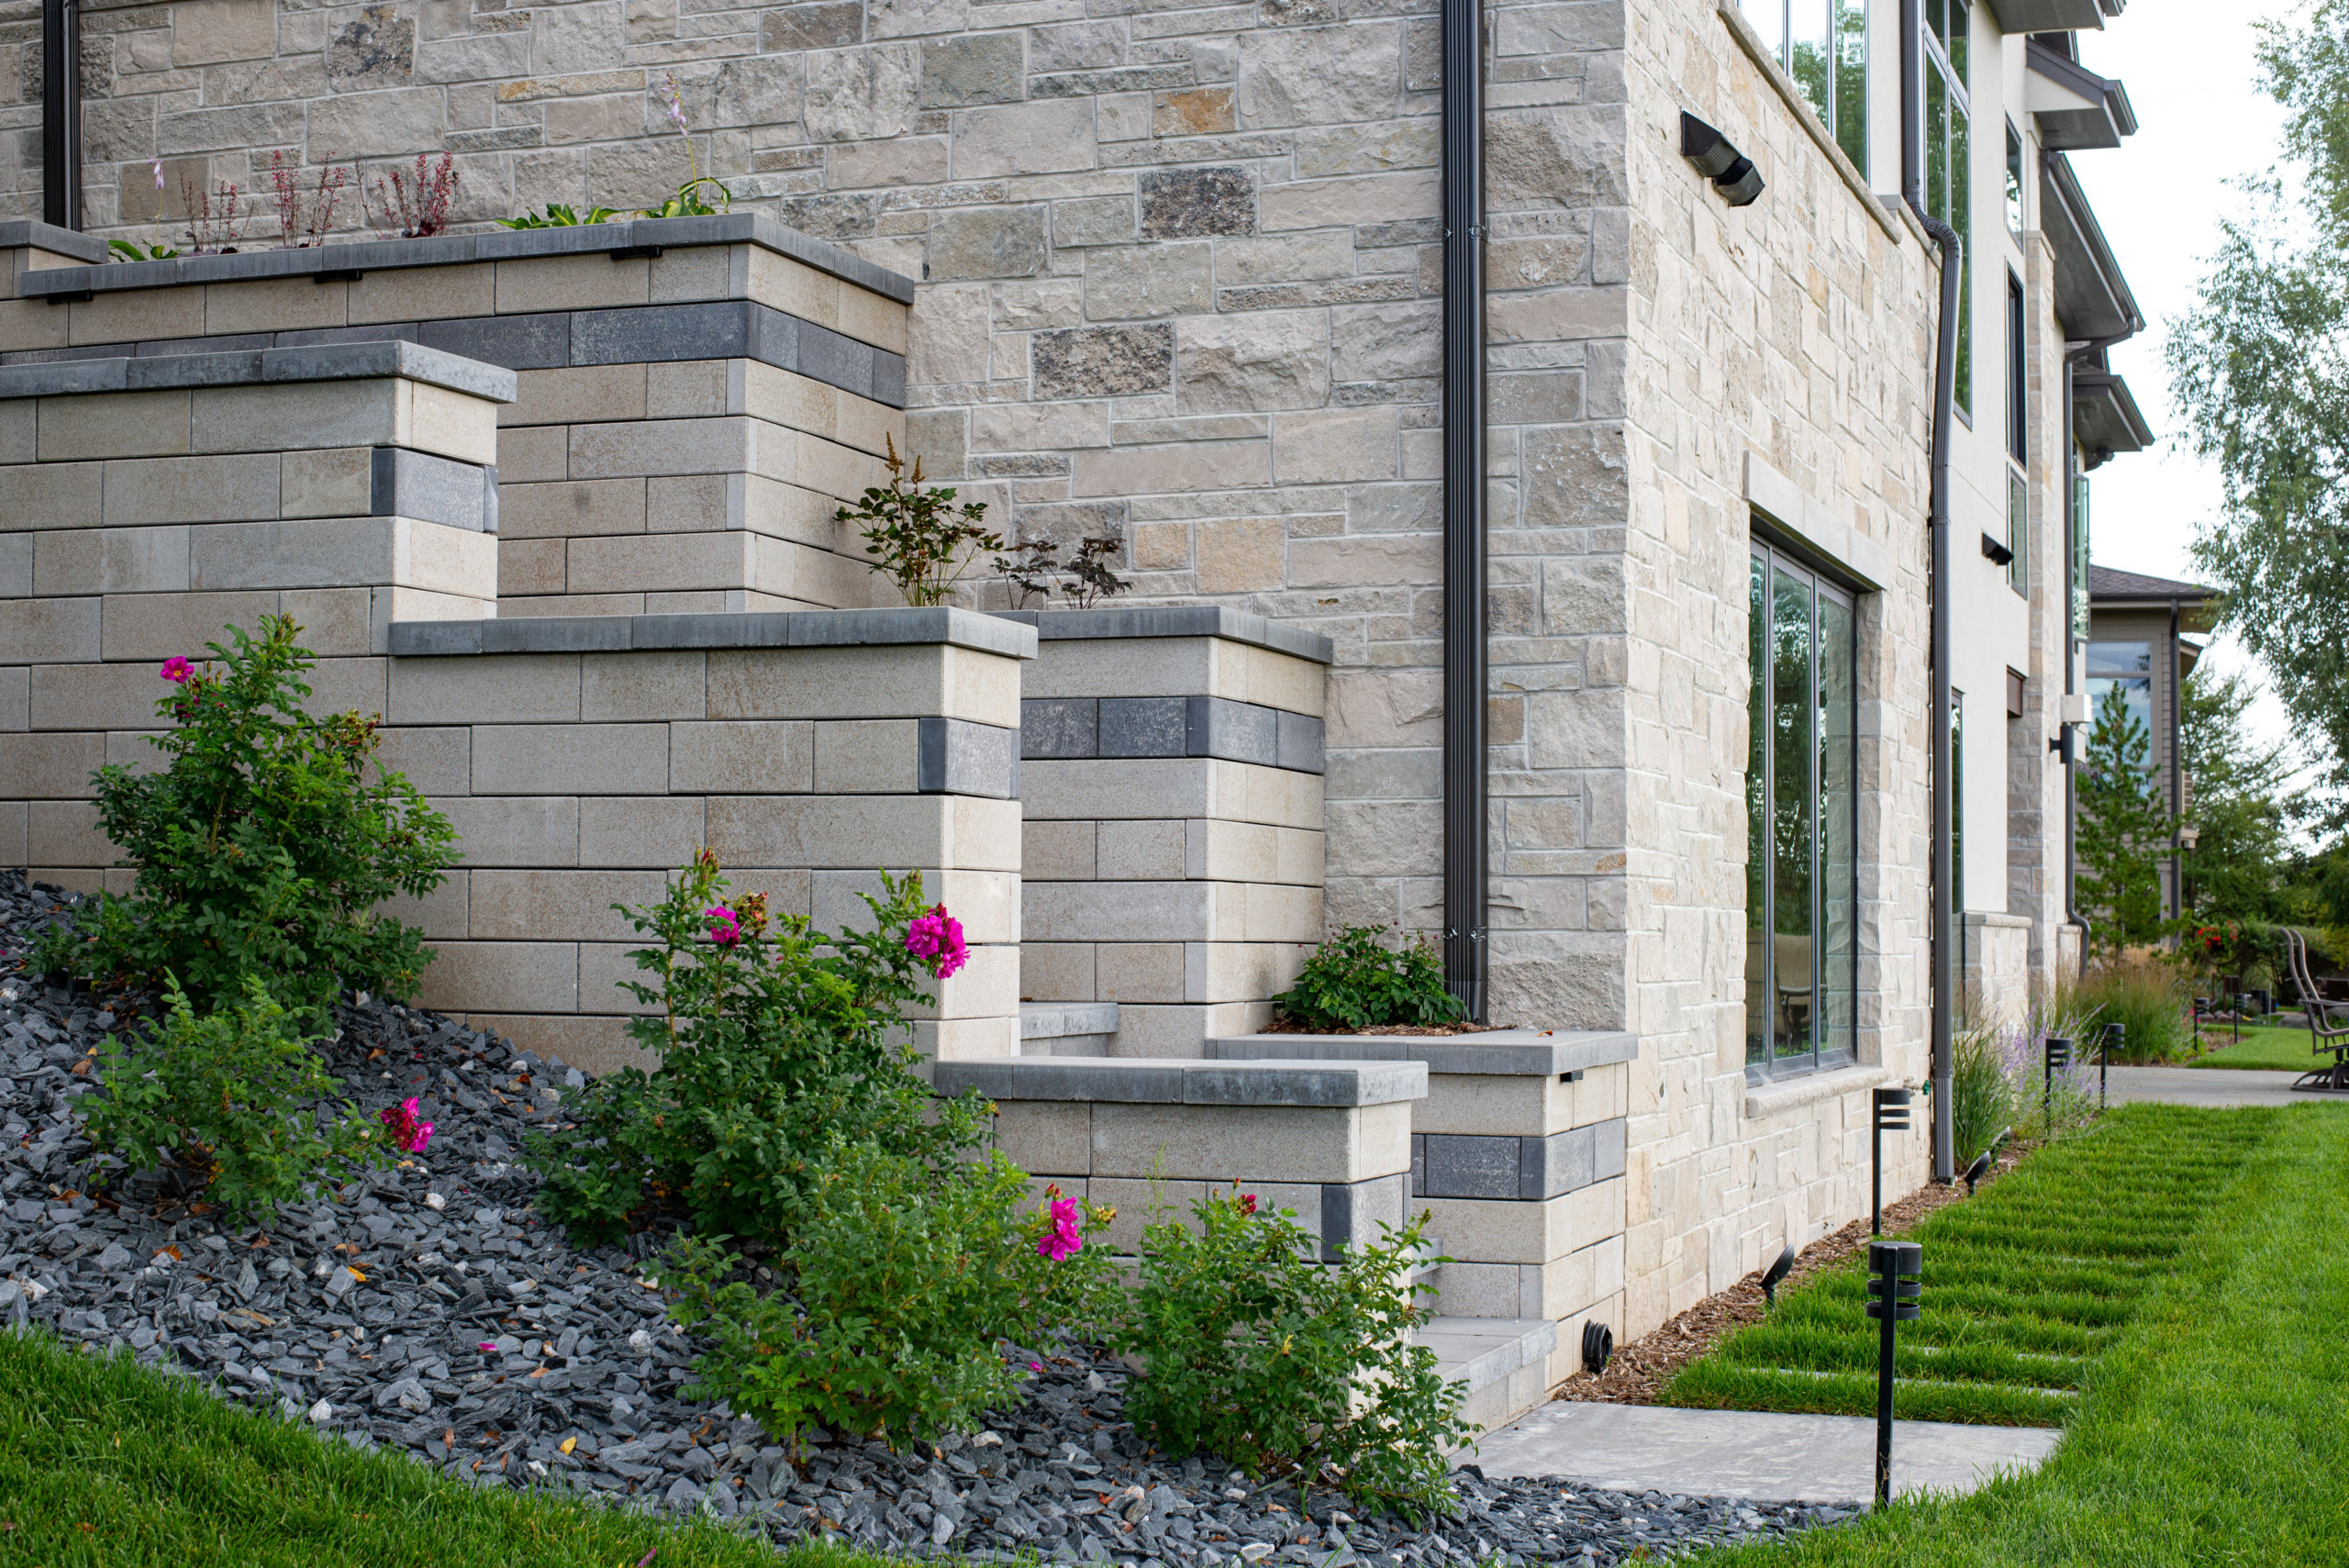
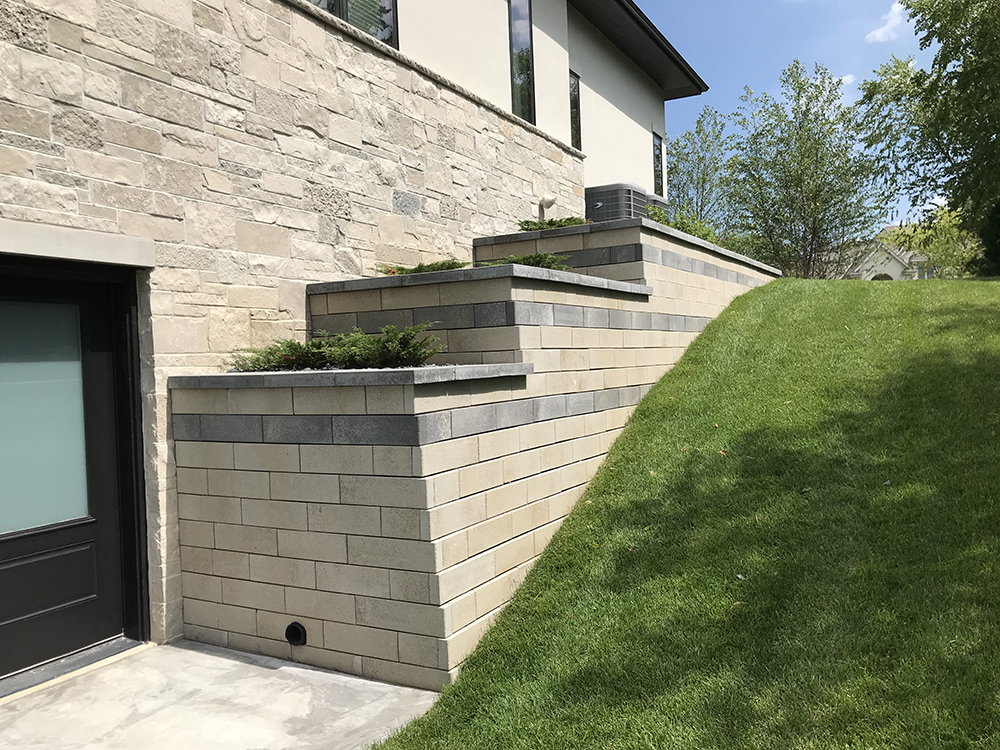
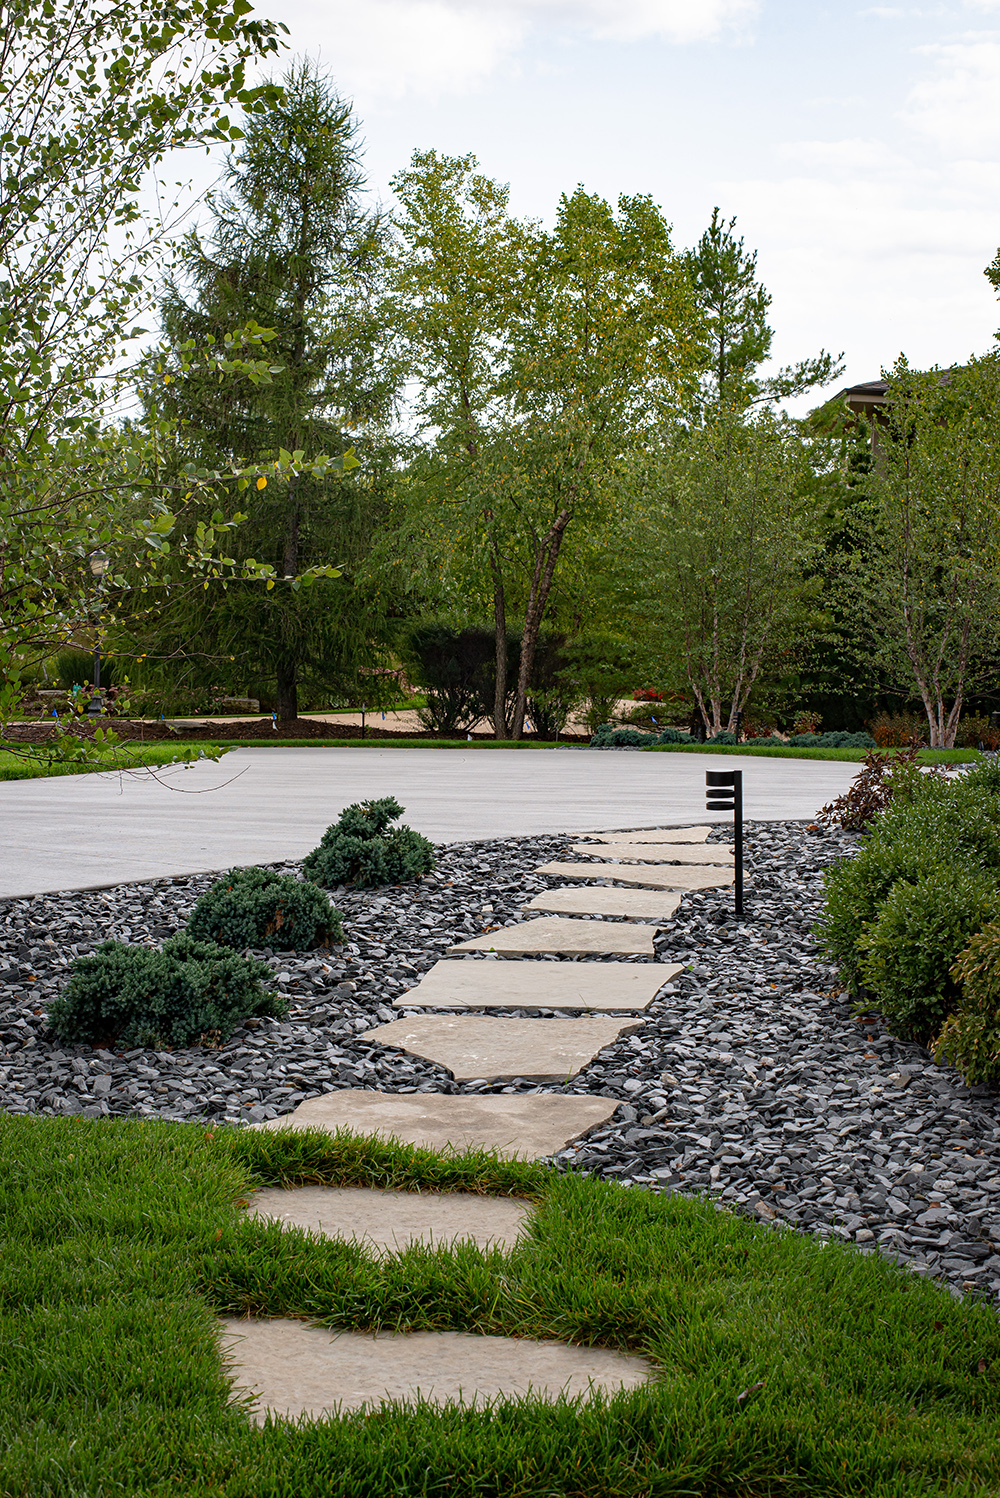
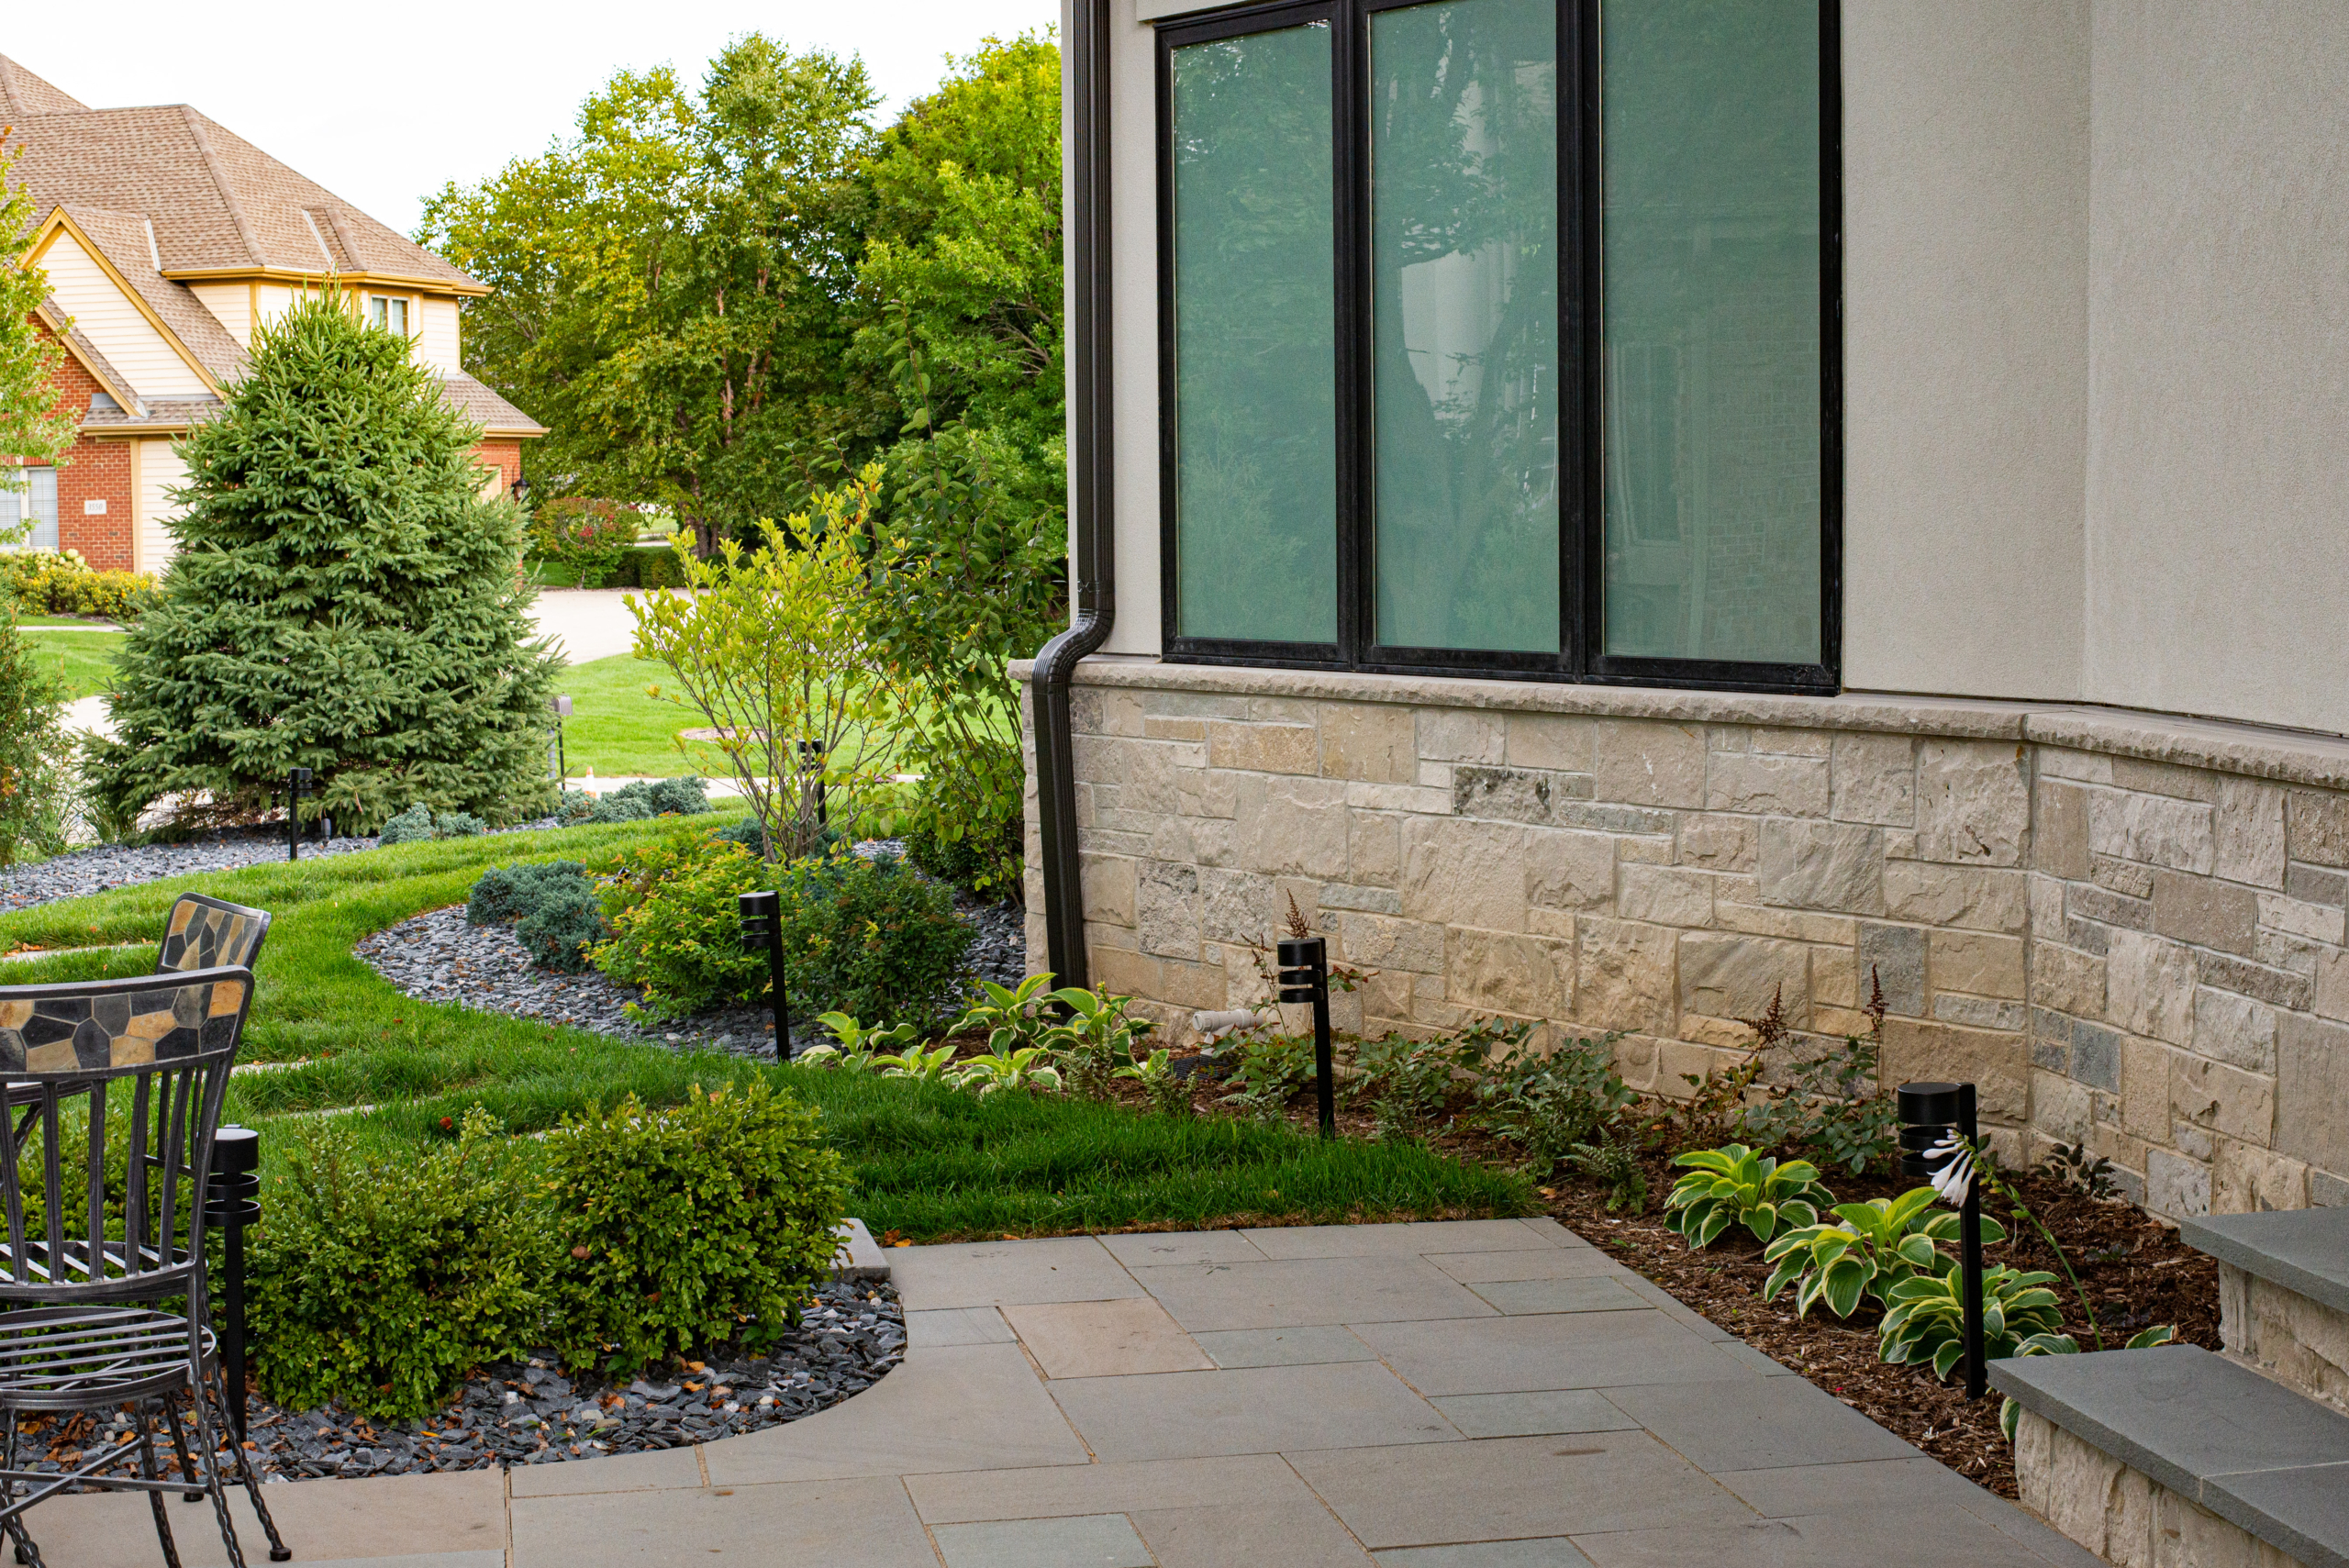
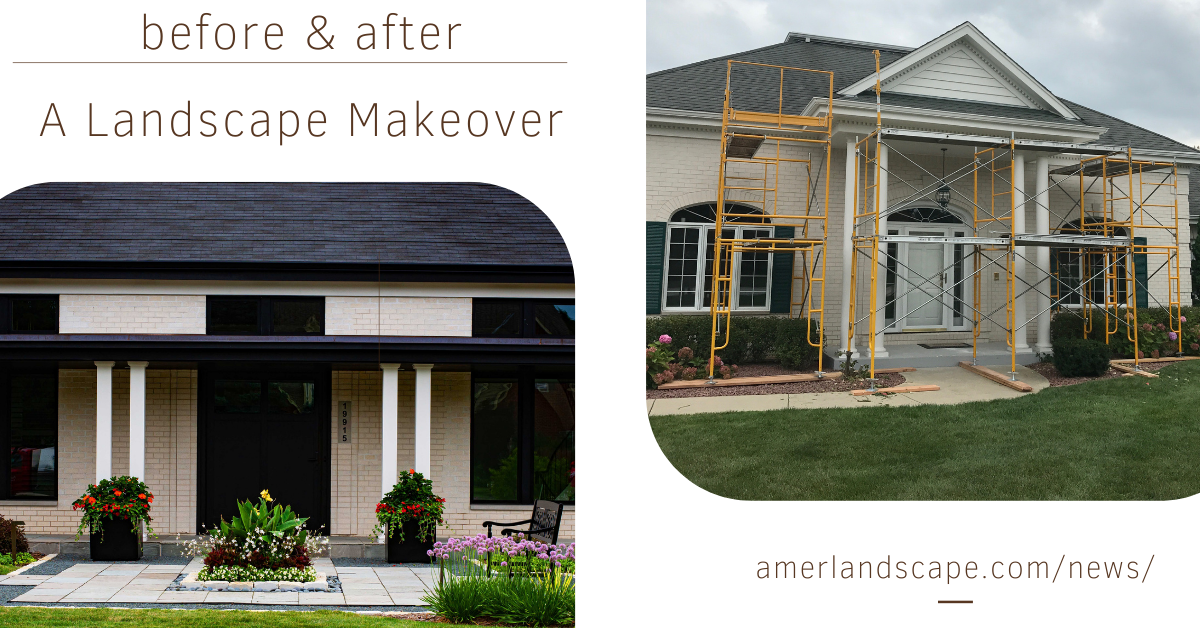
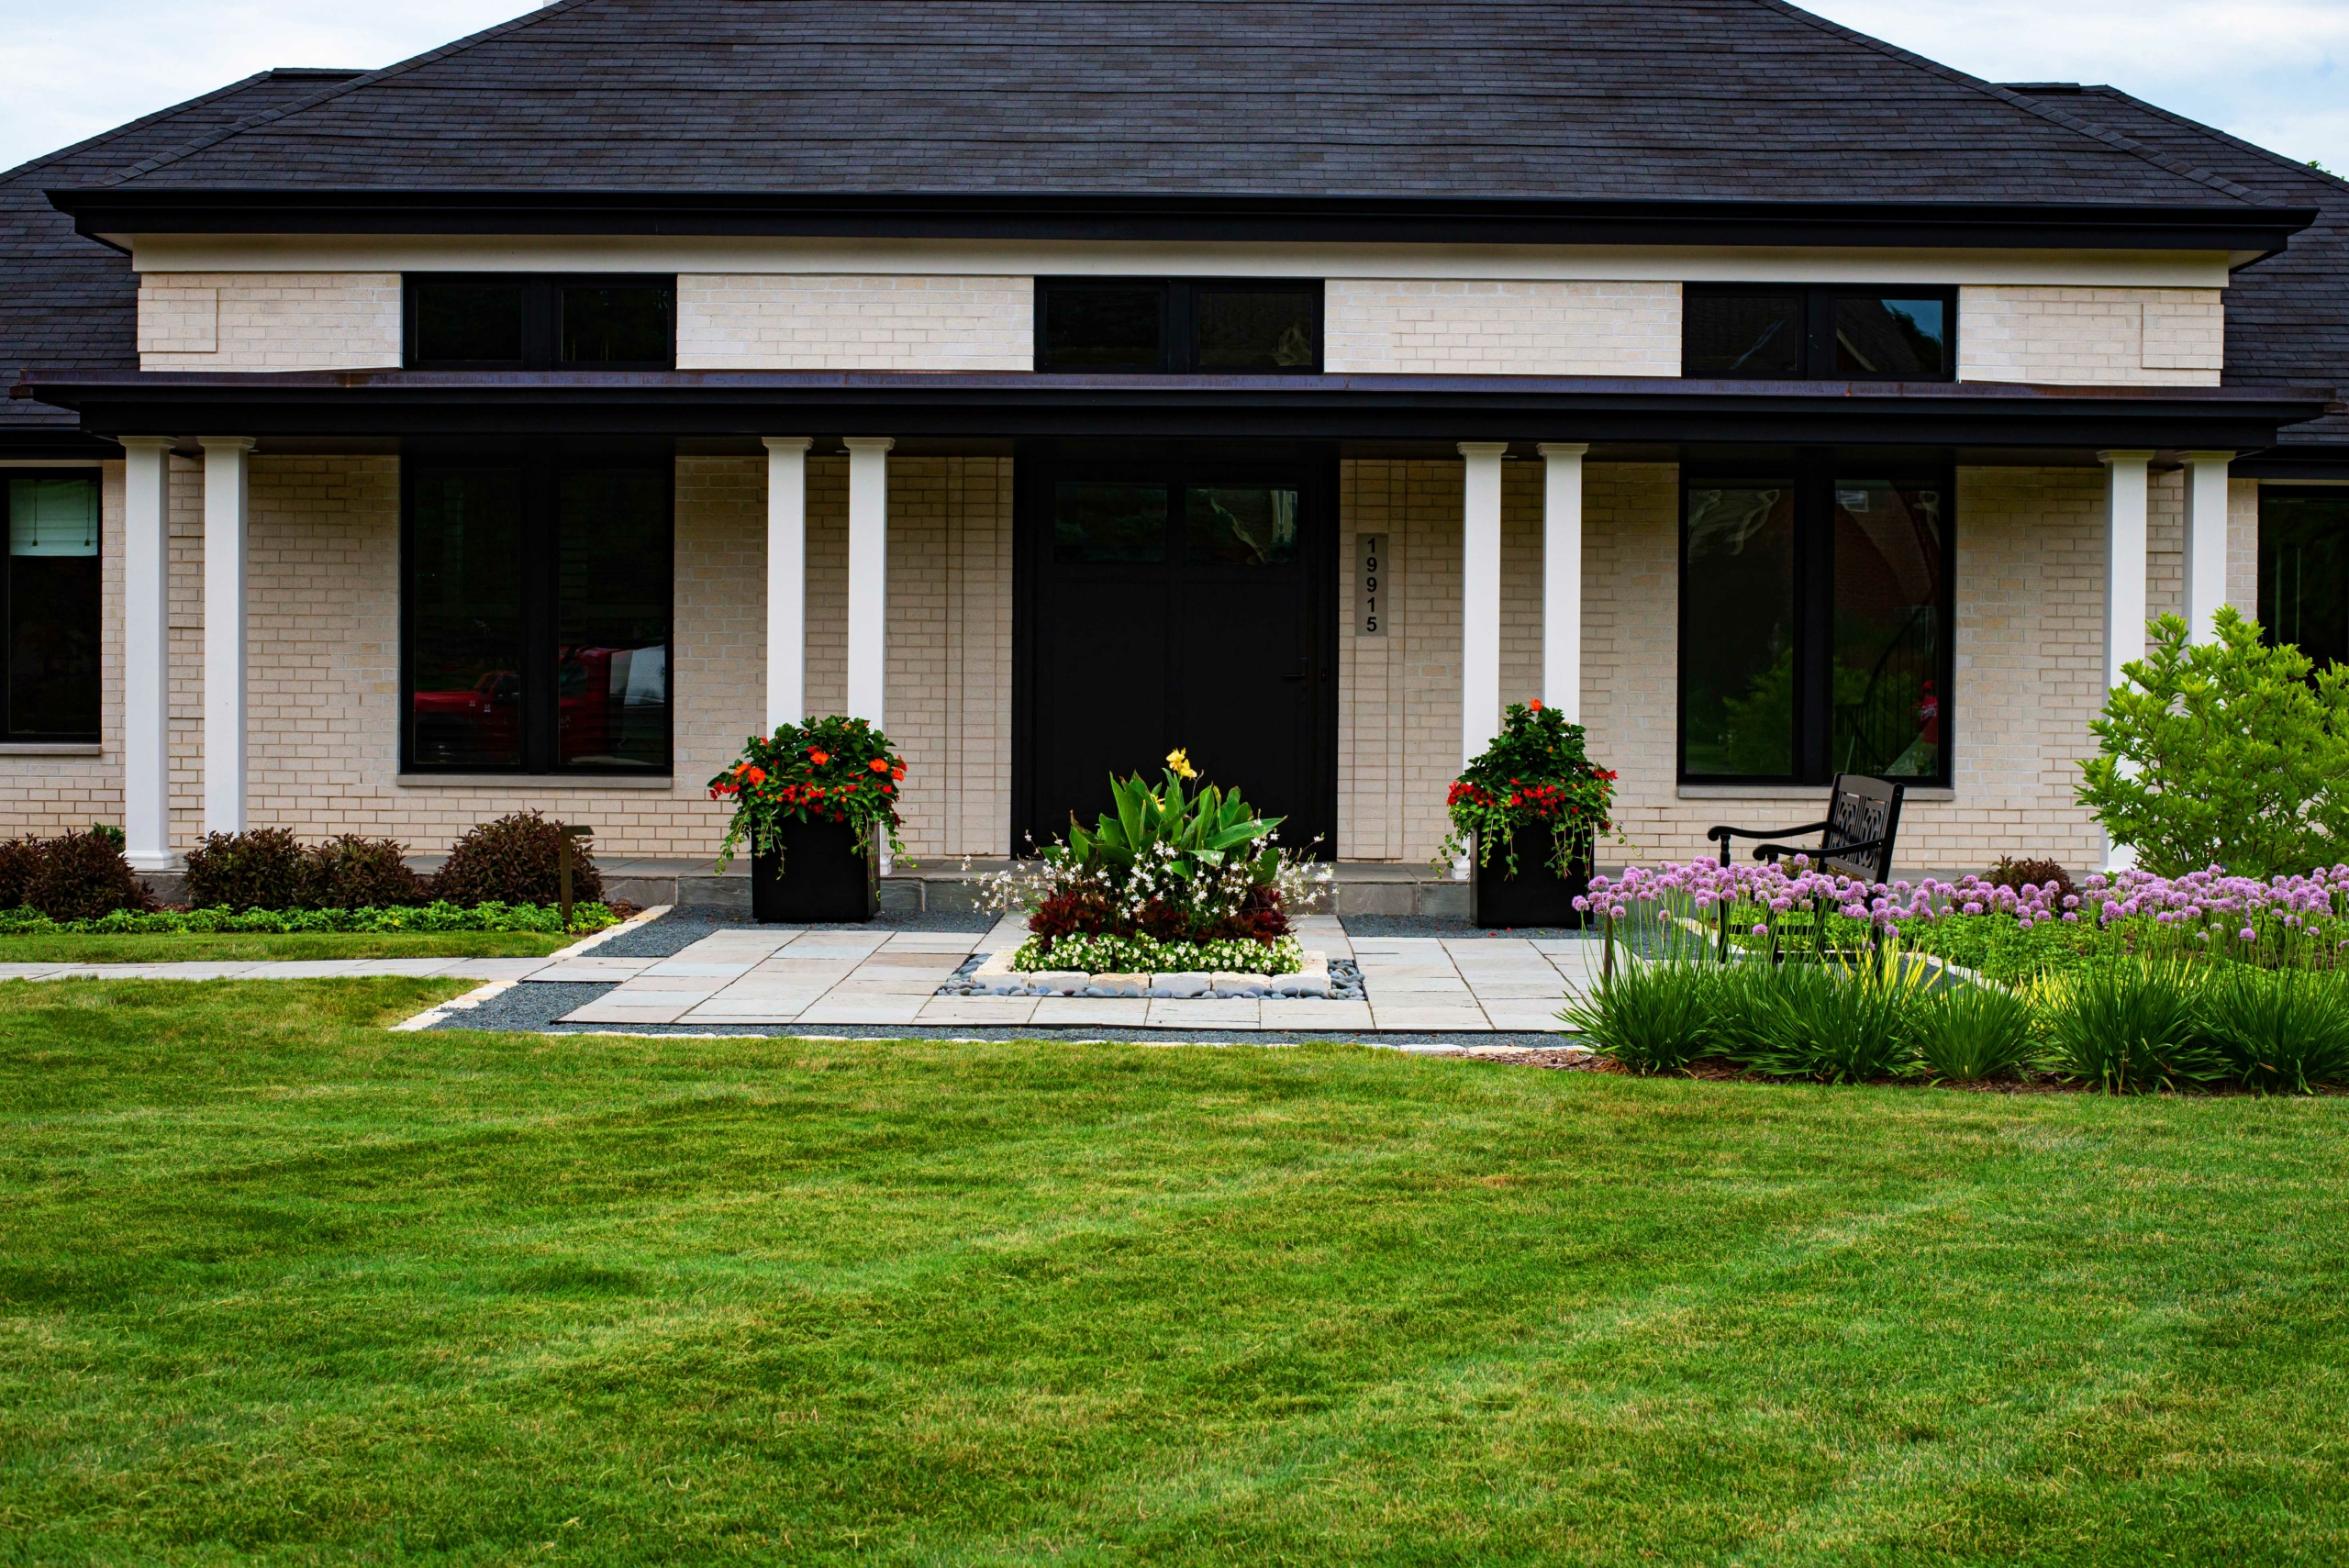
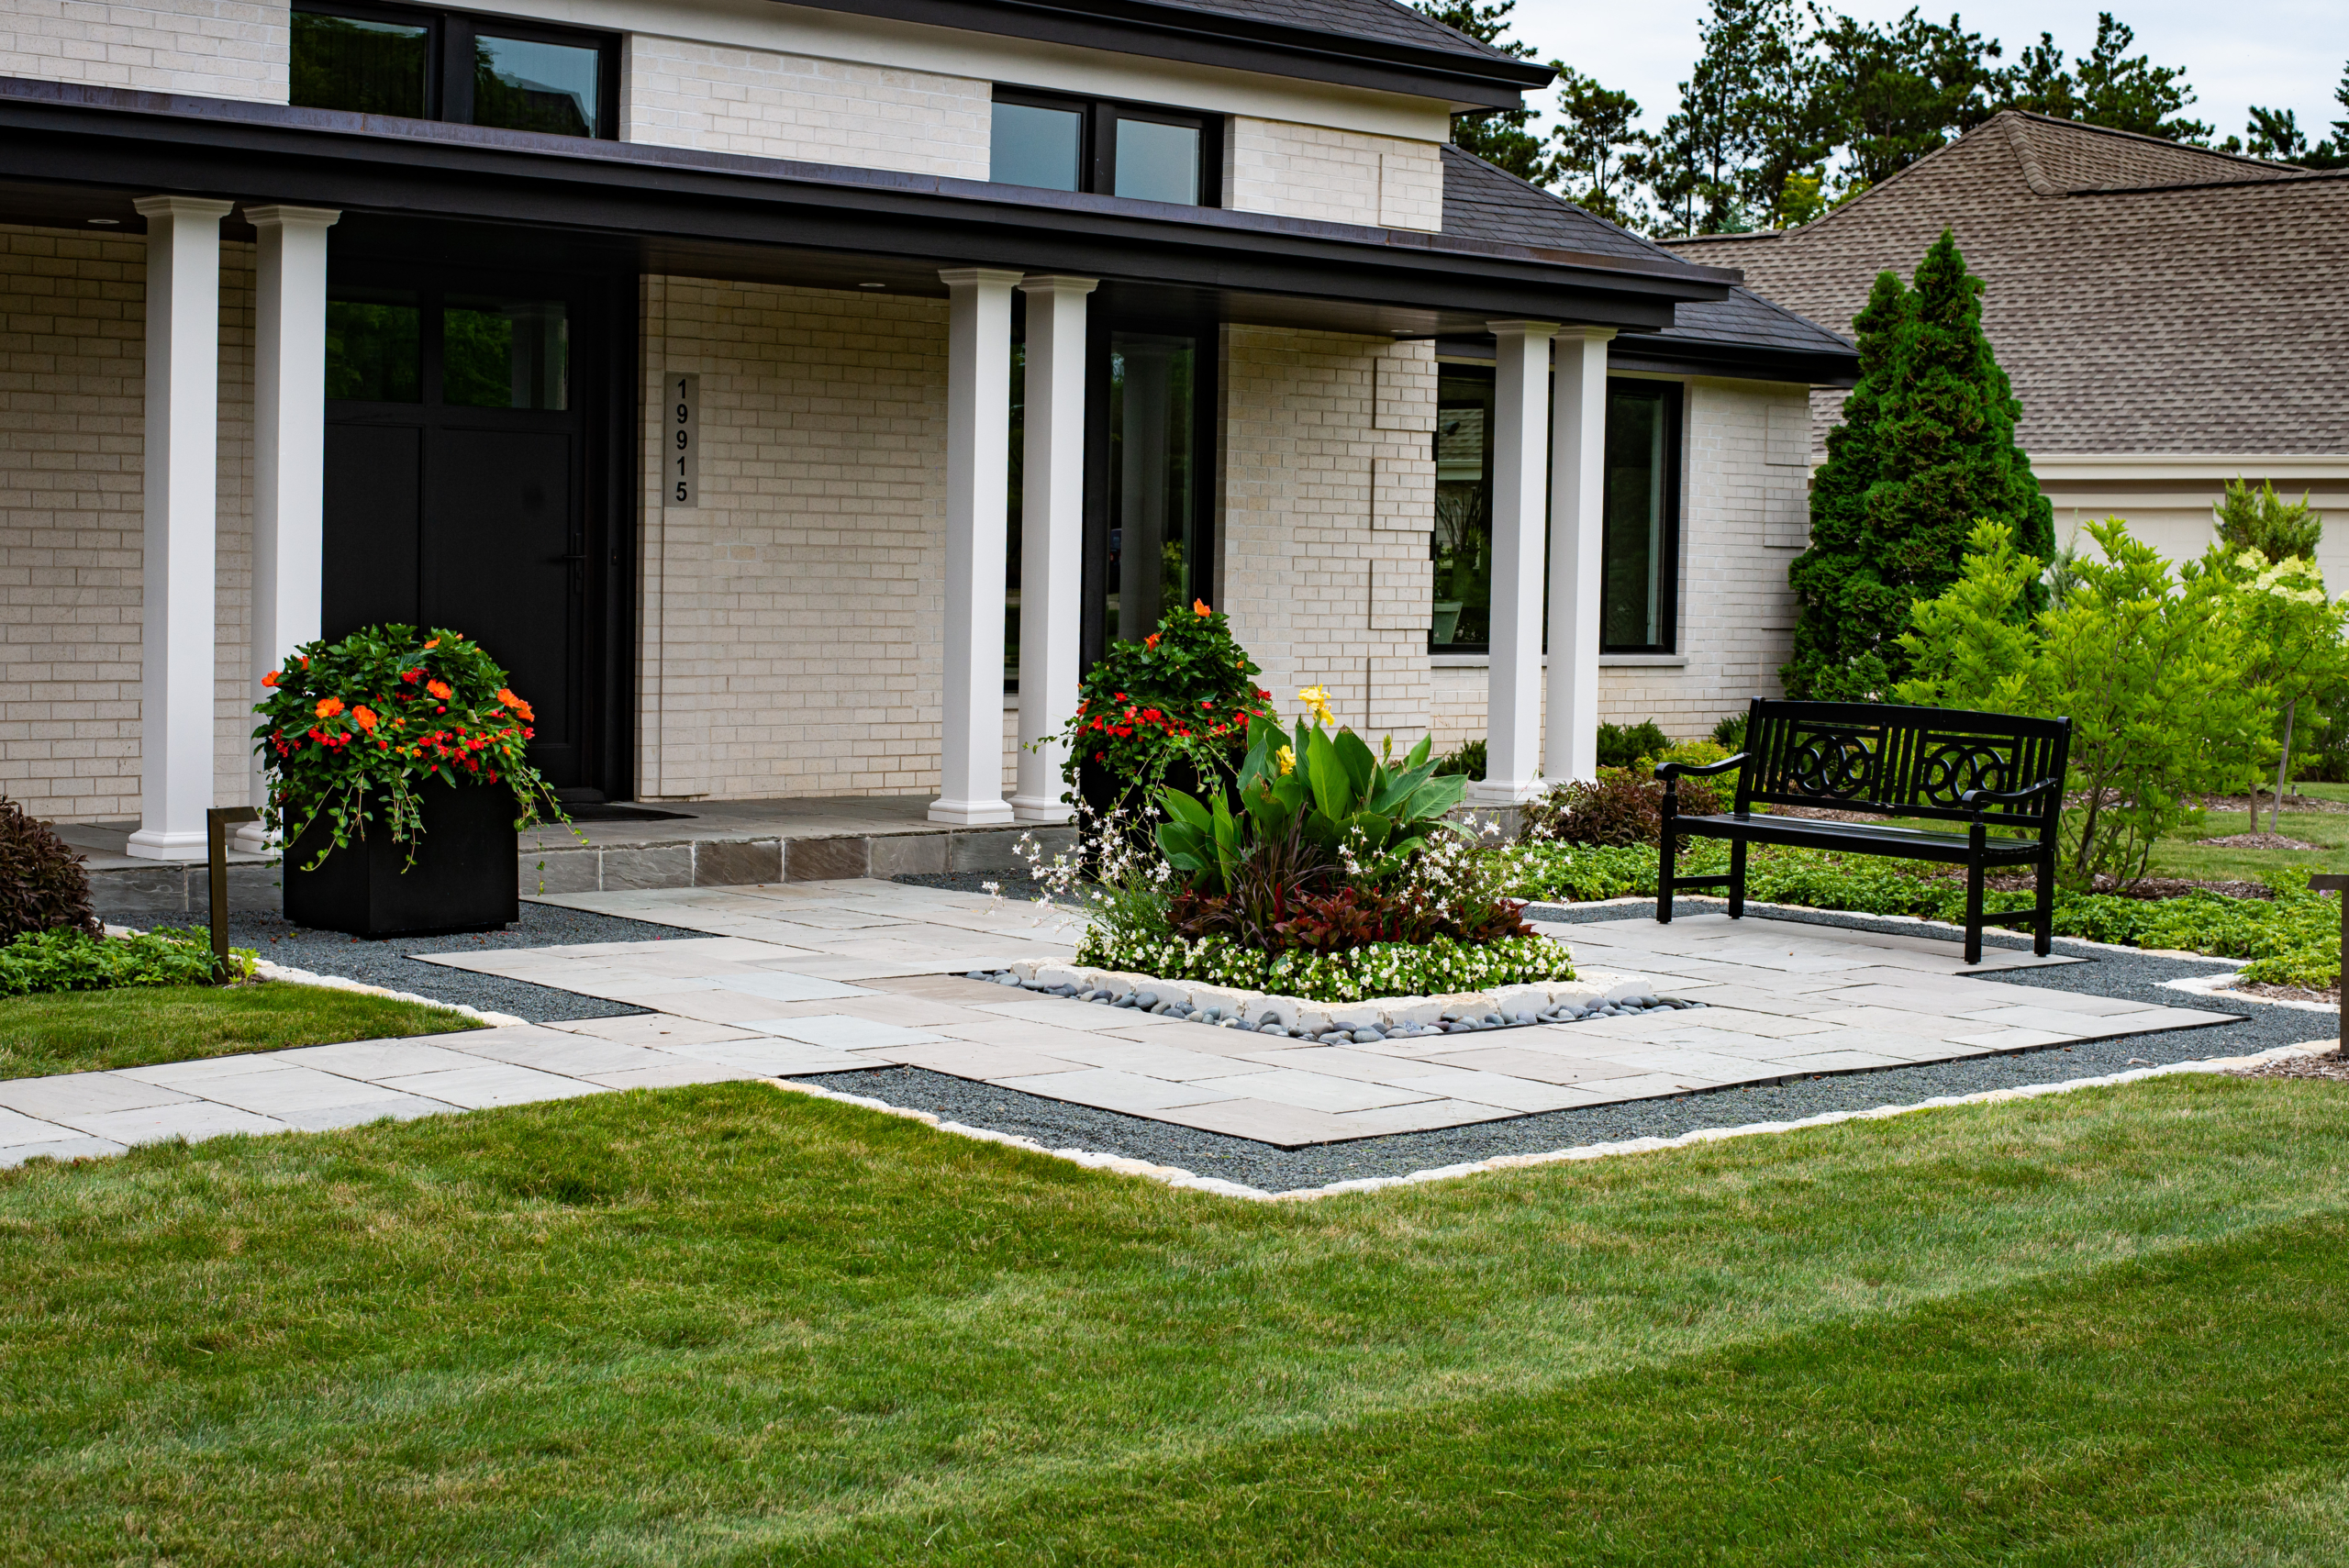
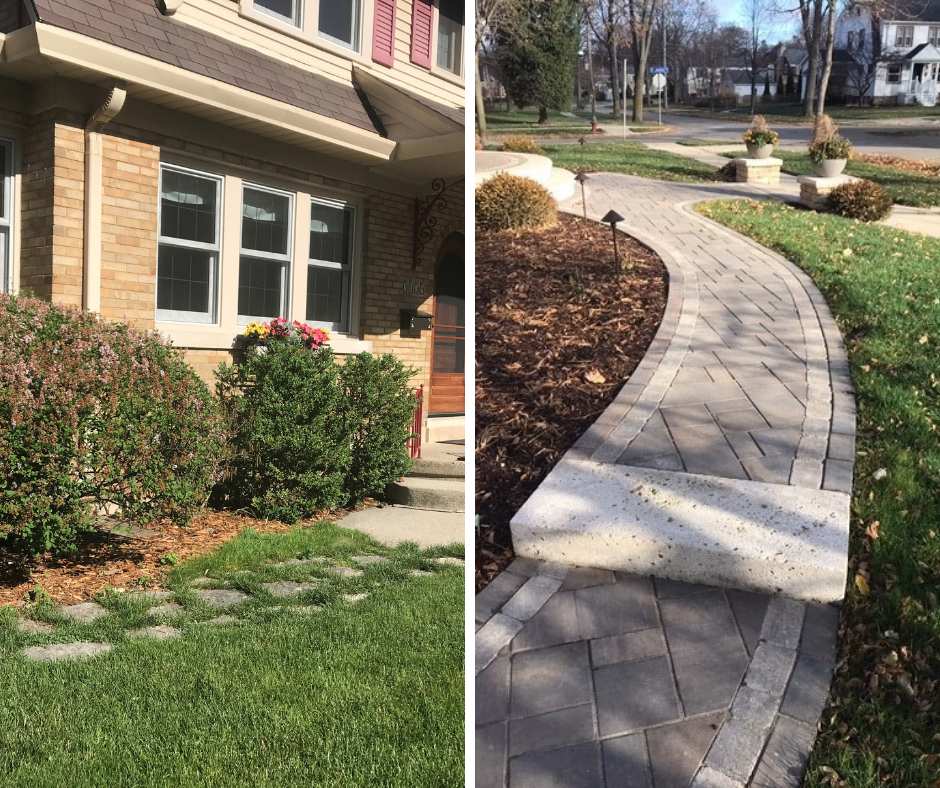 To introduce additional texture and pattern, the team built the porch landing and walkways with Elements pavers in a three-piece field pattern. A Brussel’s paver accent band is incorporated along the perimeter border, to accentuate the gentle curvilinear layout.
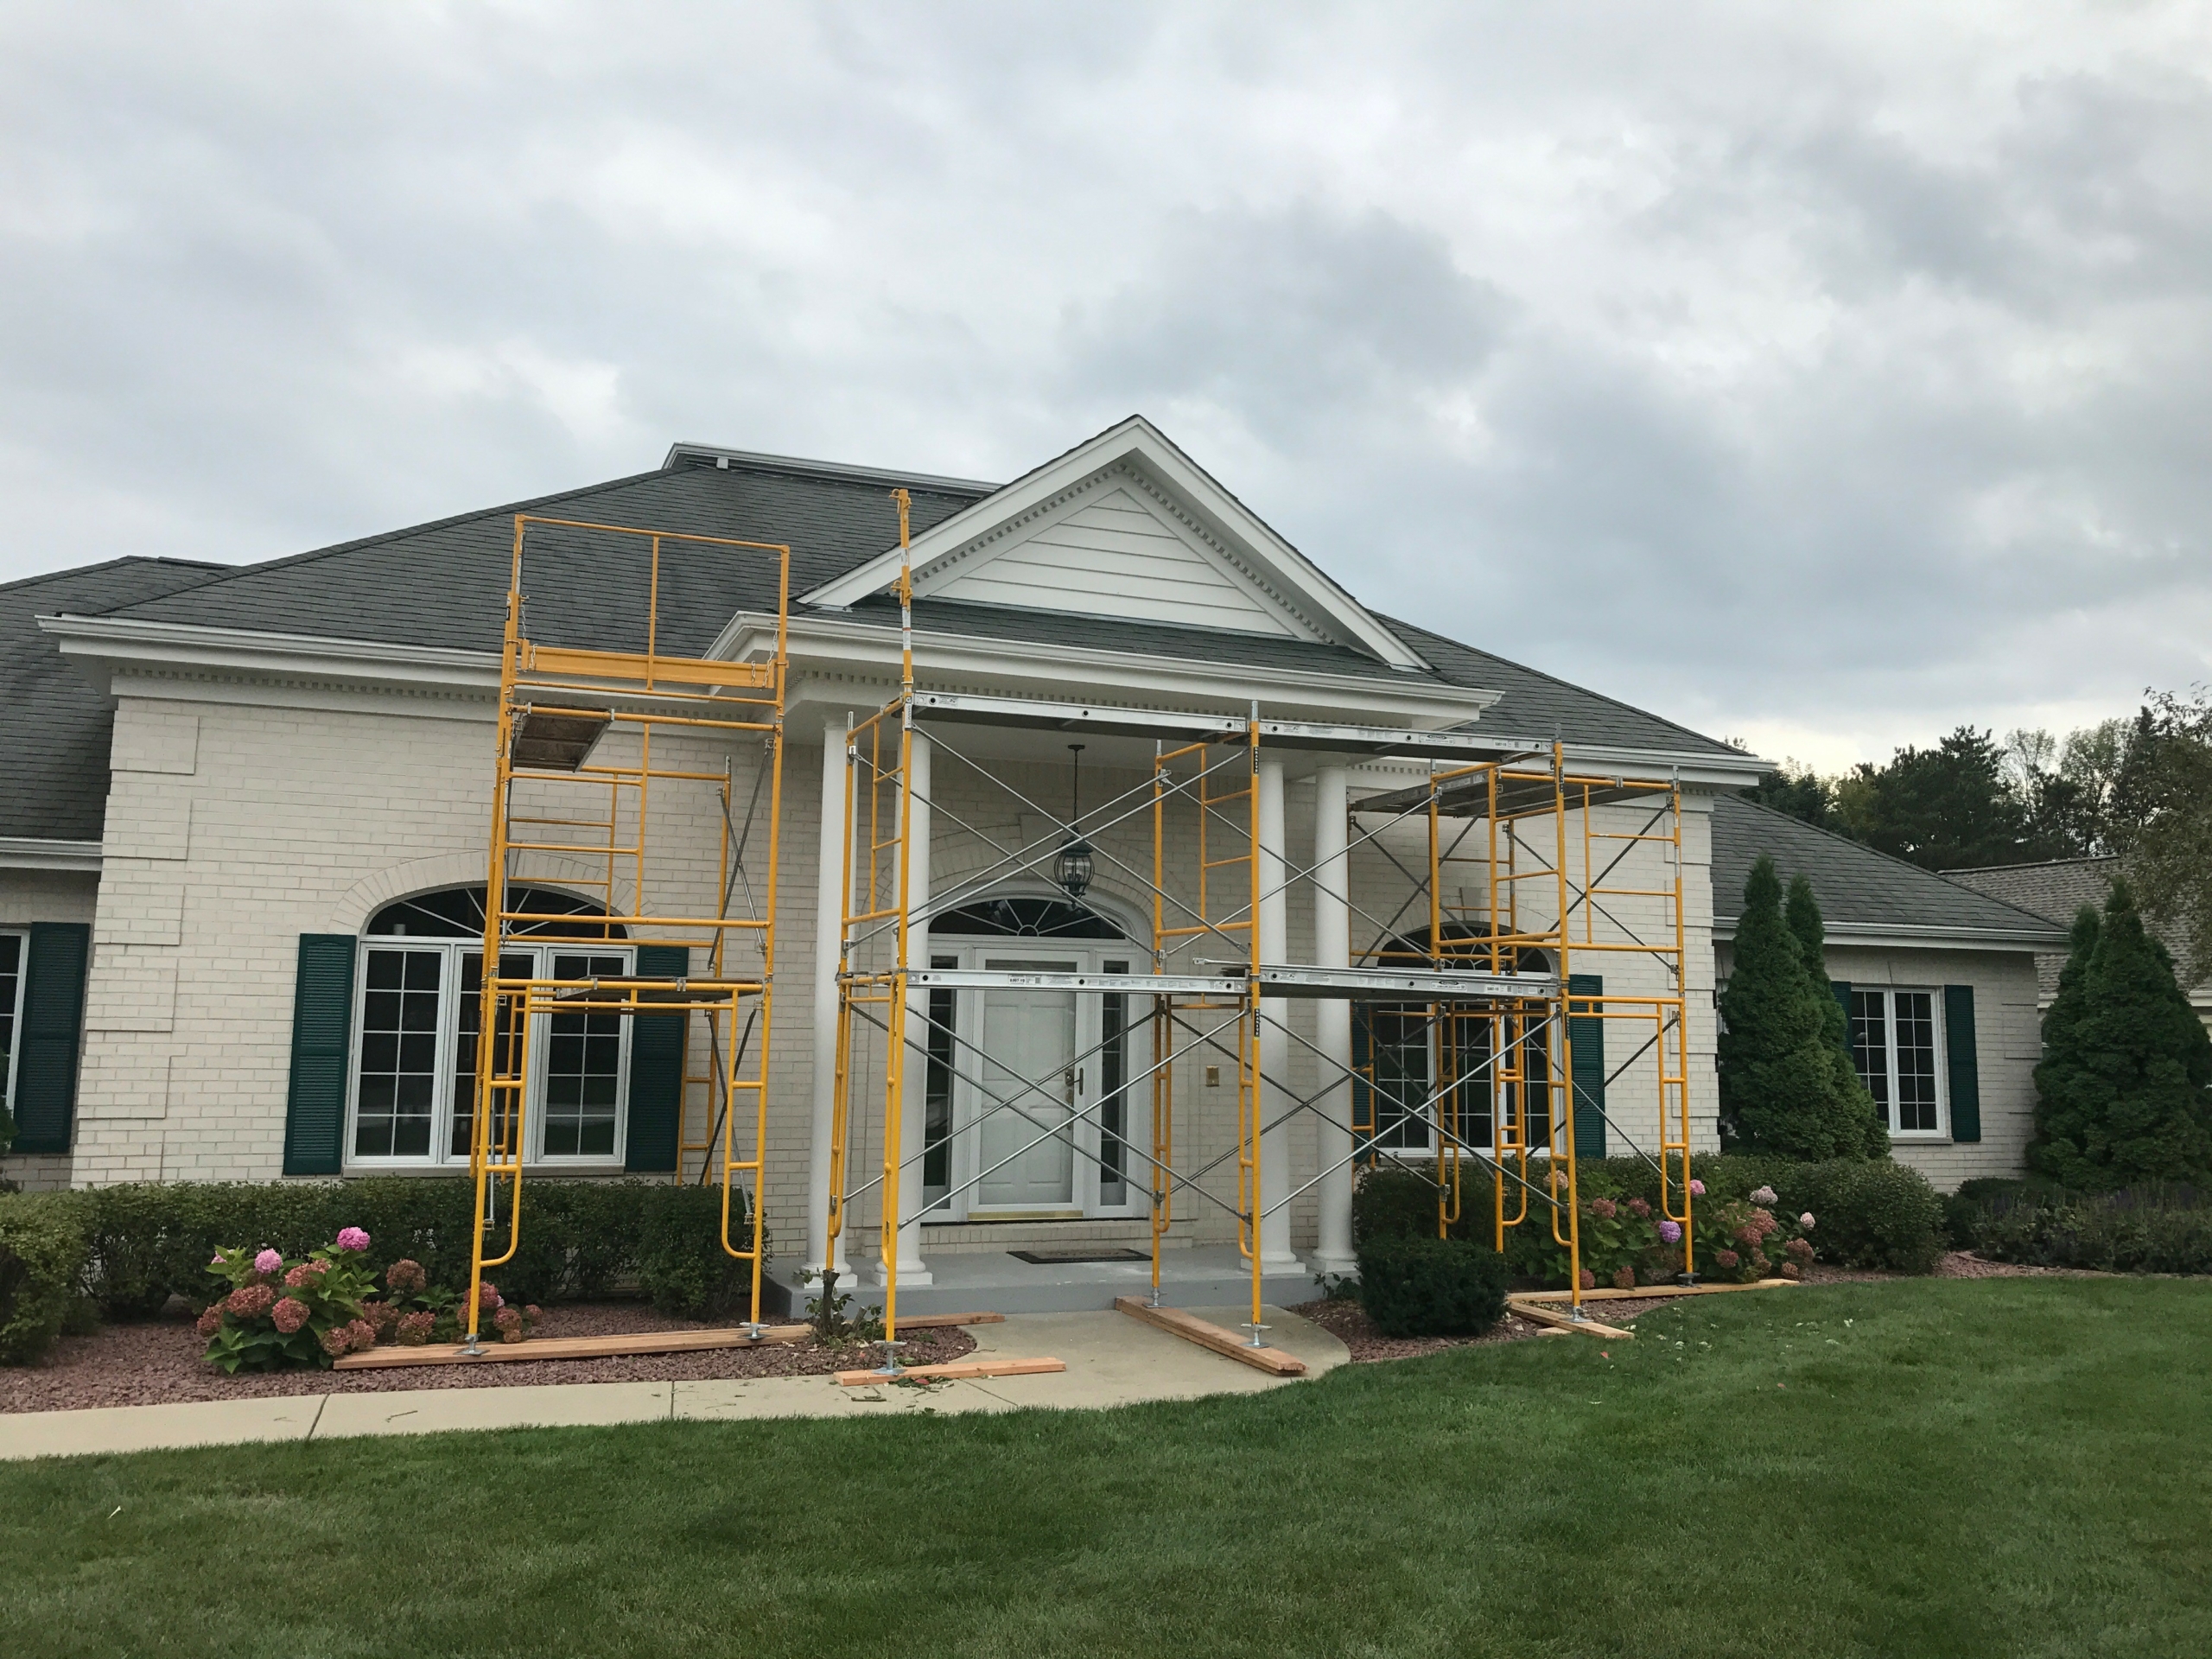
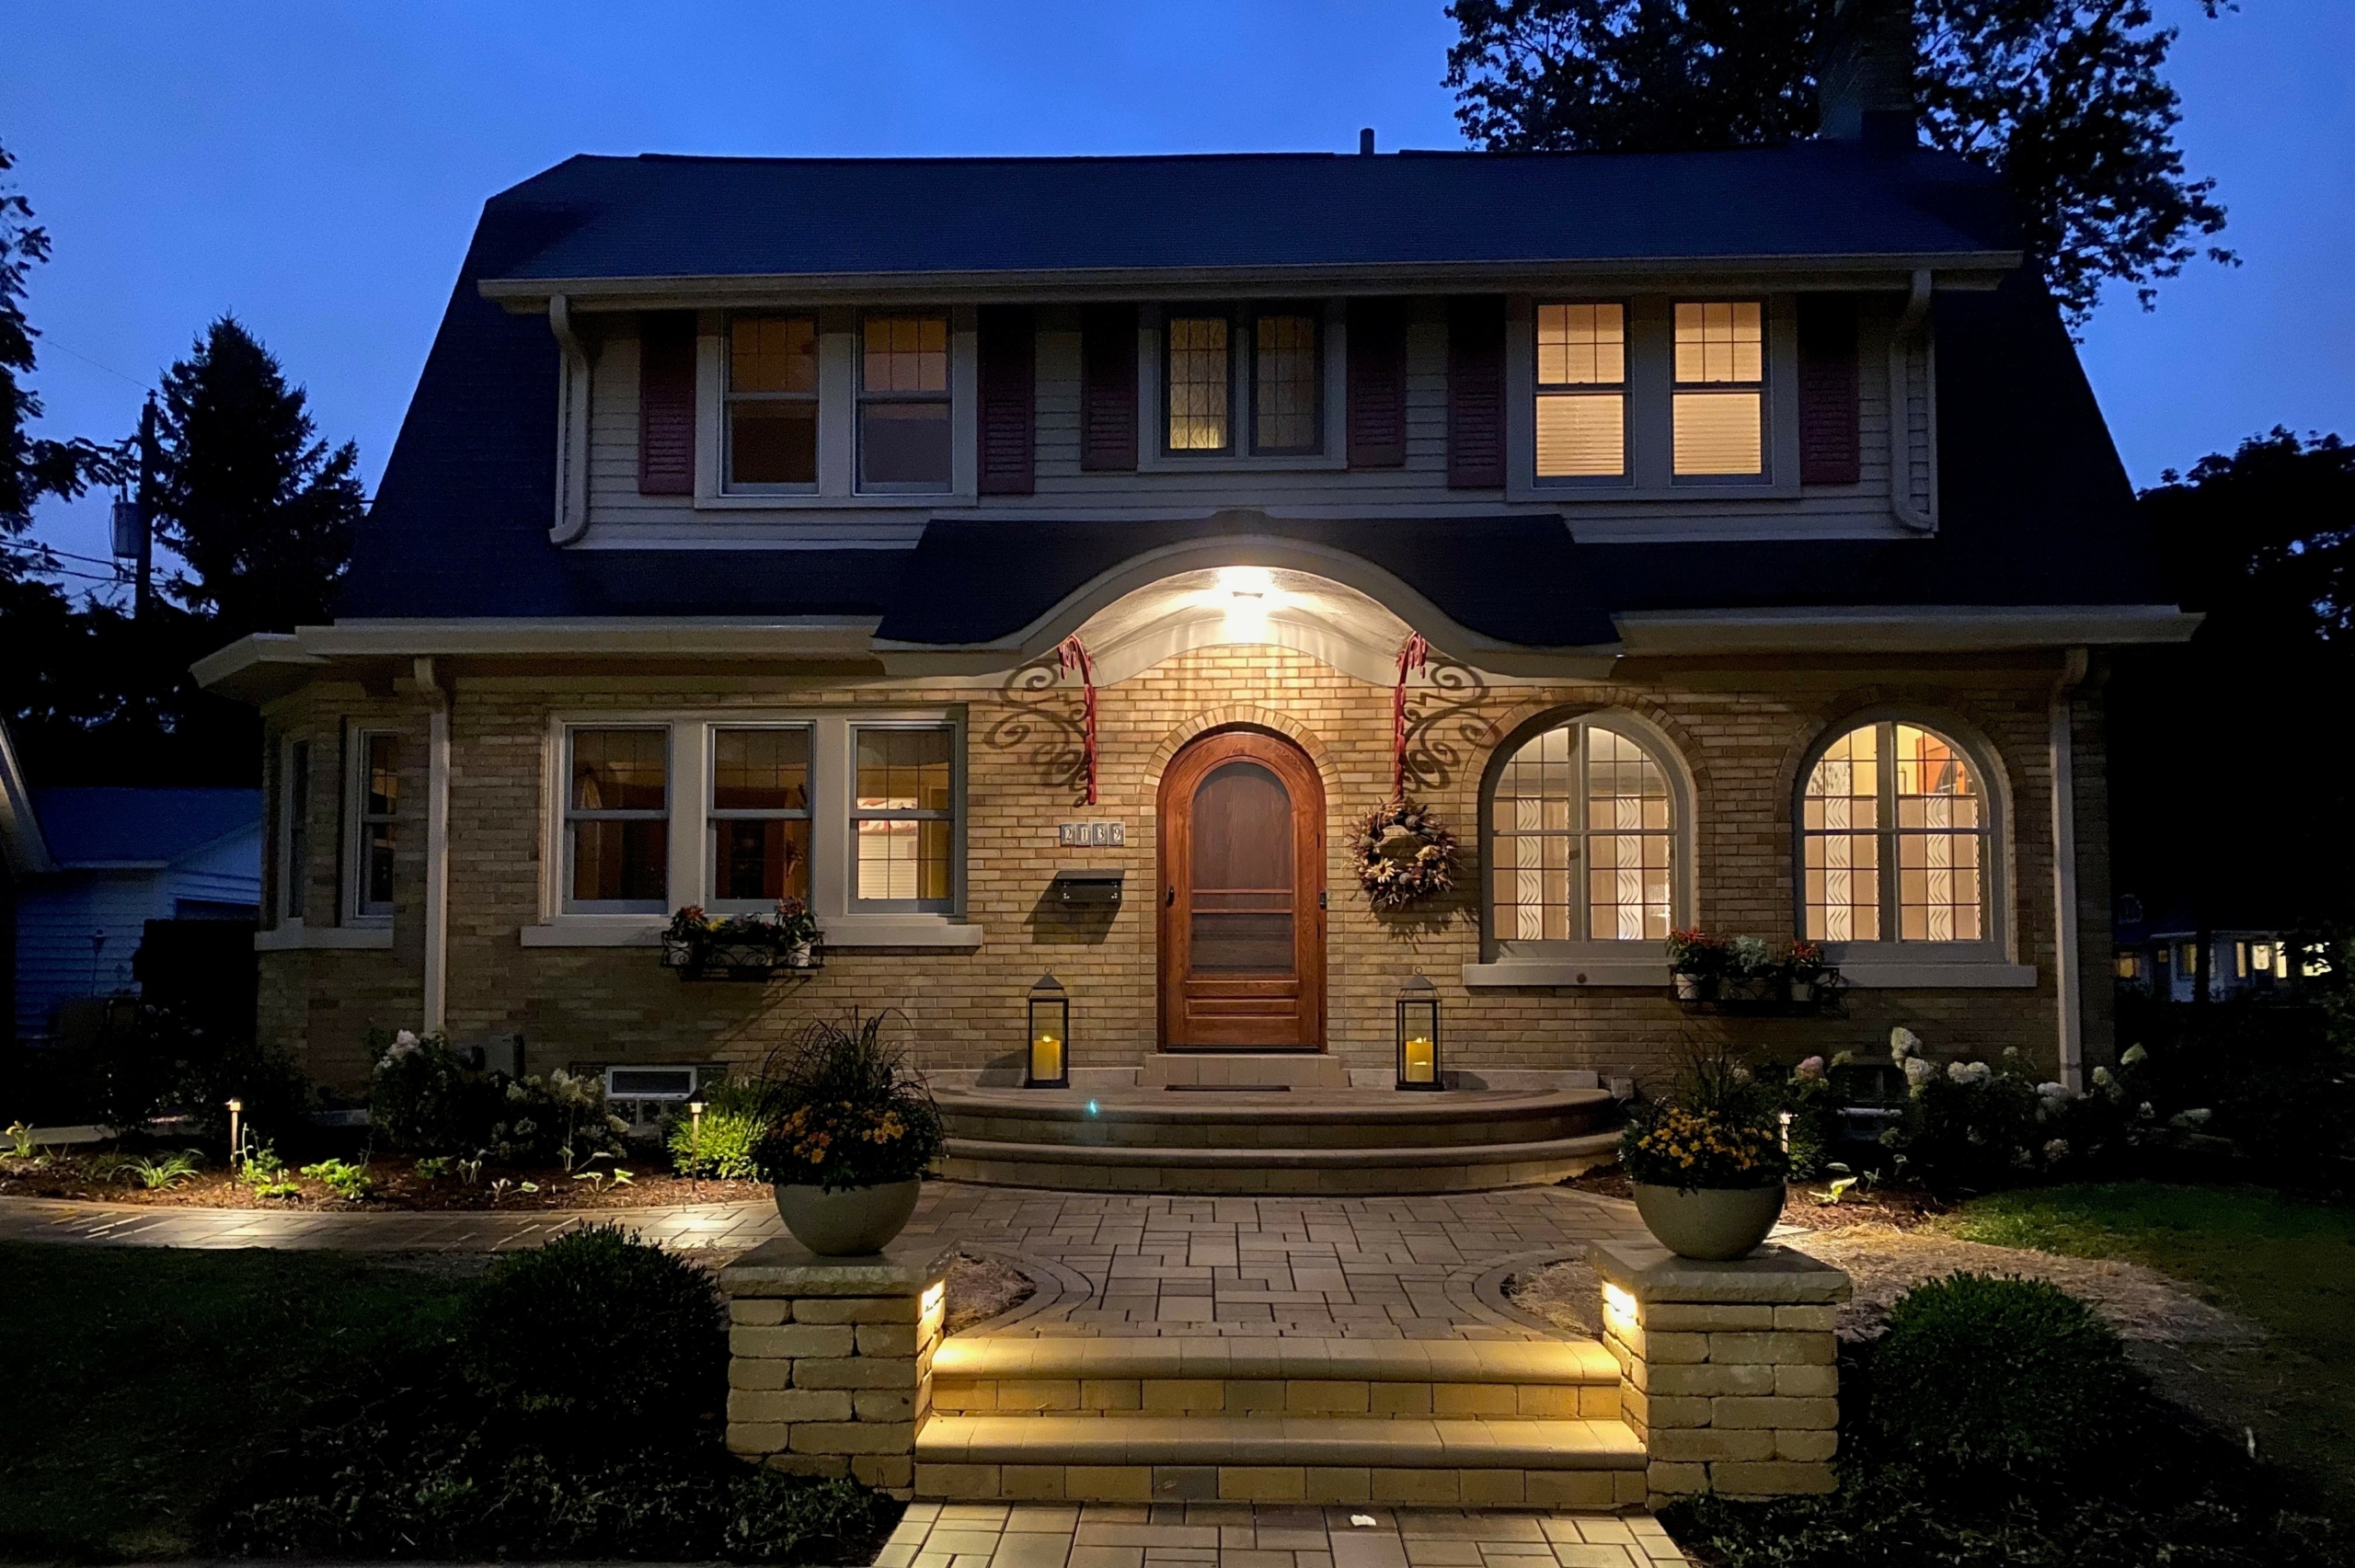 Our crew removed declining and overgrown landscaping from the front. We created a combination of formal and casual layouts using classic boxwoods, hydrangea, lilac and assorted perennials.
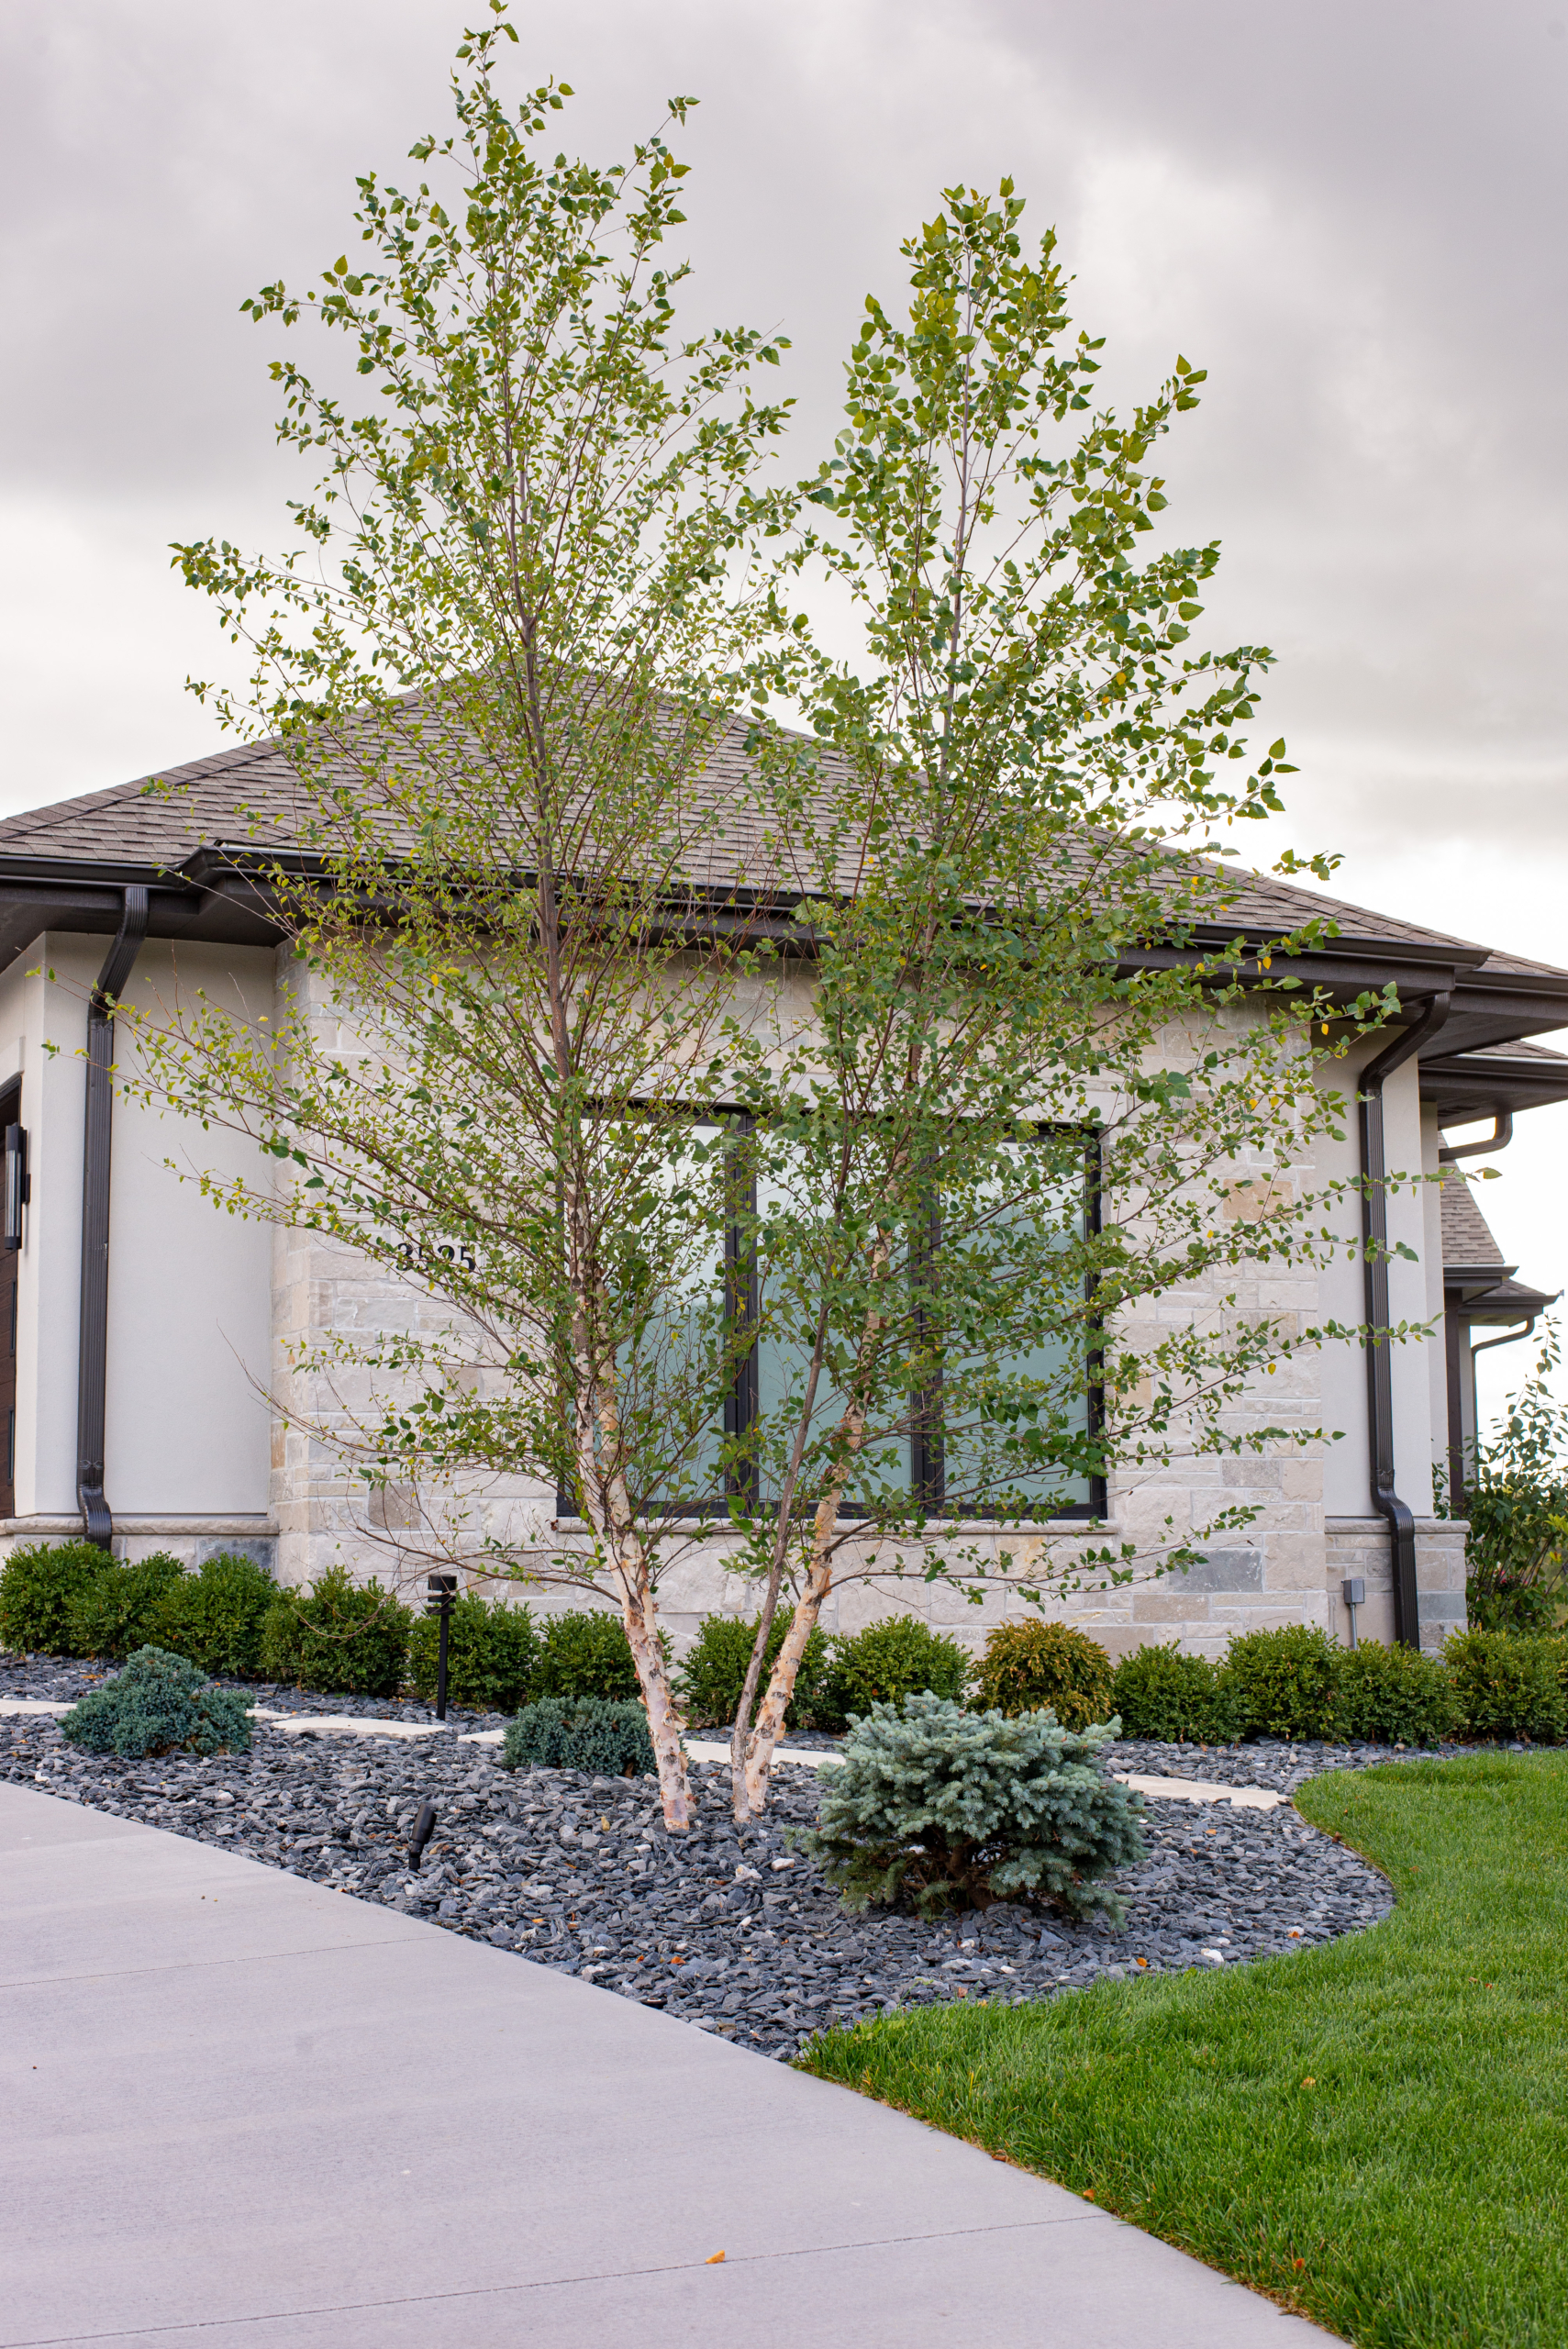
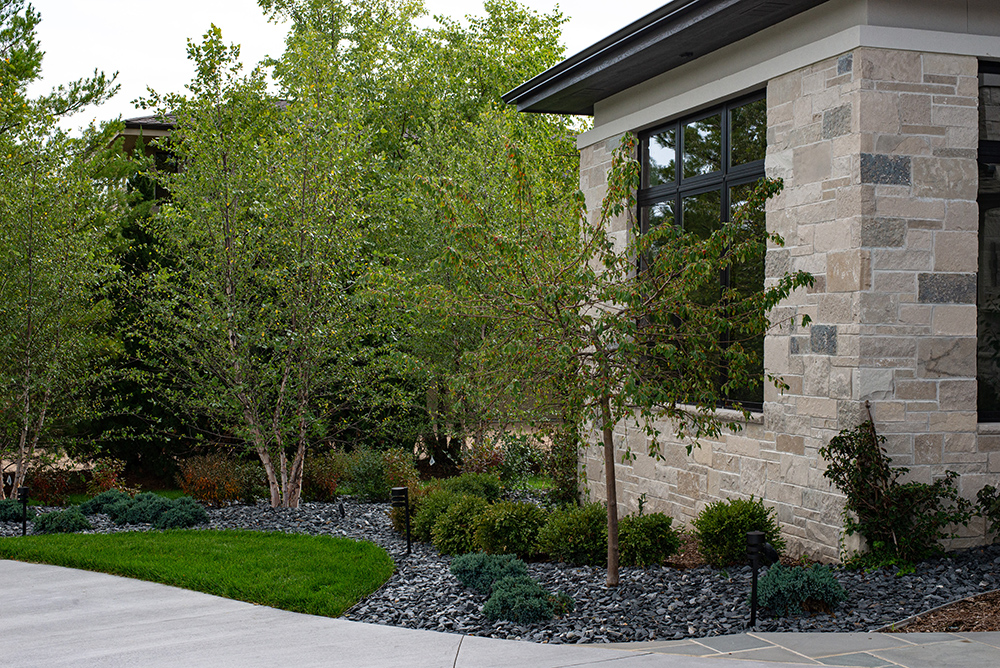
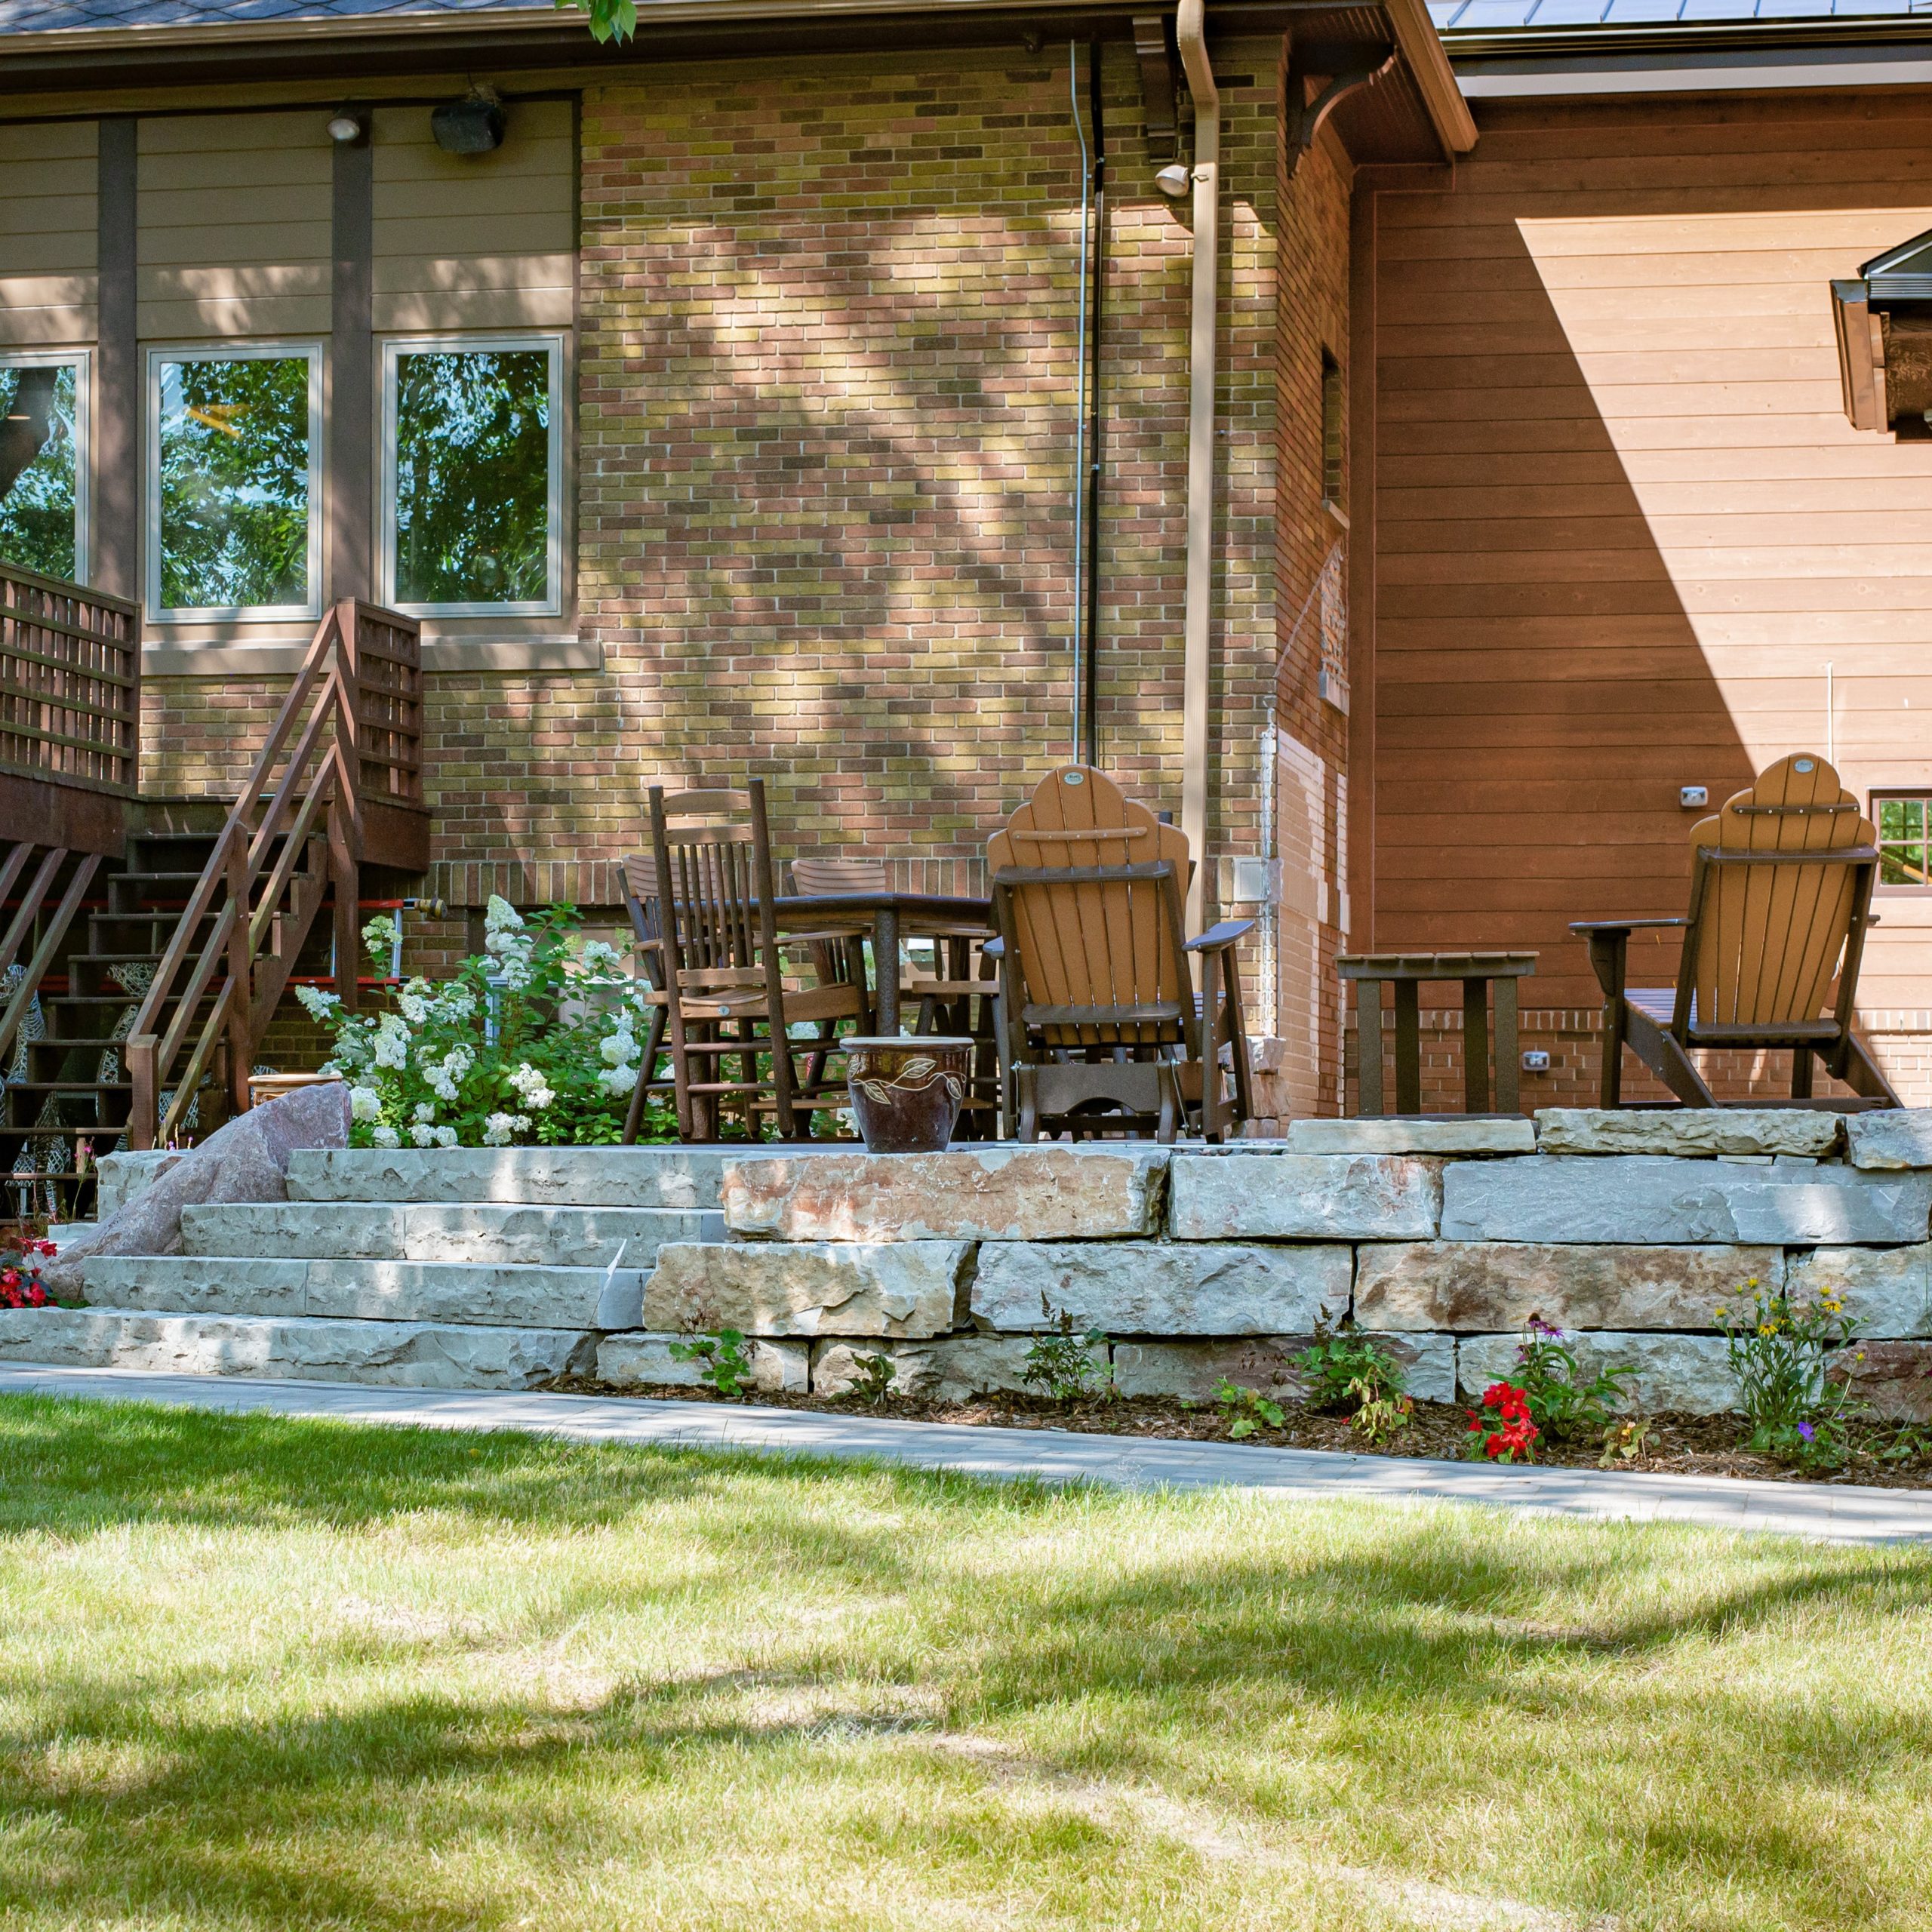